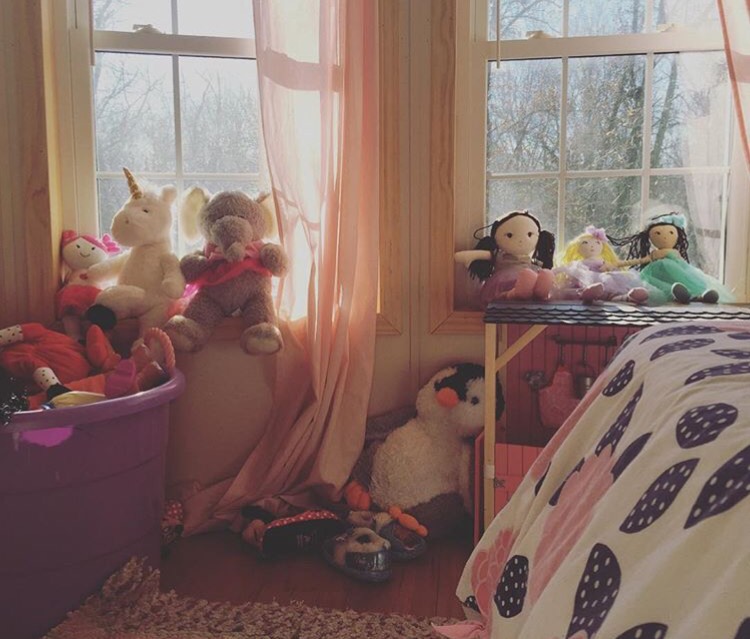
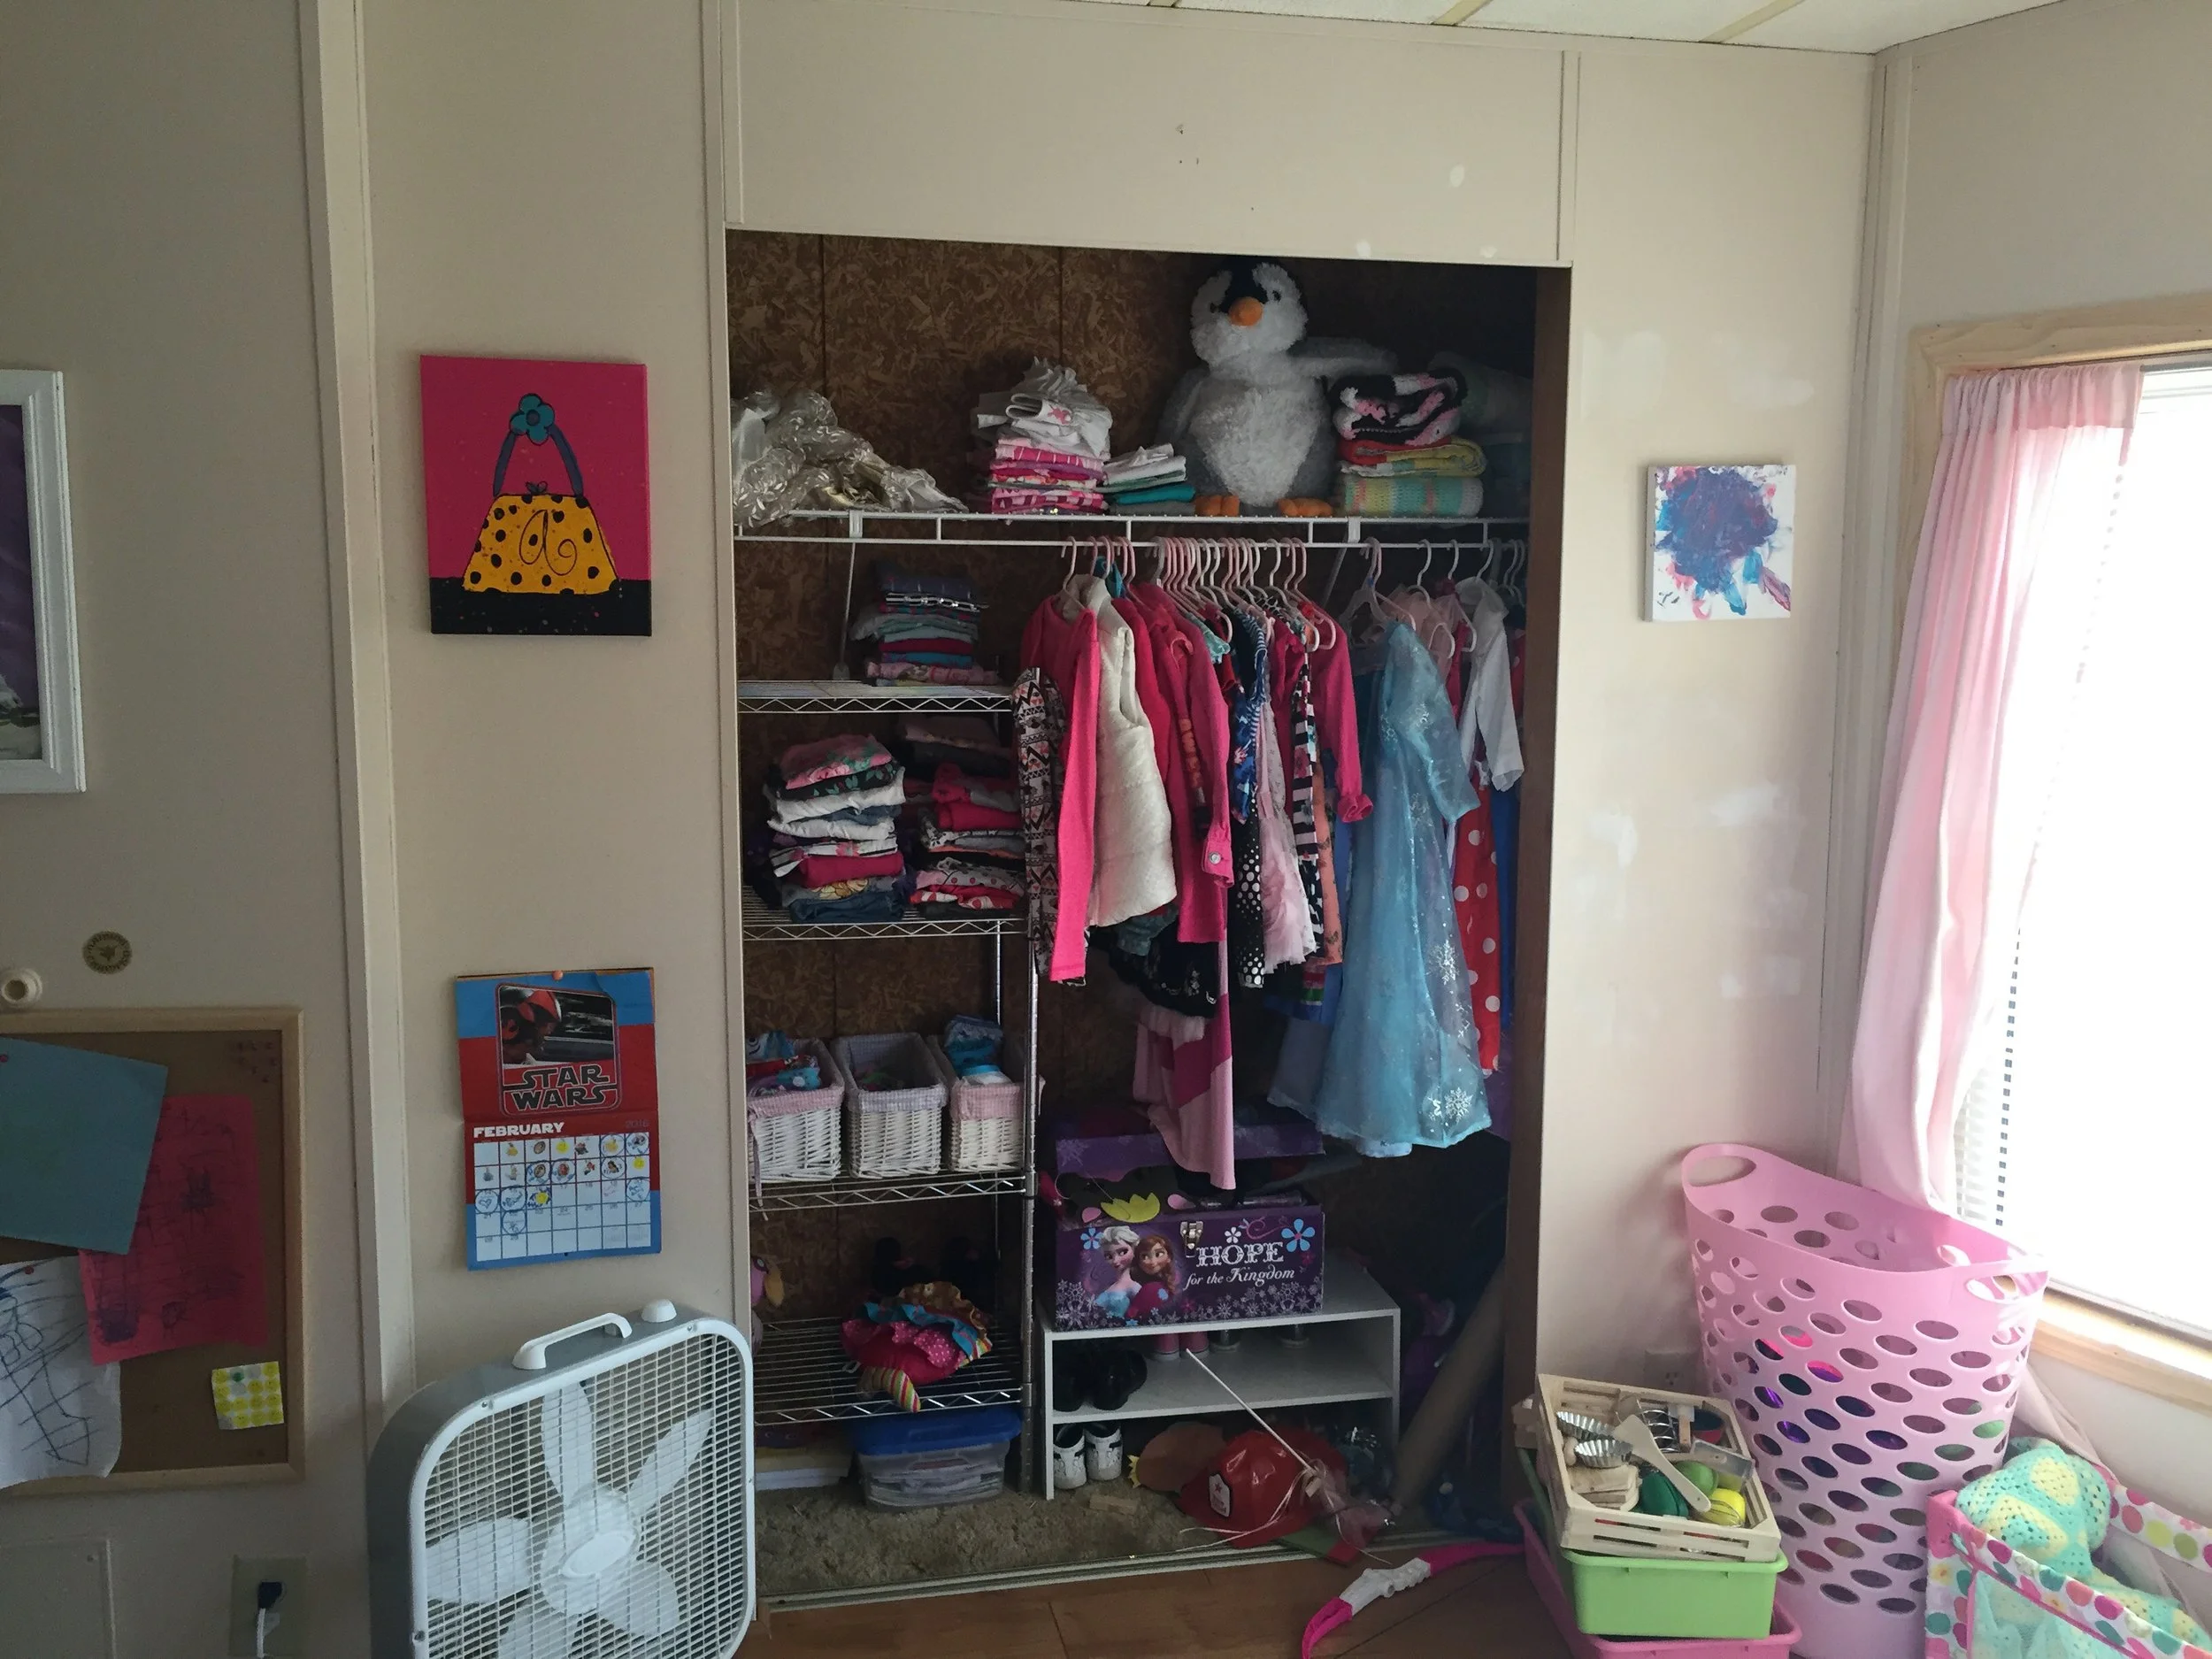
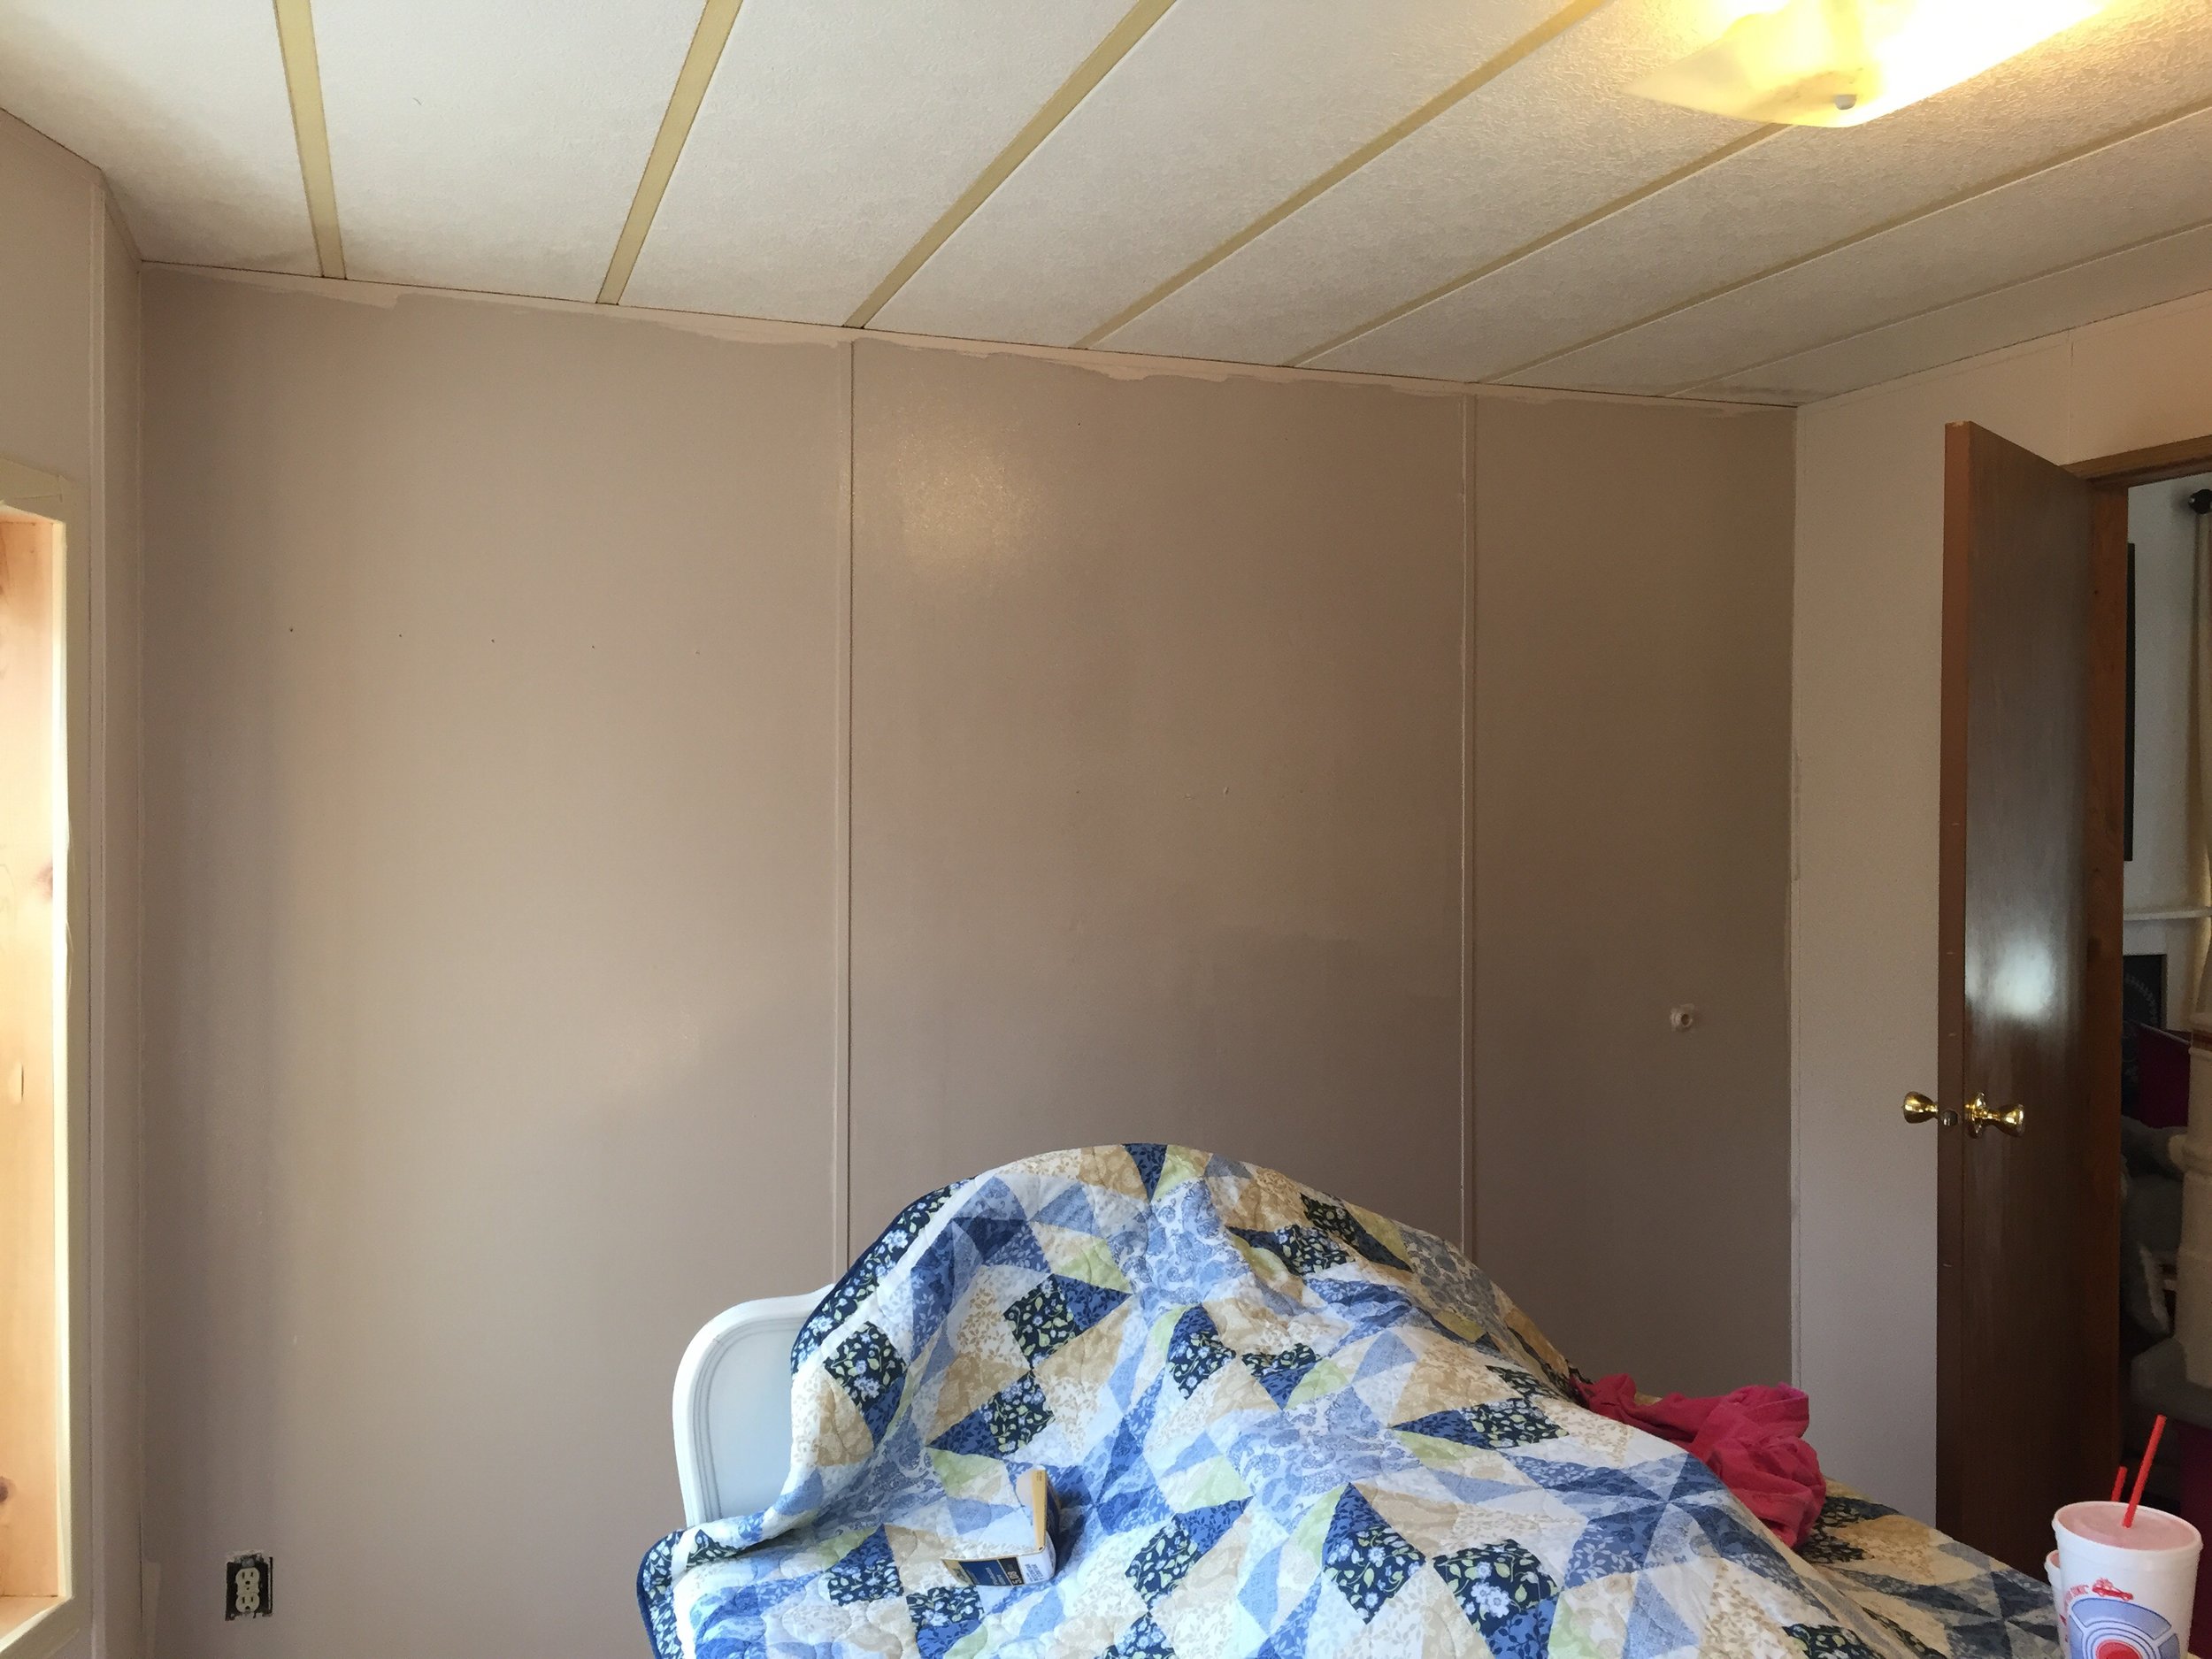
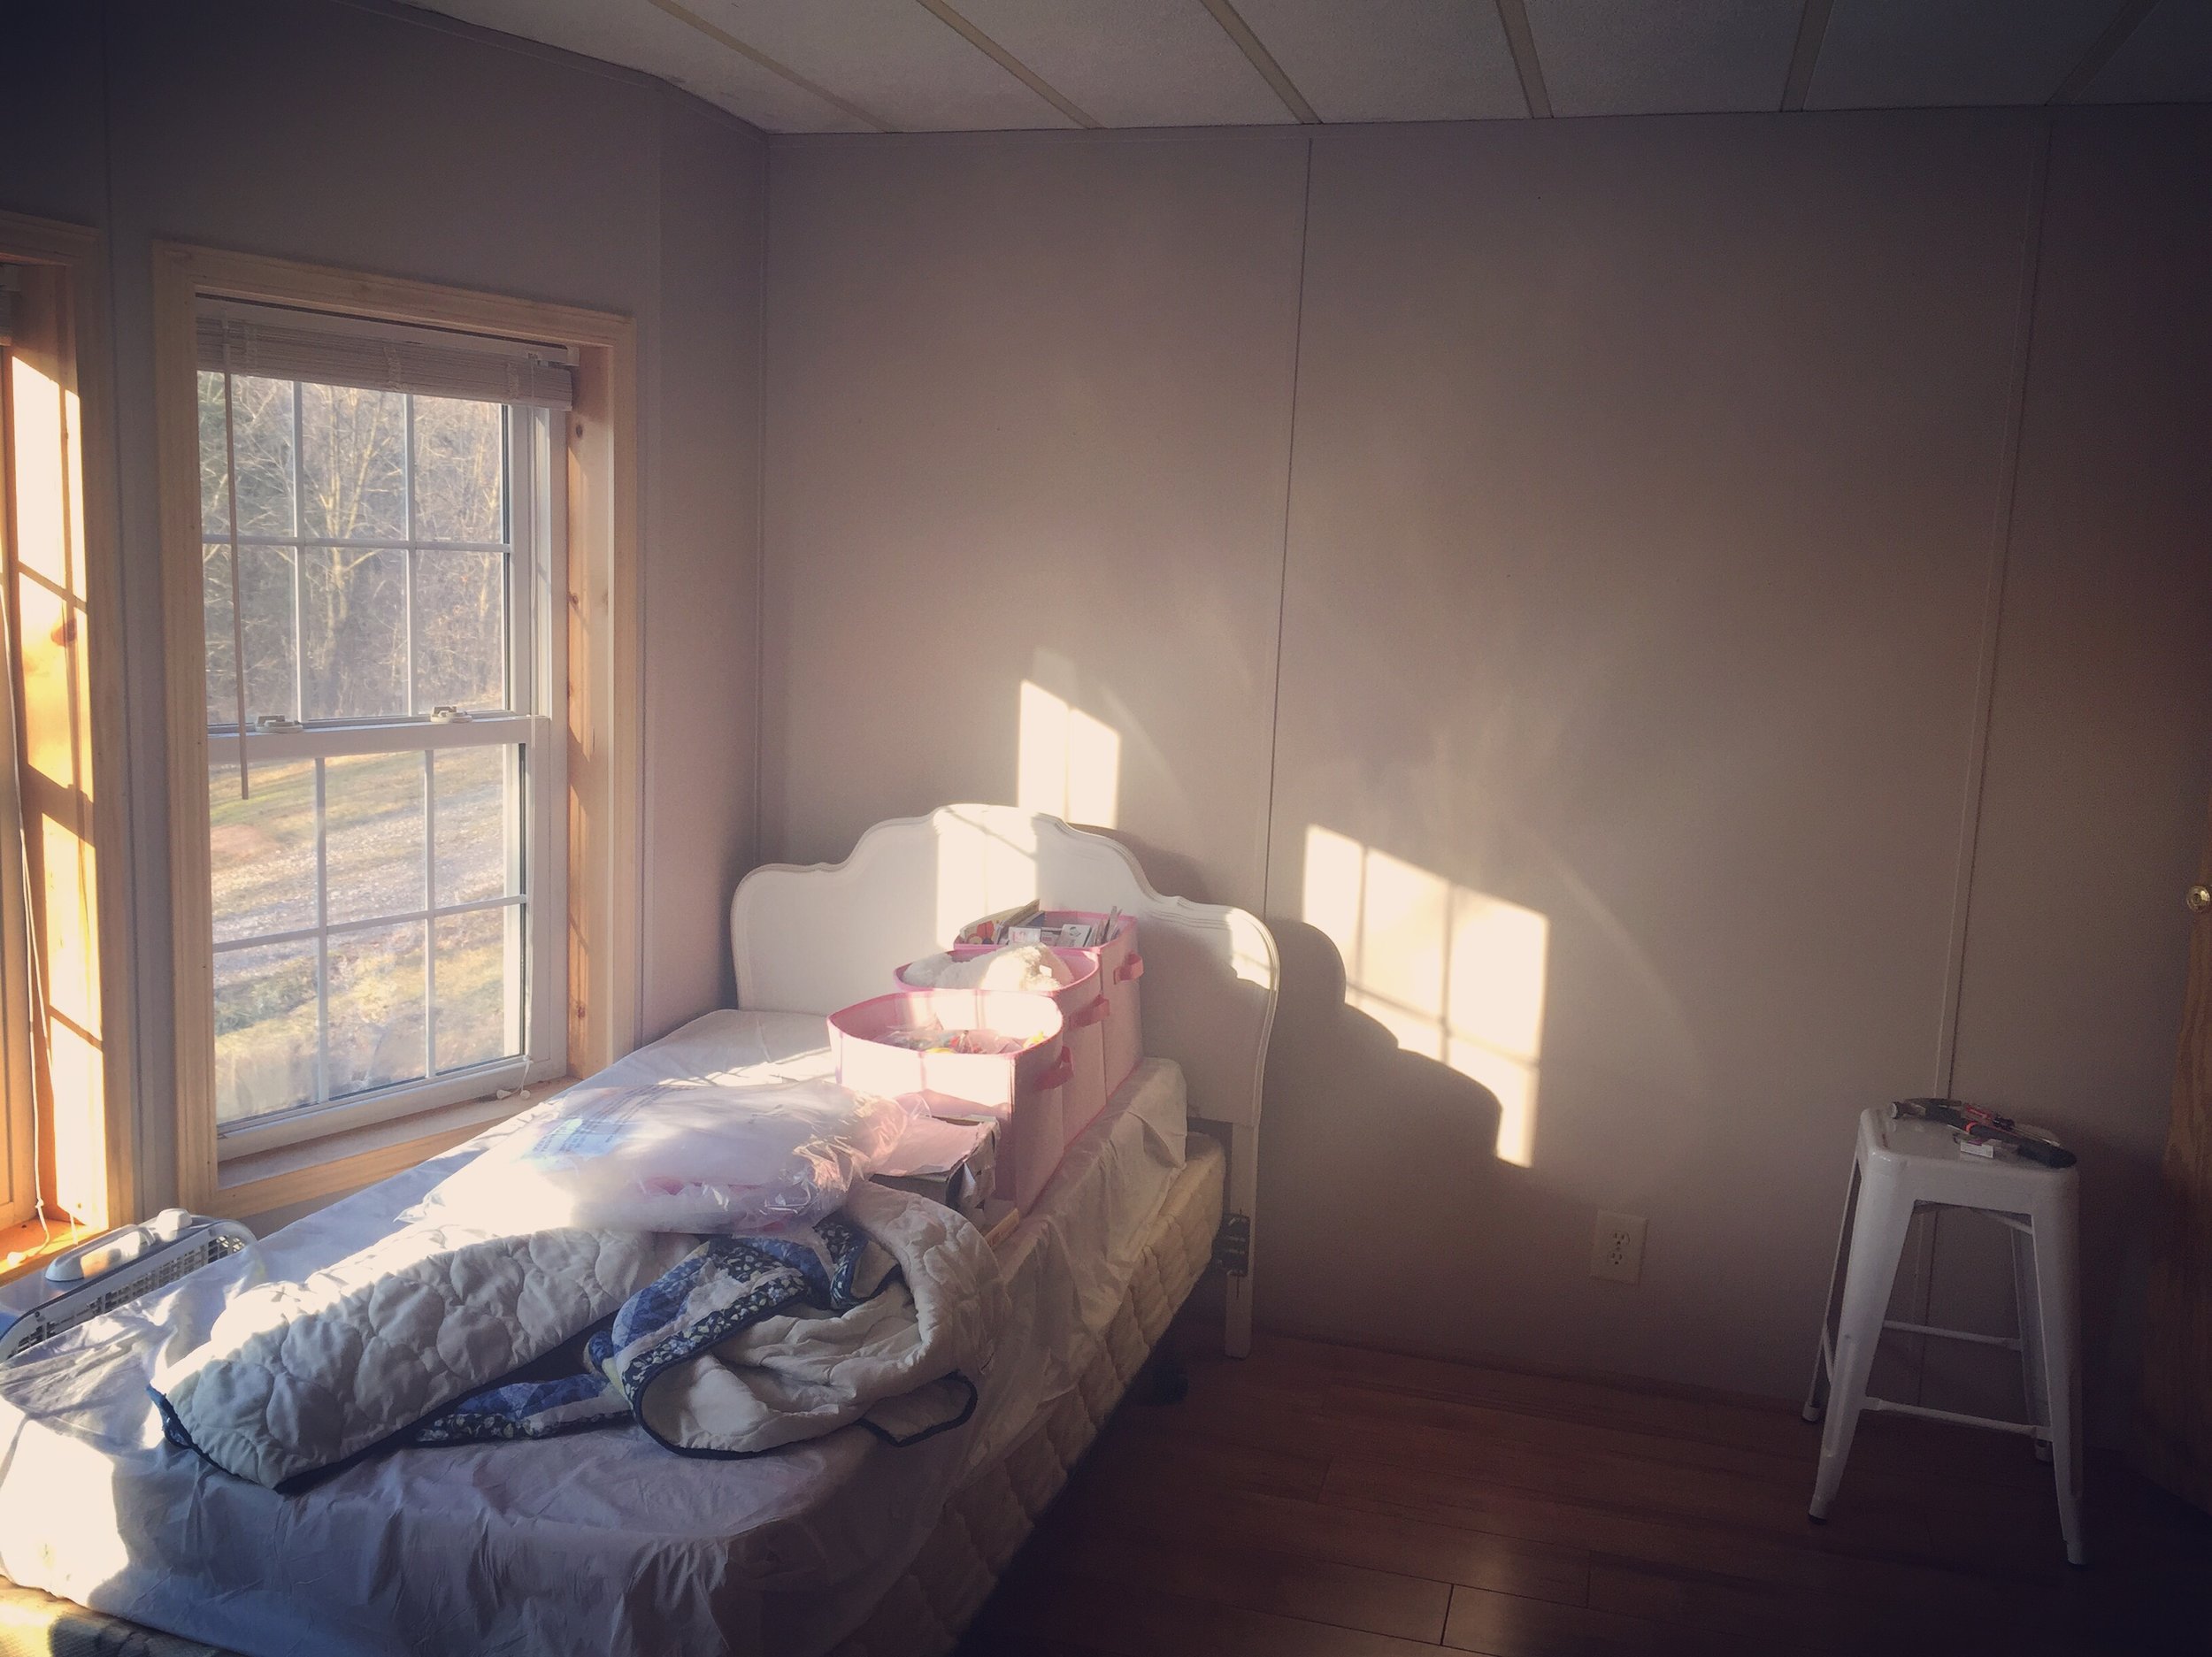
My daughter's room was very small, as you can see in the pictures below (these are from when the previous owners lived there). Originally she had a door from her room going into the bathroom but it was unnecessary because there's another door to the bathroom outside her bedroom door.
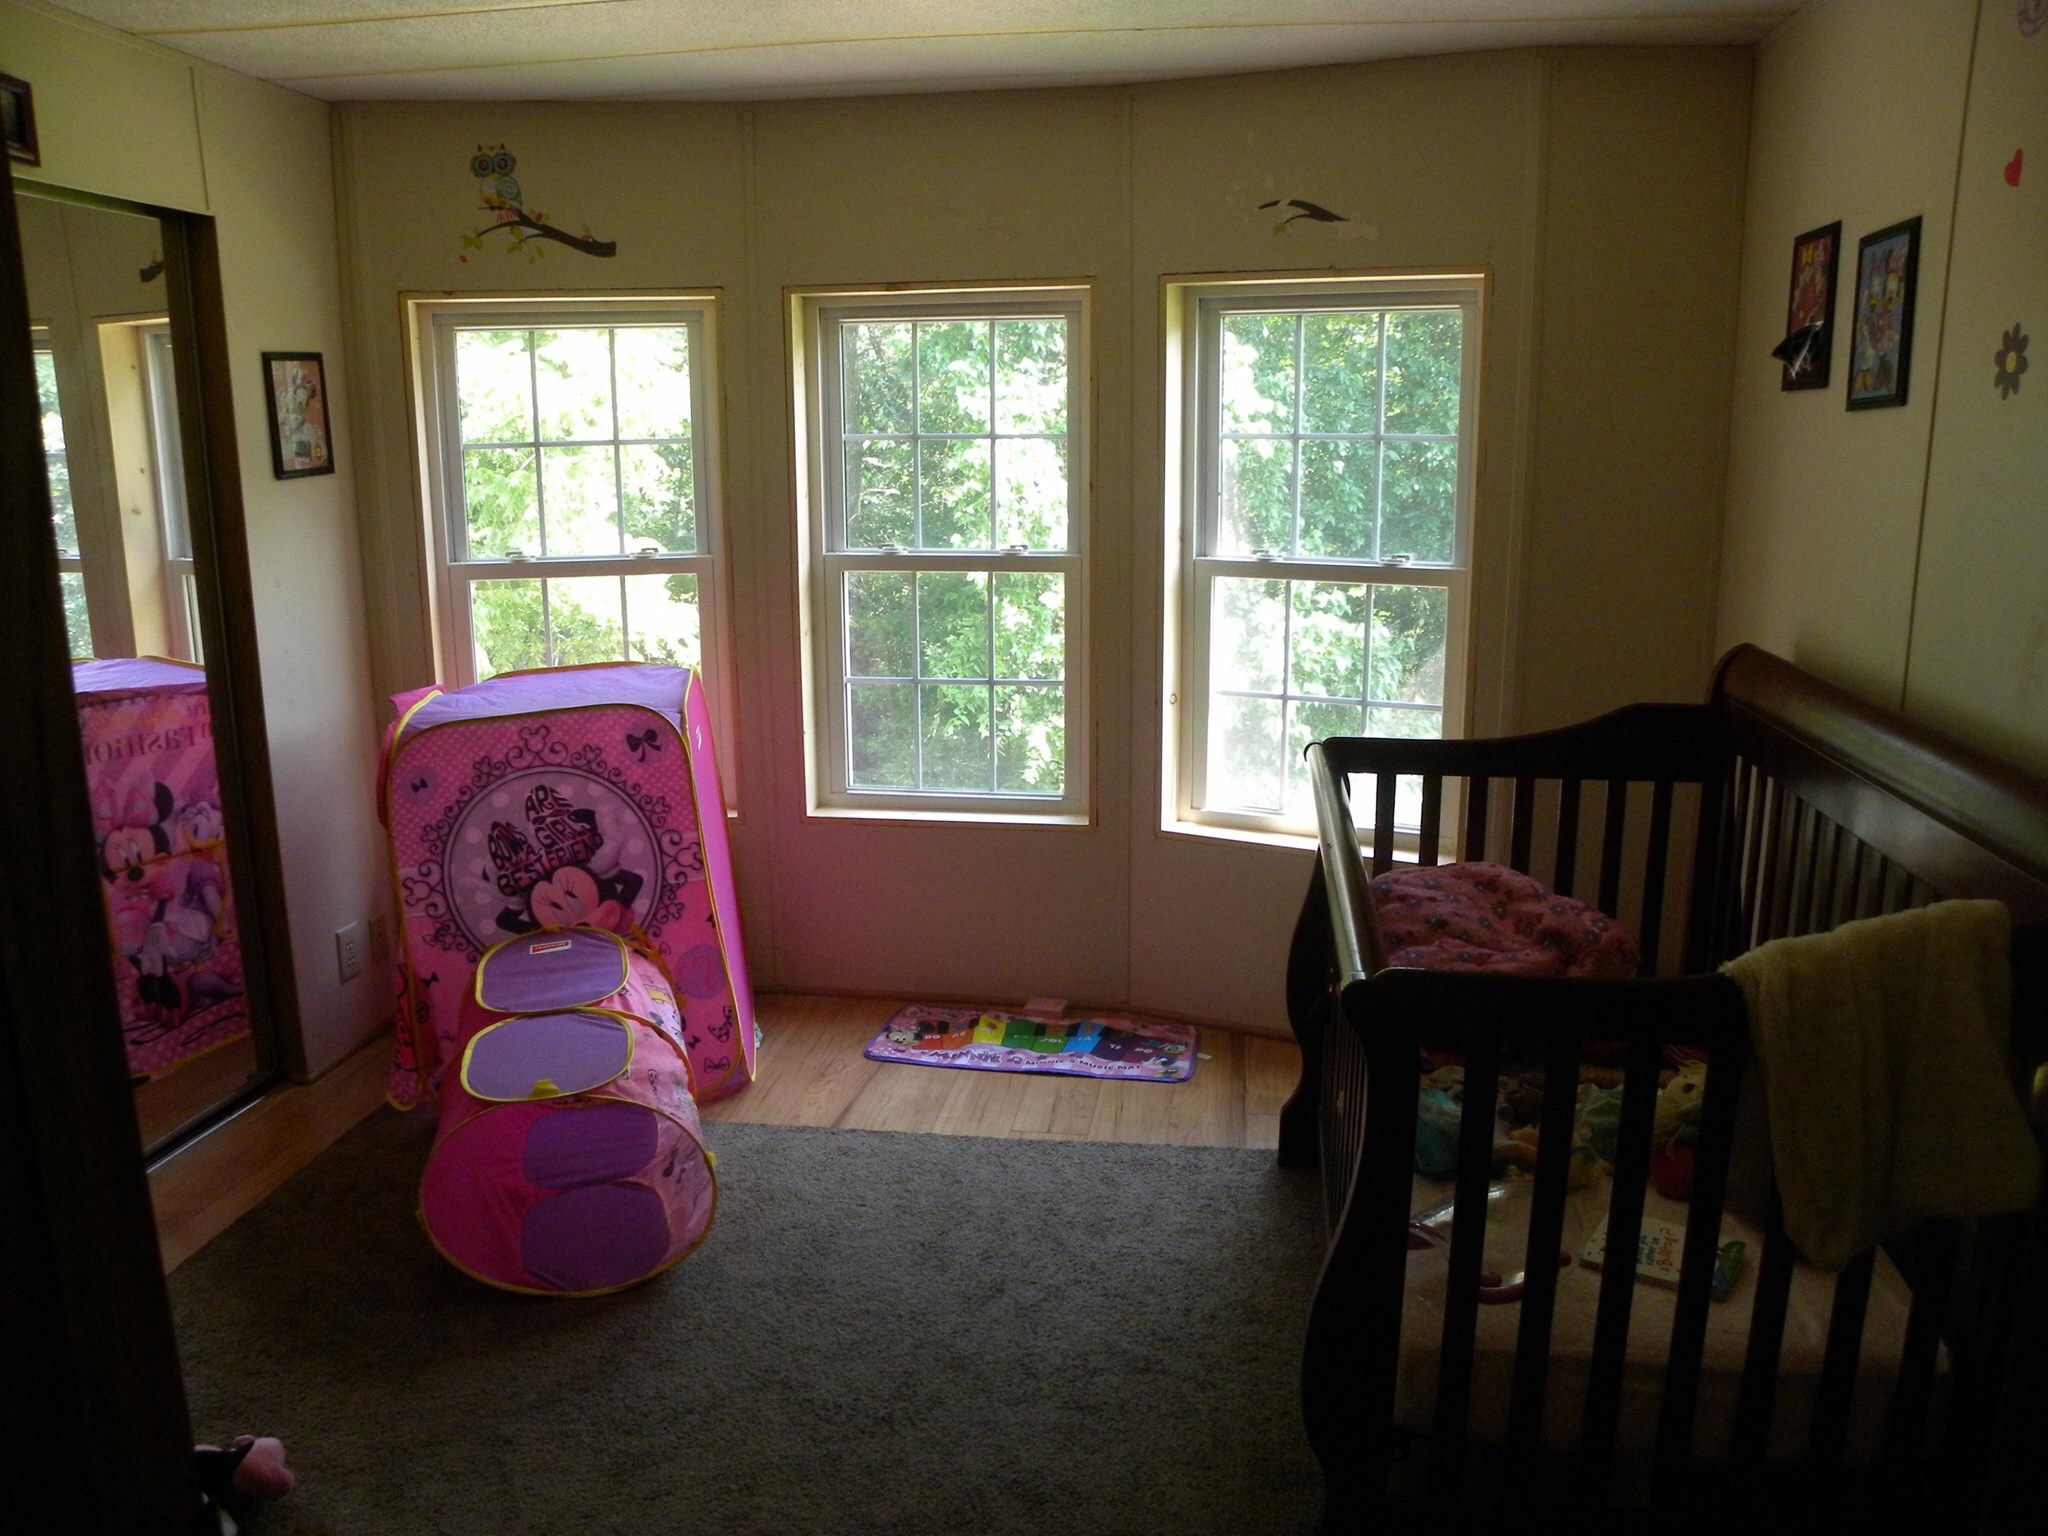
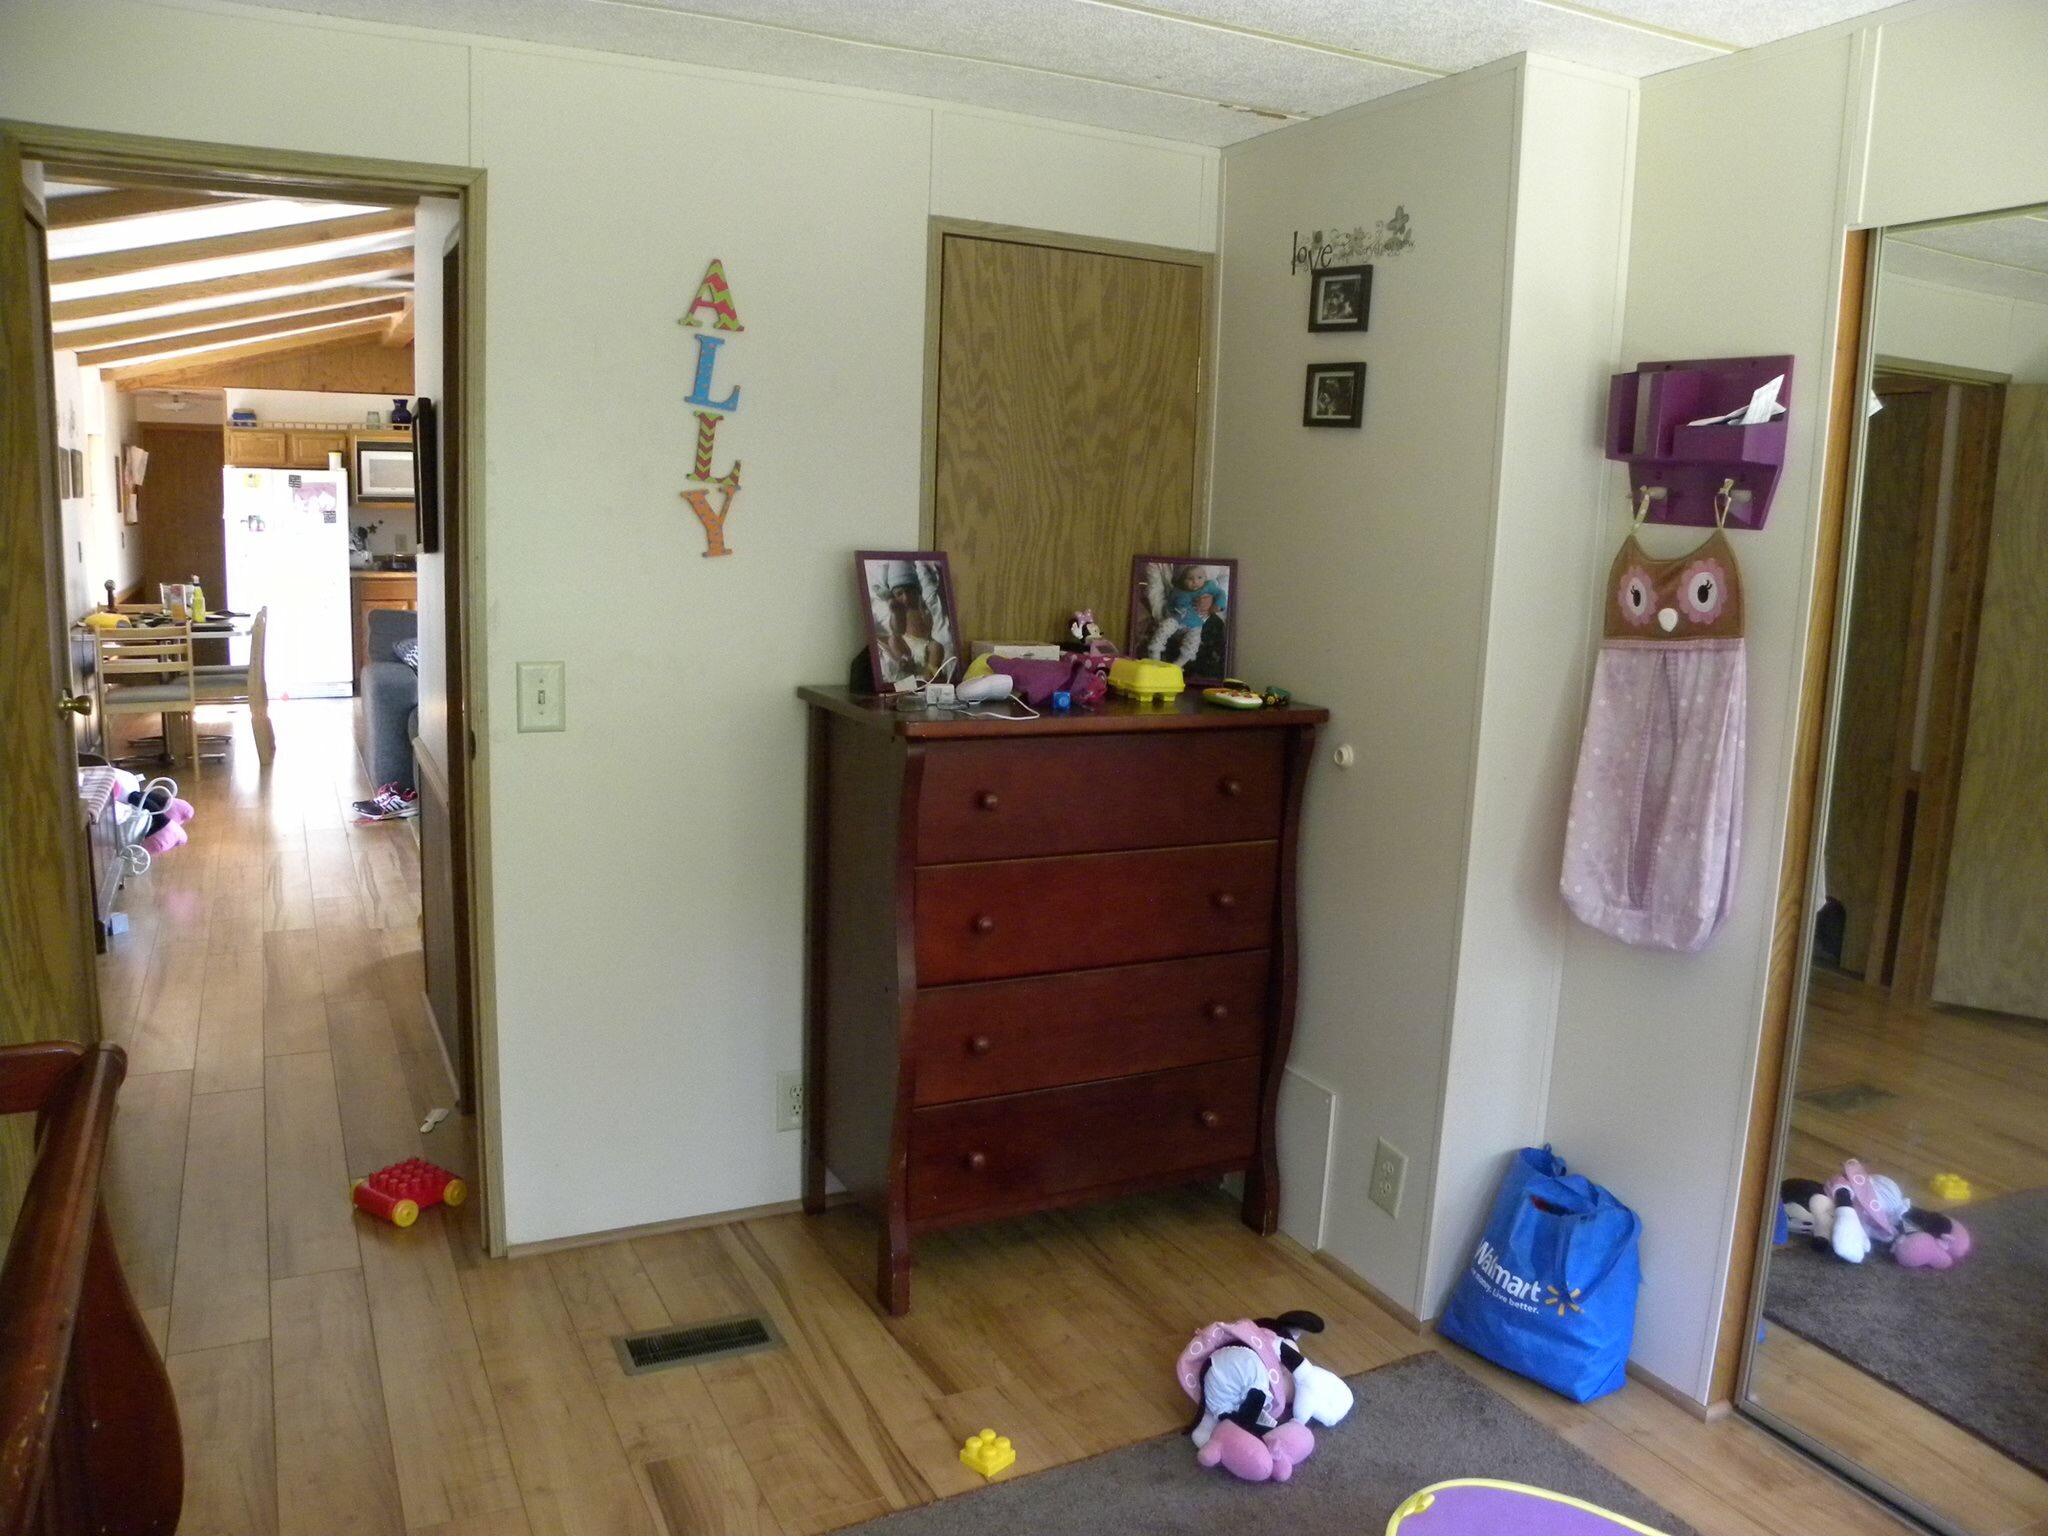
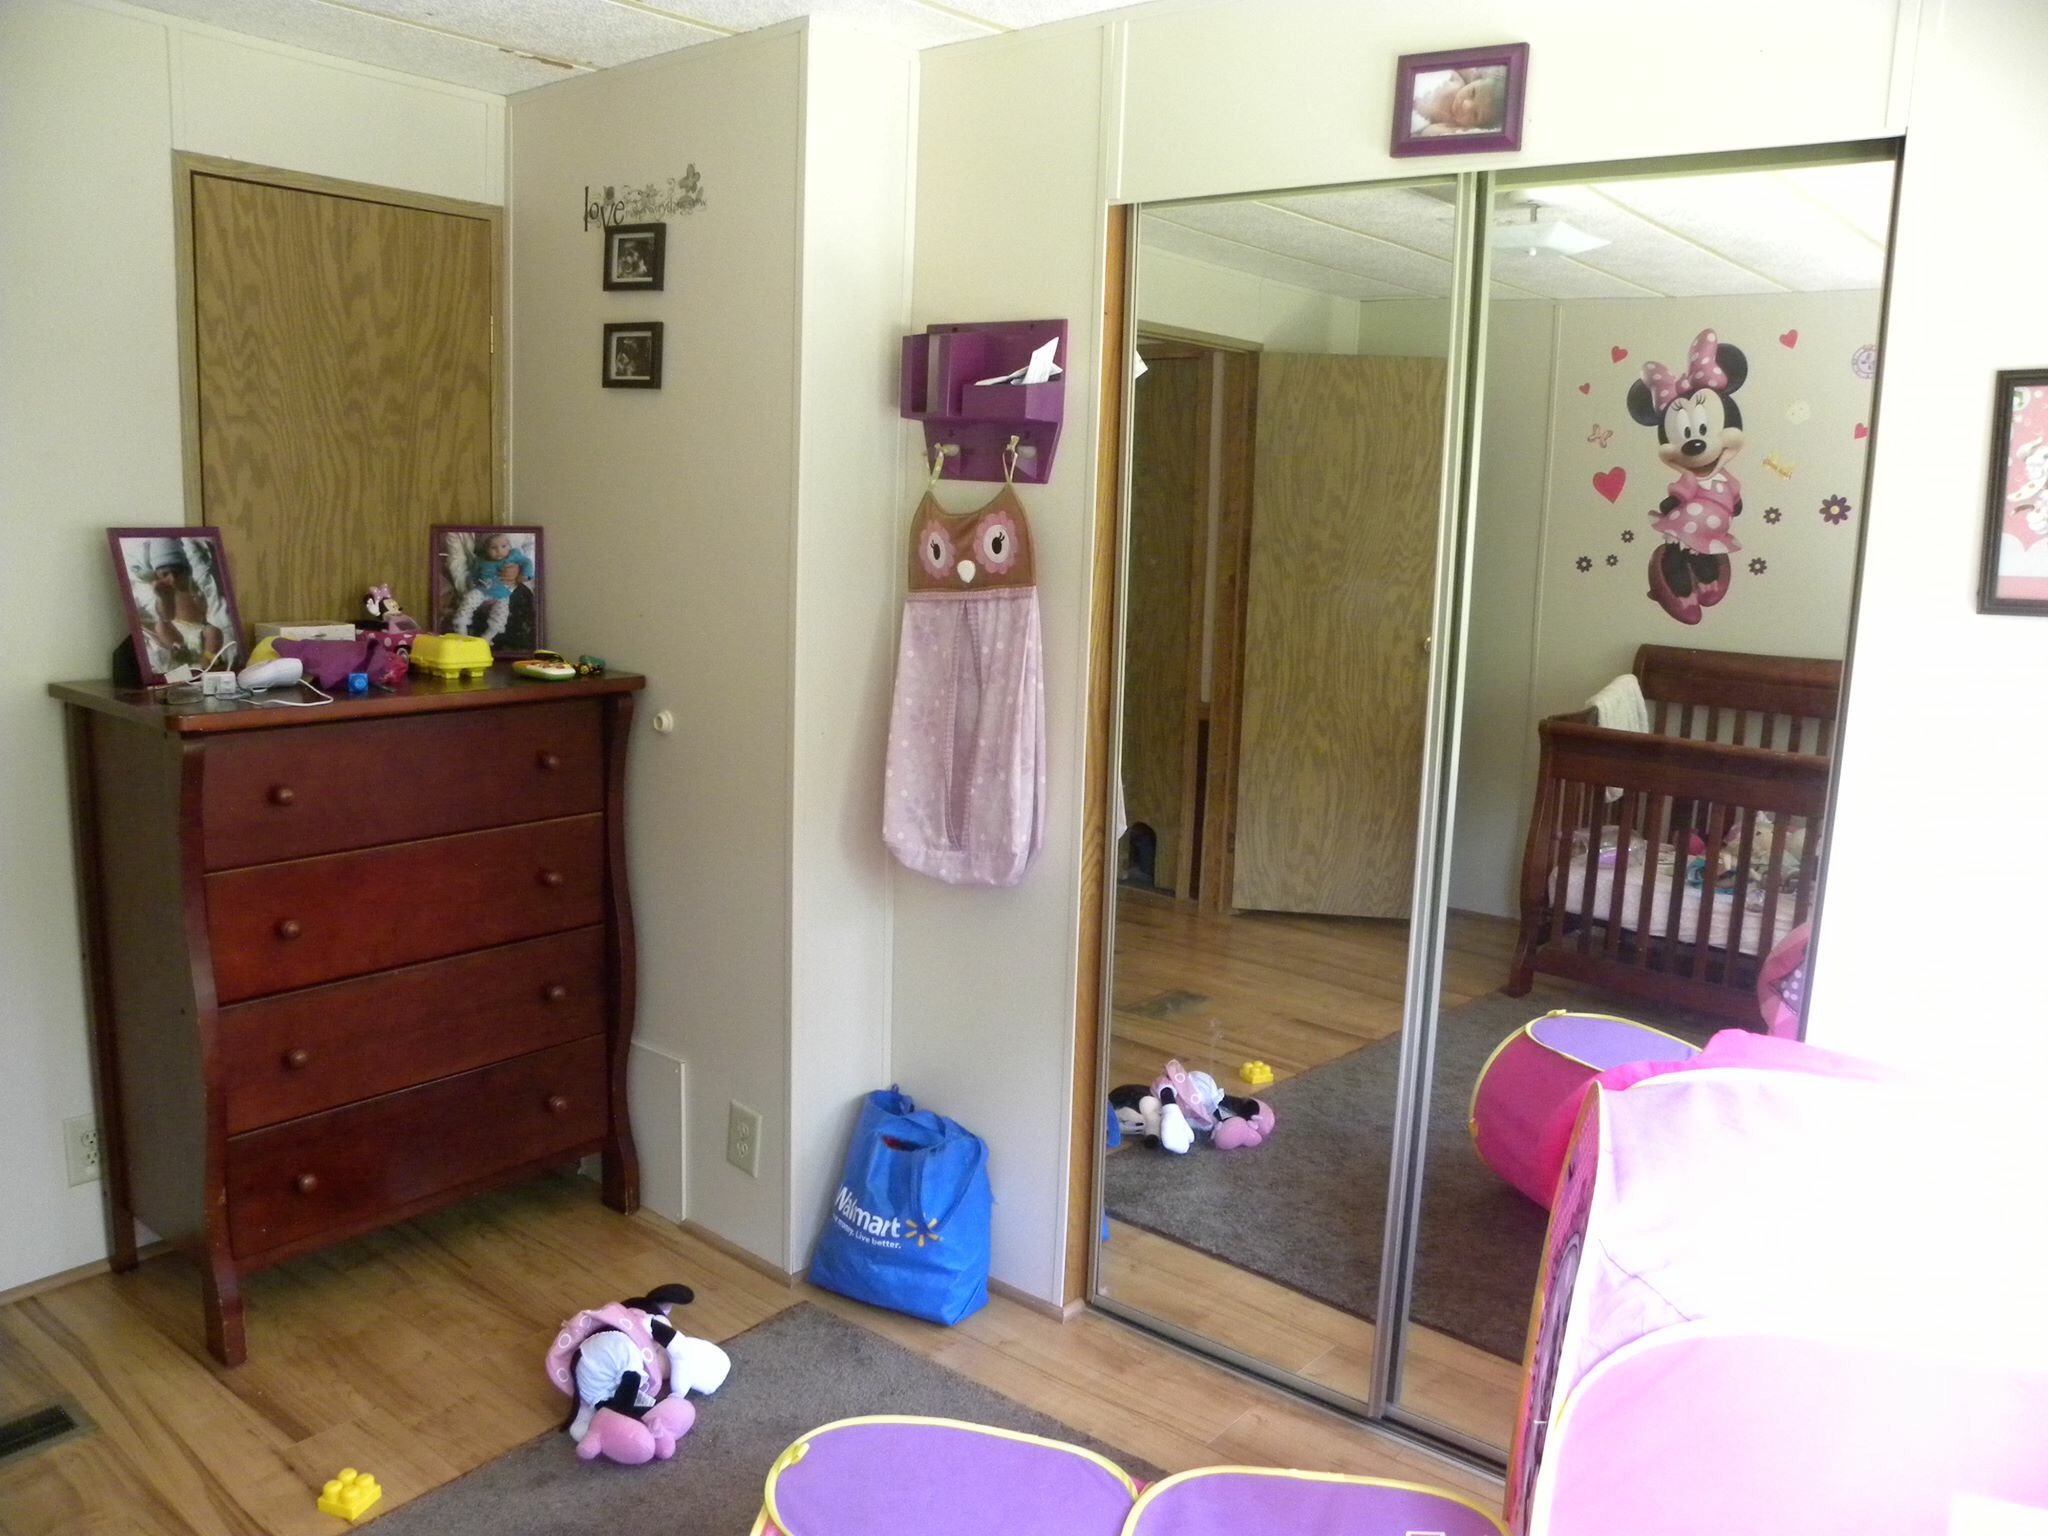
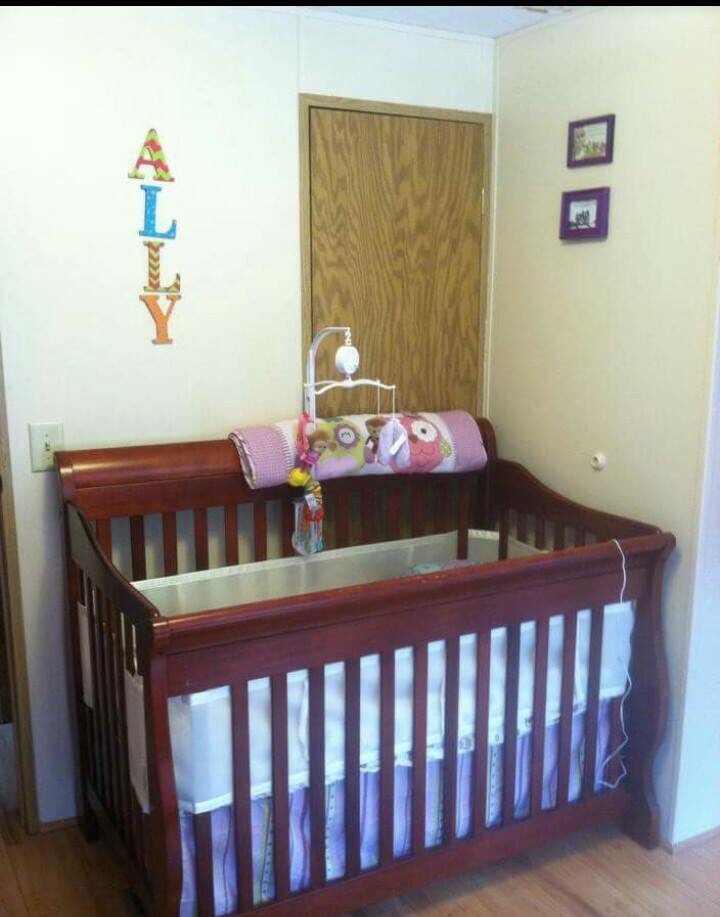
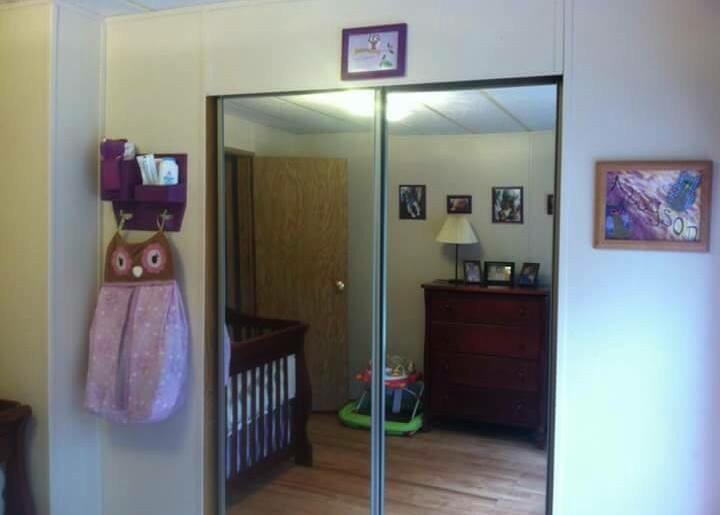
We needed that wall space so I closed the doorway up. Even then we couldn't fit more than a bed and her bookcase in there. She needed more space but there wasn't anywhere to gain that space without a costly home add-on. My daughter wanted a desk to do her artwork on but we just had no room for it.
But then I had a thought, why does she have such a large closet? Sure, she has an enormous amount of clothes and dress up stuff but couldn't her clothes go in a dresser? We are building a playroom downstairs sometime this year (hopefully), so a lot of her toys and dress up stuff could go there. Right?!
This idea played in my mind over and over. I talked to my husband about it and he didn't like the idea of losing her closet. So I tried desperately to make her current layout work but there just wasn't anyway to get everything we wanted in there without creating more space. My husband finally agreed to let me renovate her closet and get that extra space. I love that he goes along with my crazy ideas. ❤️
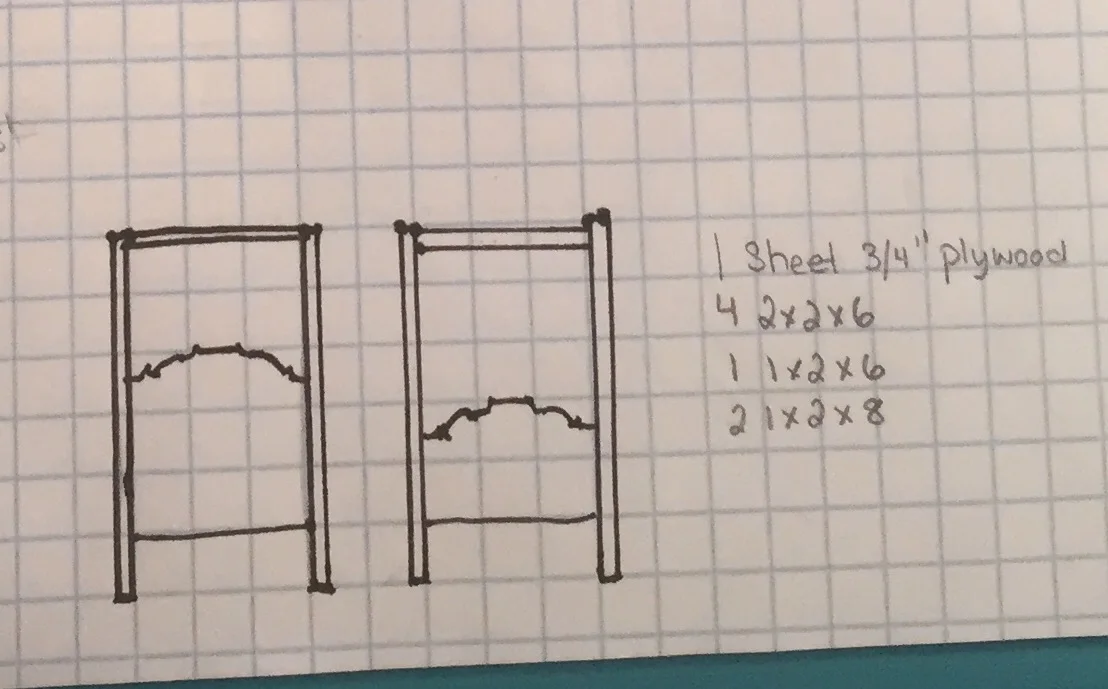
Now that I was going to have extra space, I got to do the fun part and began planning her room. I found an old twin bed with the trundle bed frame that someone was throwing out (Score!). The day bed was broken but the frames were in perfect condition. I decided on making her a bed, and drew the plans for that.
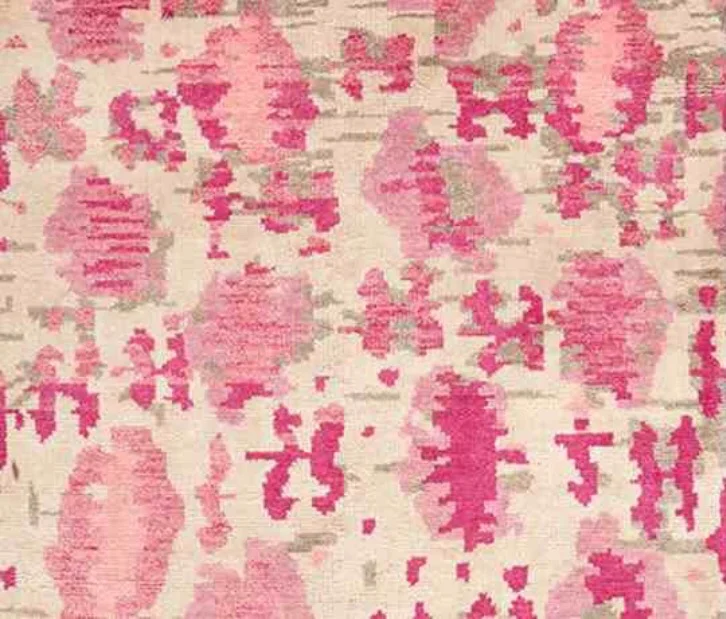
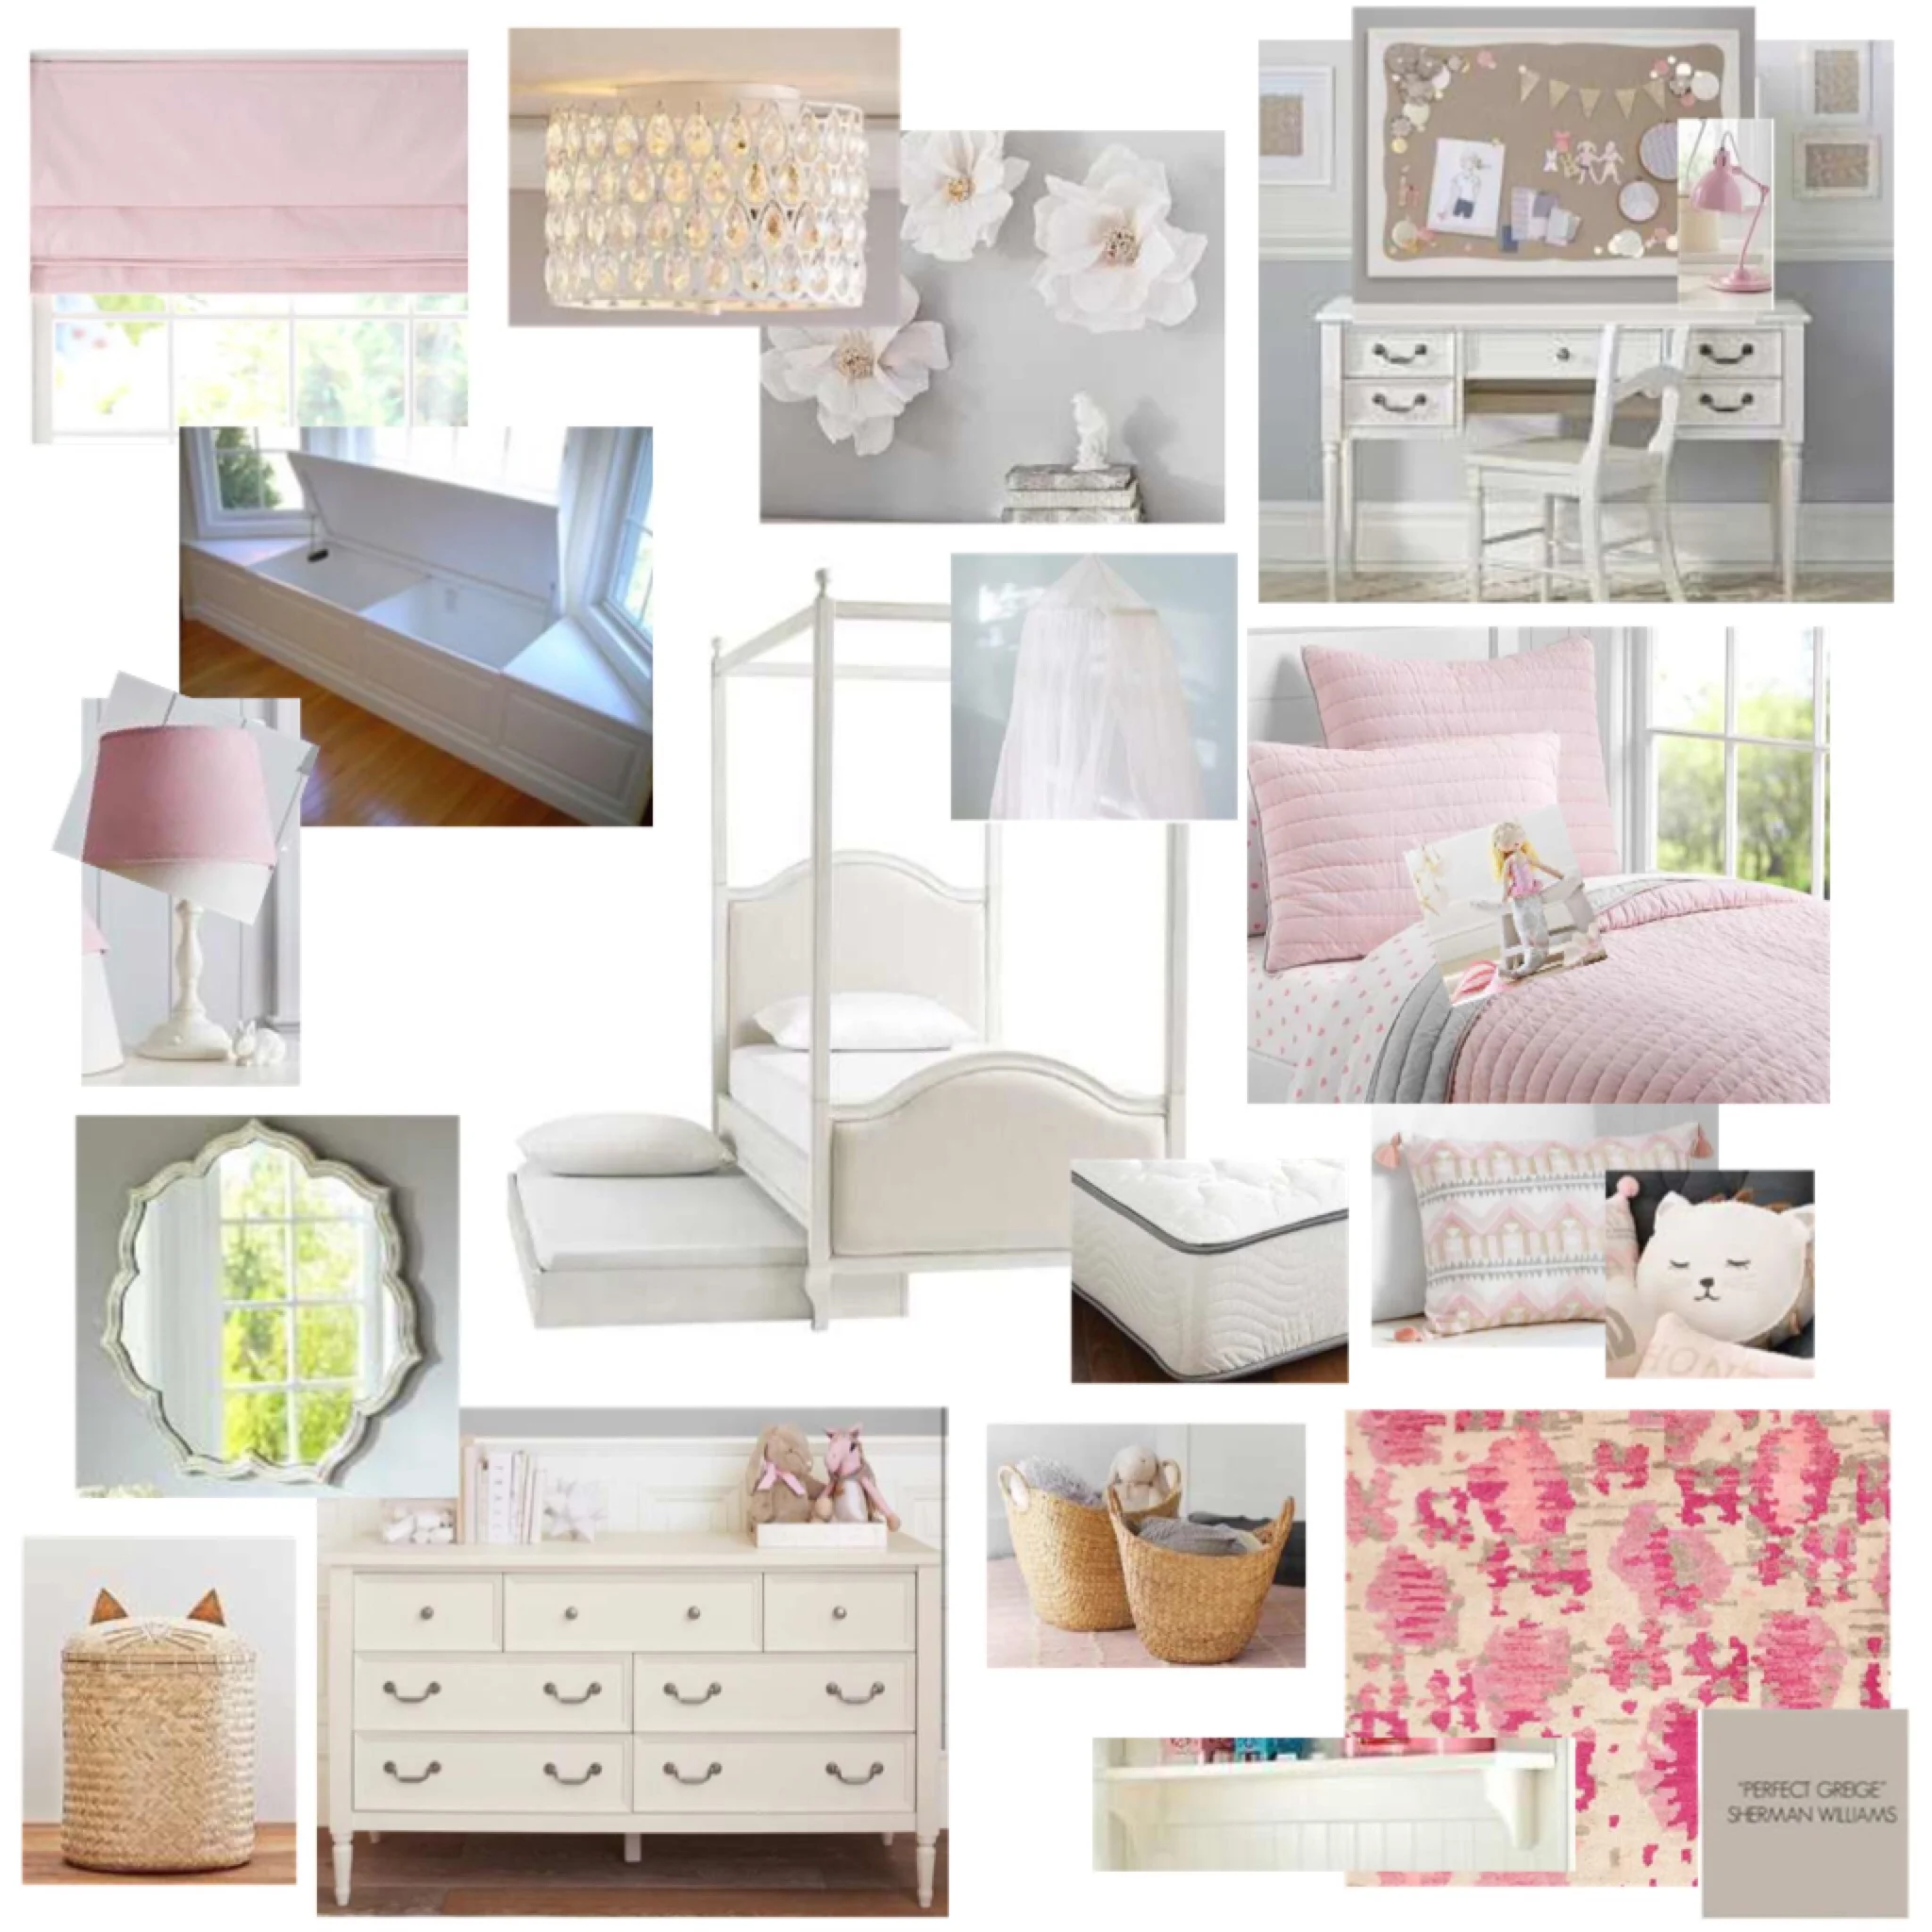
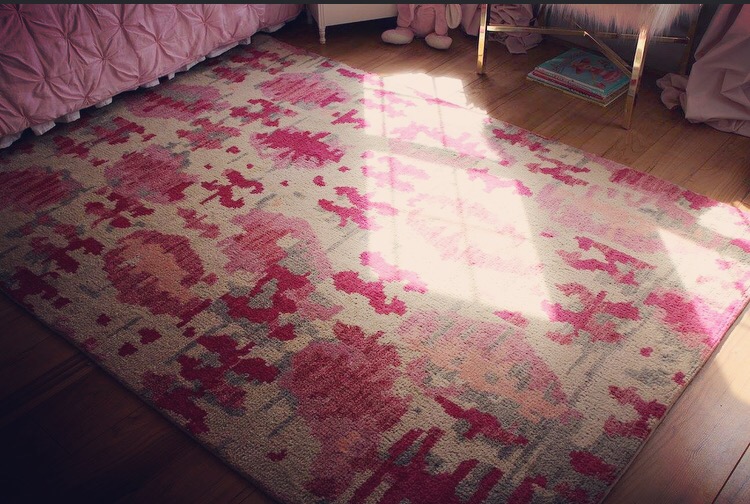
Then I went to my favorite children's home store for great quality furniture and decor, Pottery Barn Kids. I first browsed online to select my pieces, I choose a desk, dresser, rug, lighting and some decor. And then I went to the store to look and feel the pieces in person. The ladies at my local store were so helpful and had some great ideas. I placed my order (and then added on more items)and that was done. This Elsie rug is my inspiration for the whole room.
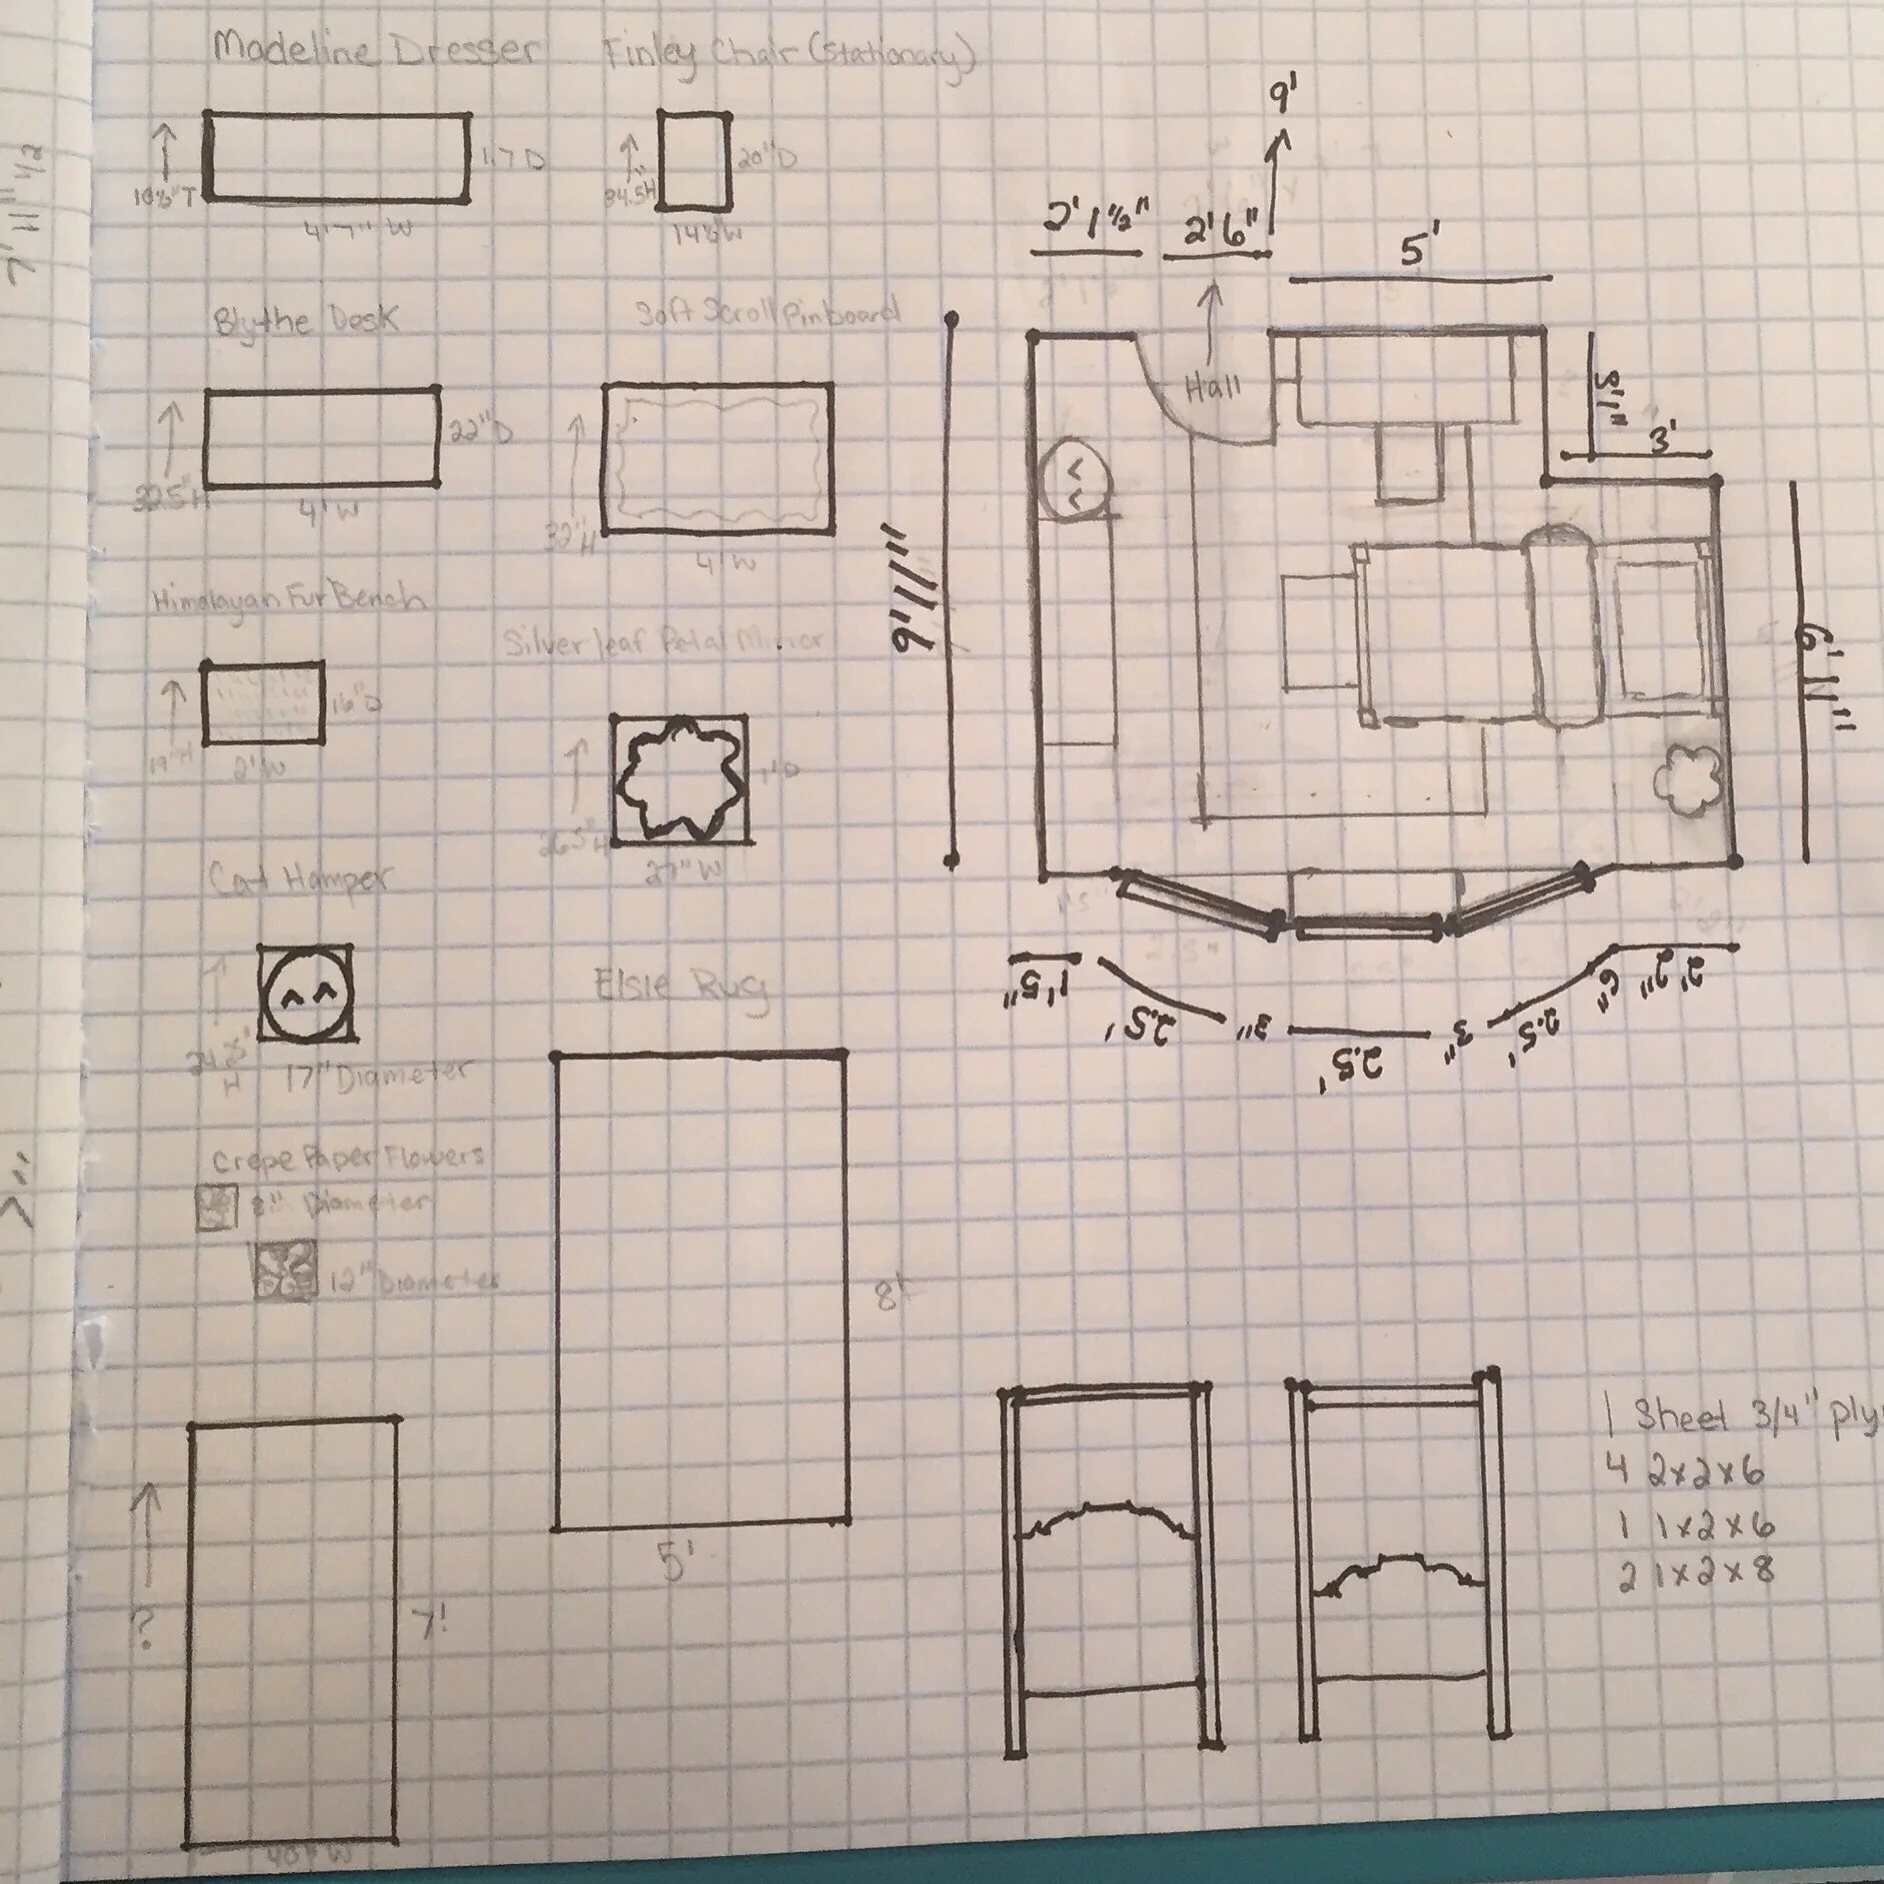
Here is the floor plan and design board I created.
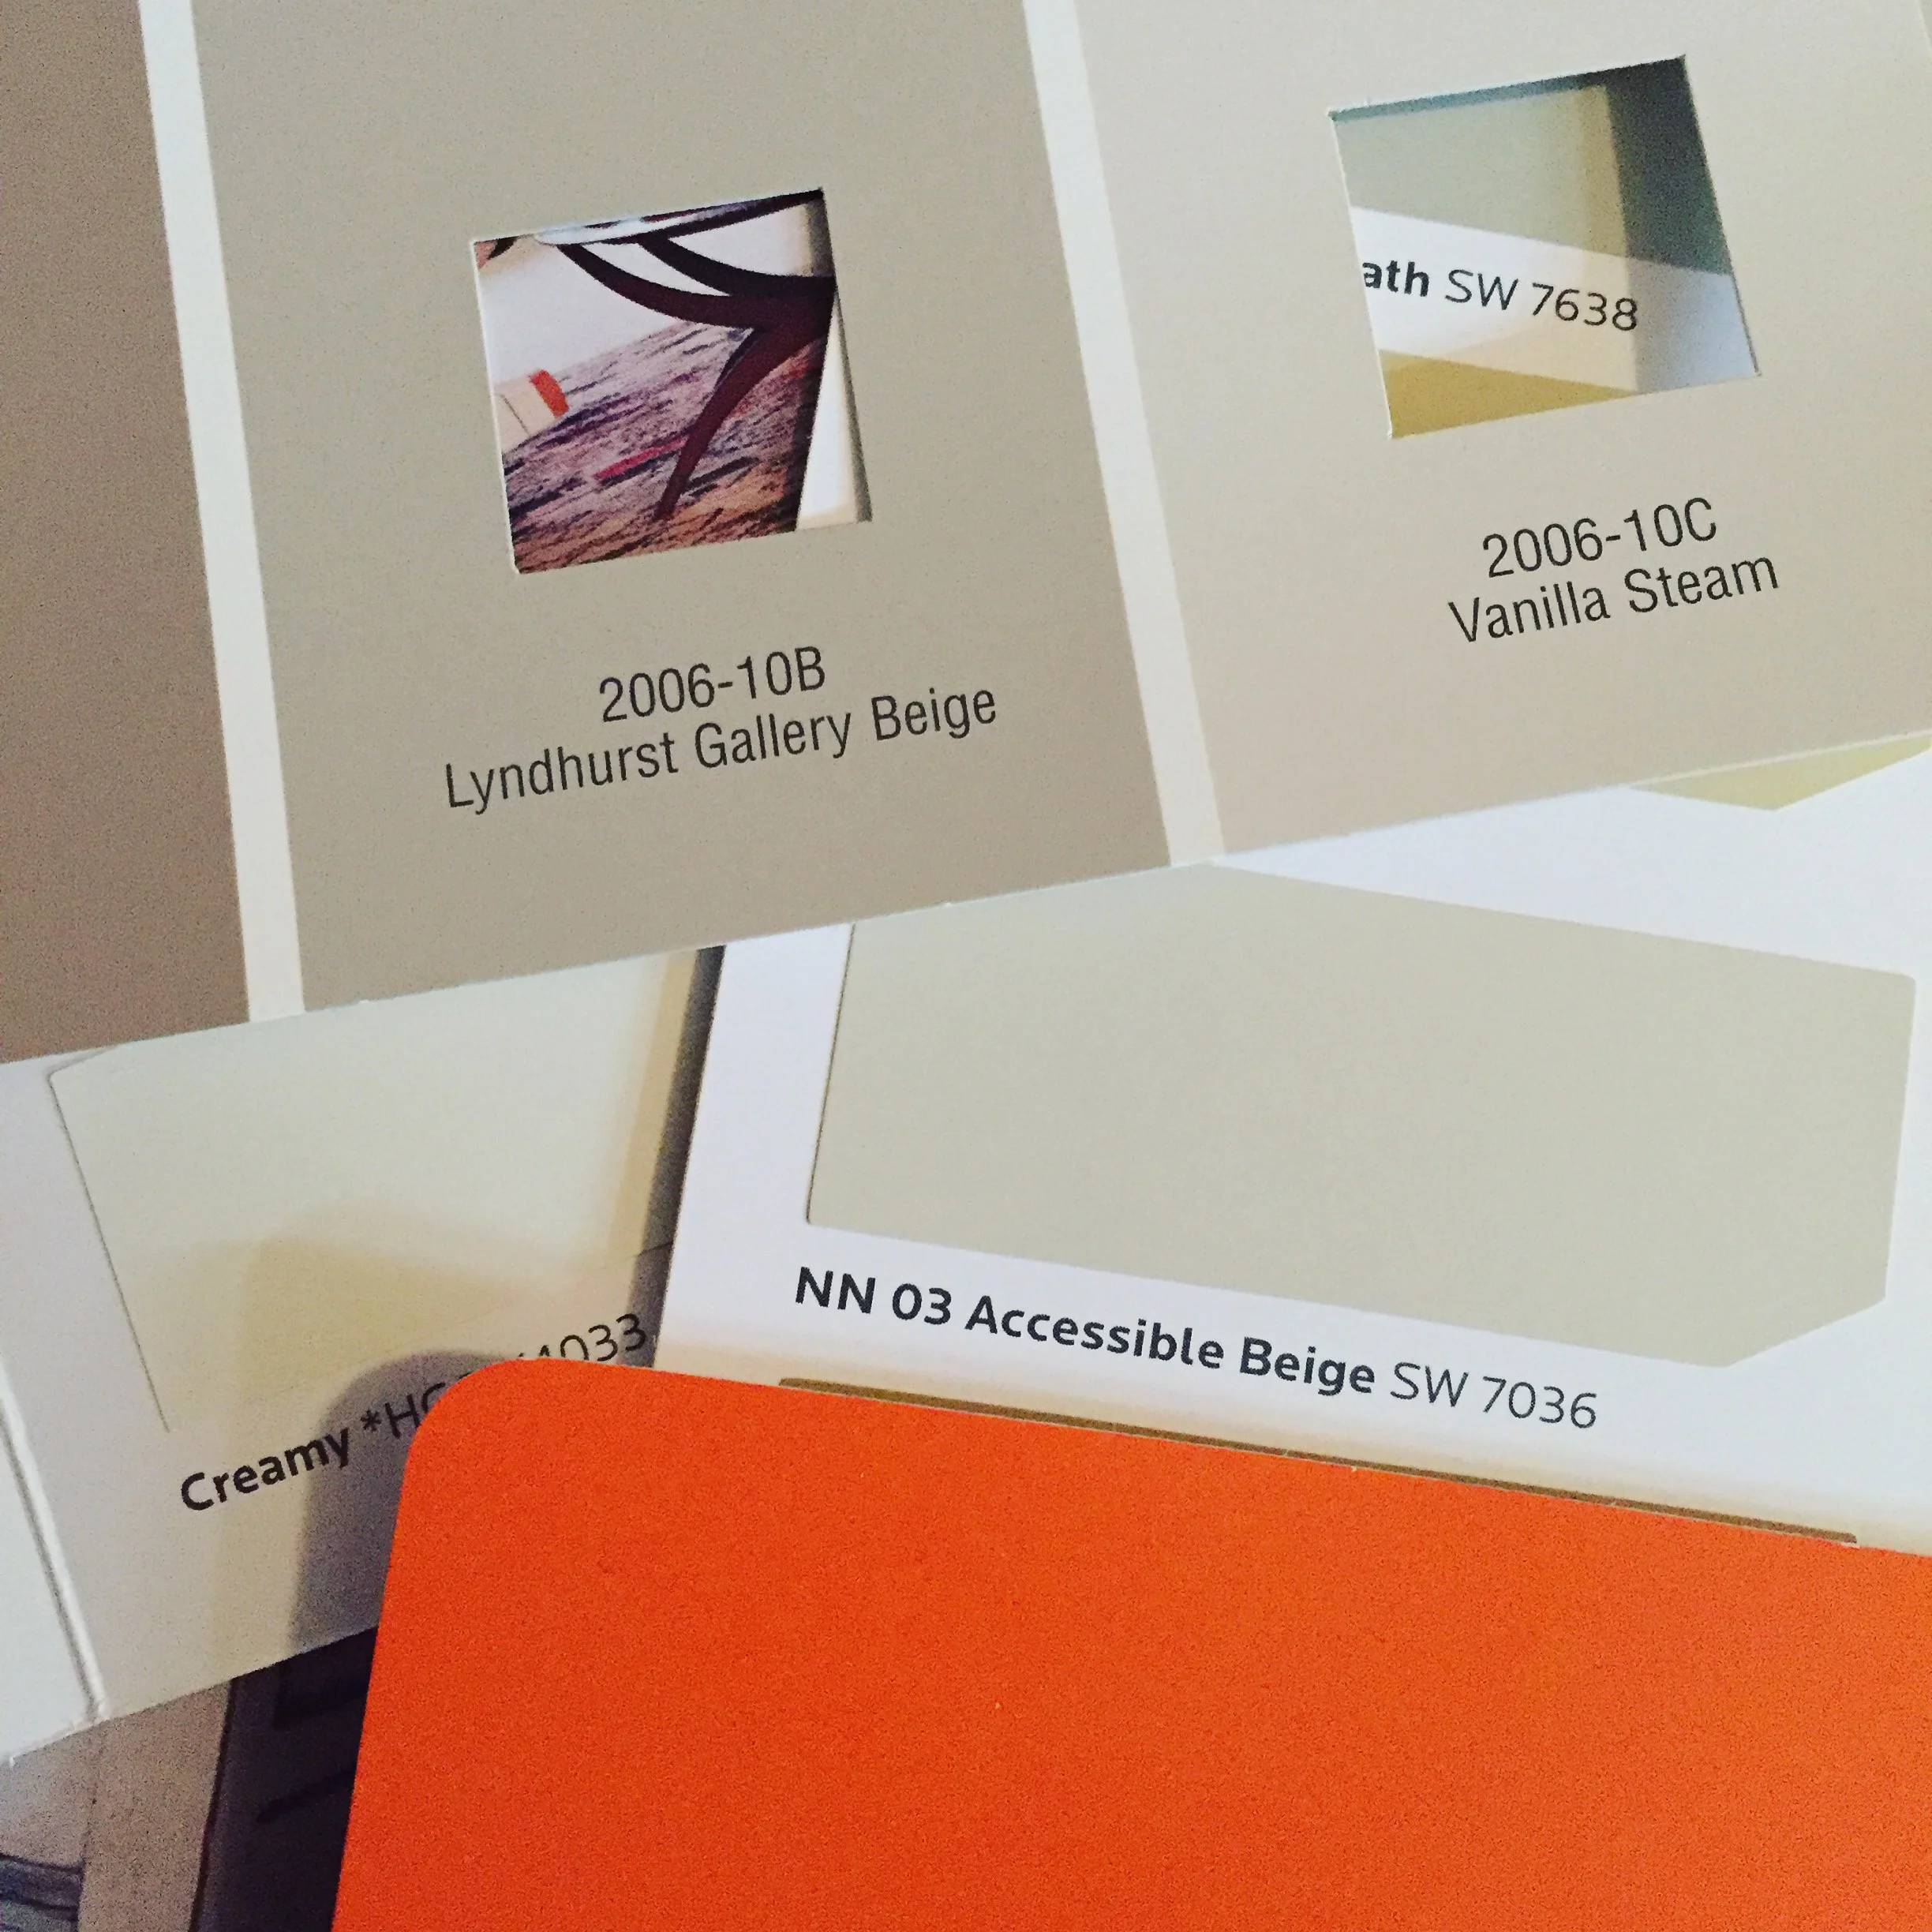
We are removing the closet and finishing it off to put the bed against that wall and adding a window bench with toy storage. When choosing paint colors, Abigail and I had some differences. I choose neutrals and she wanted orange, bright orange. We agreed that she could paint a room in her doll house orange and then choose the Lyndhurst Gallery Beige with Creamy white trim for her room.
So now it was time to renovate, technically I was suppose to wait until March but I'm impatient and my wonderful husband didn't seem to mind my starting early. How did I get so lucky?!
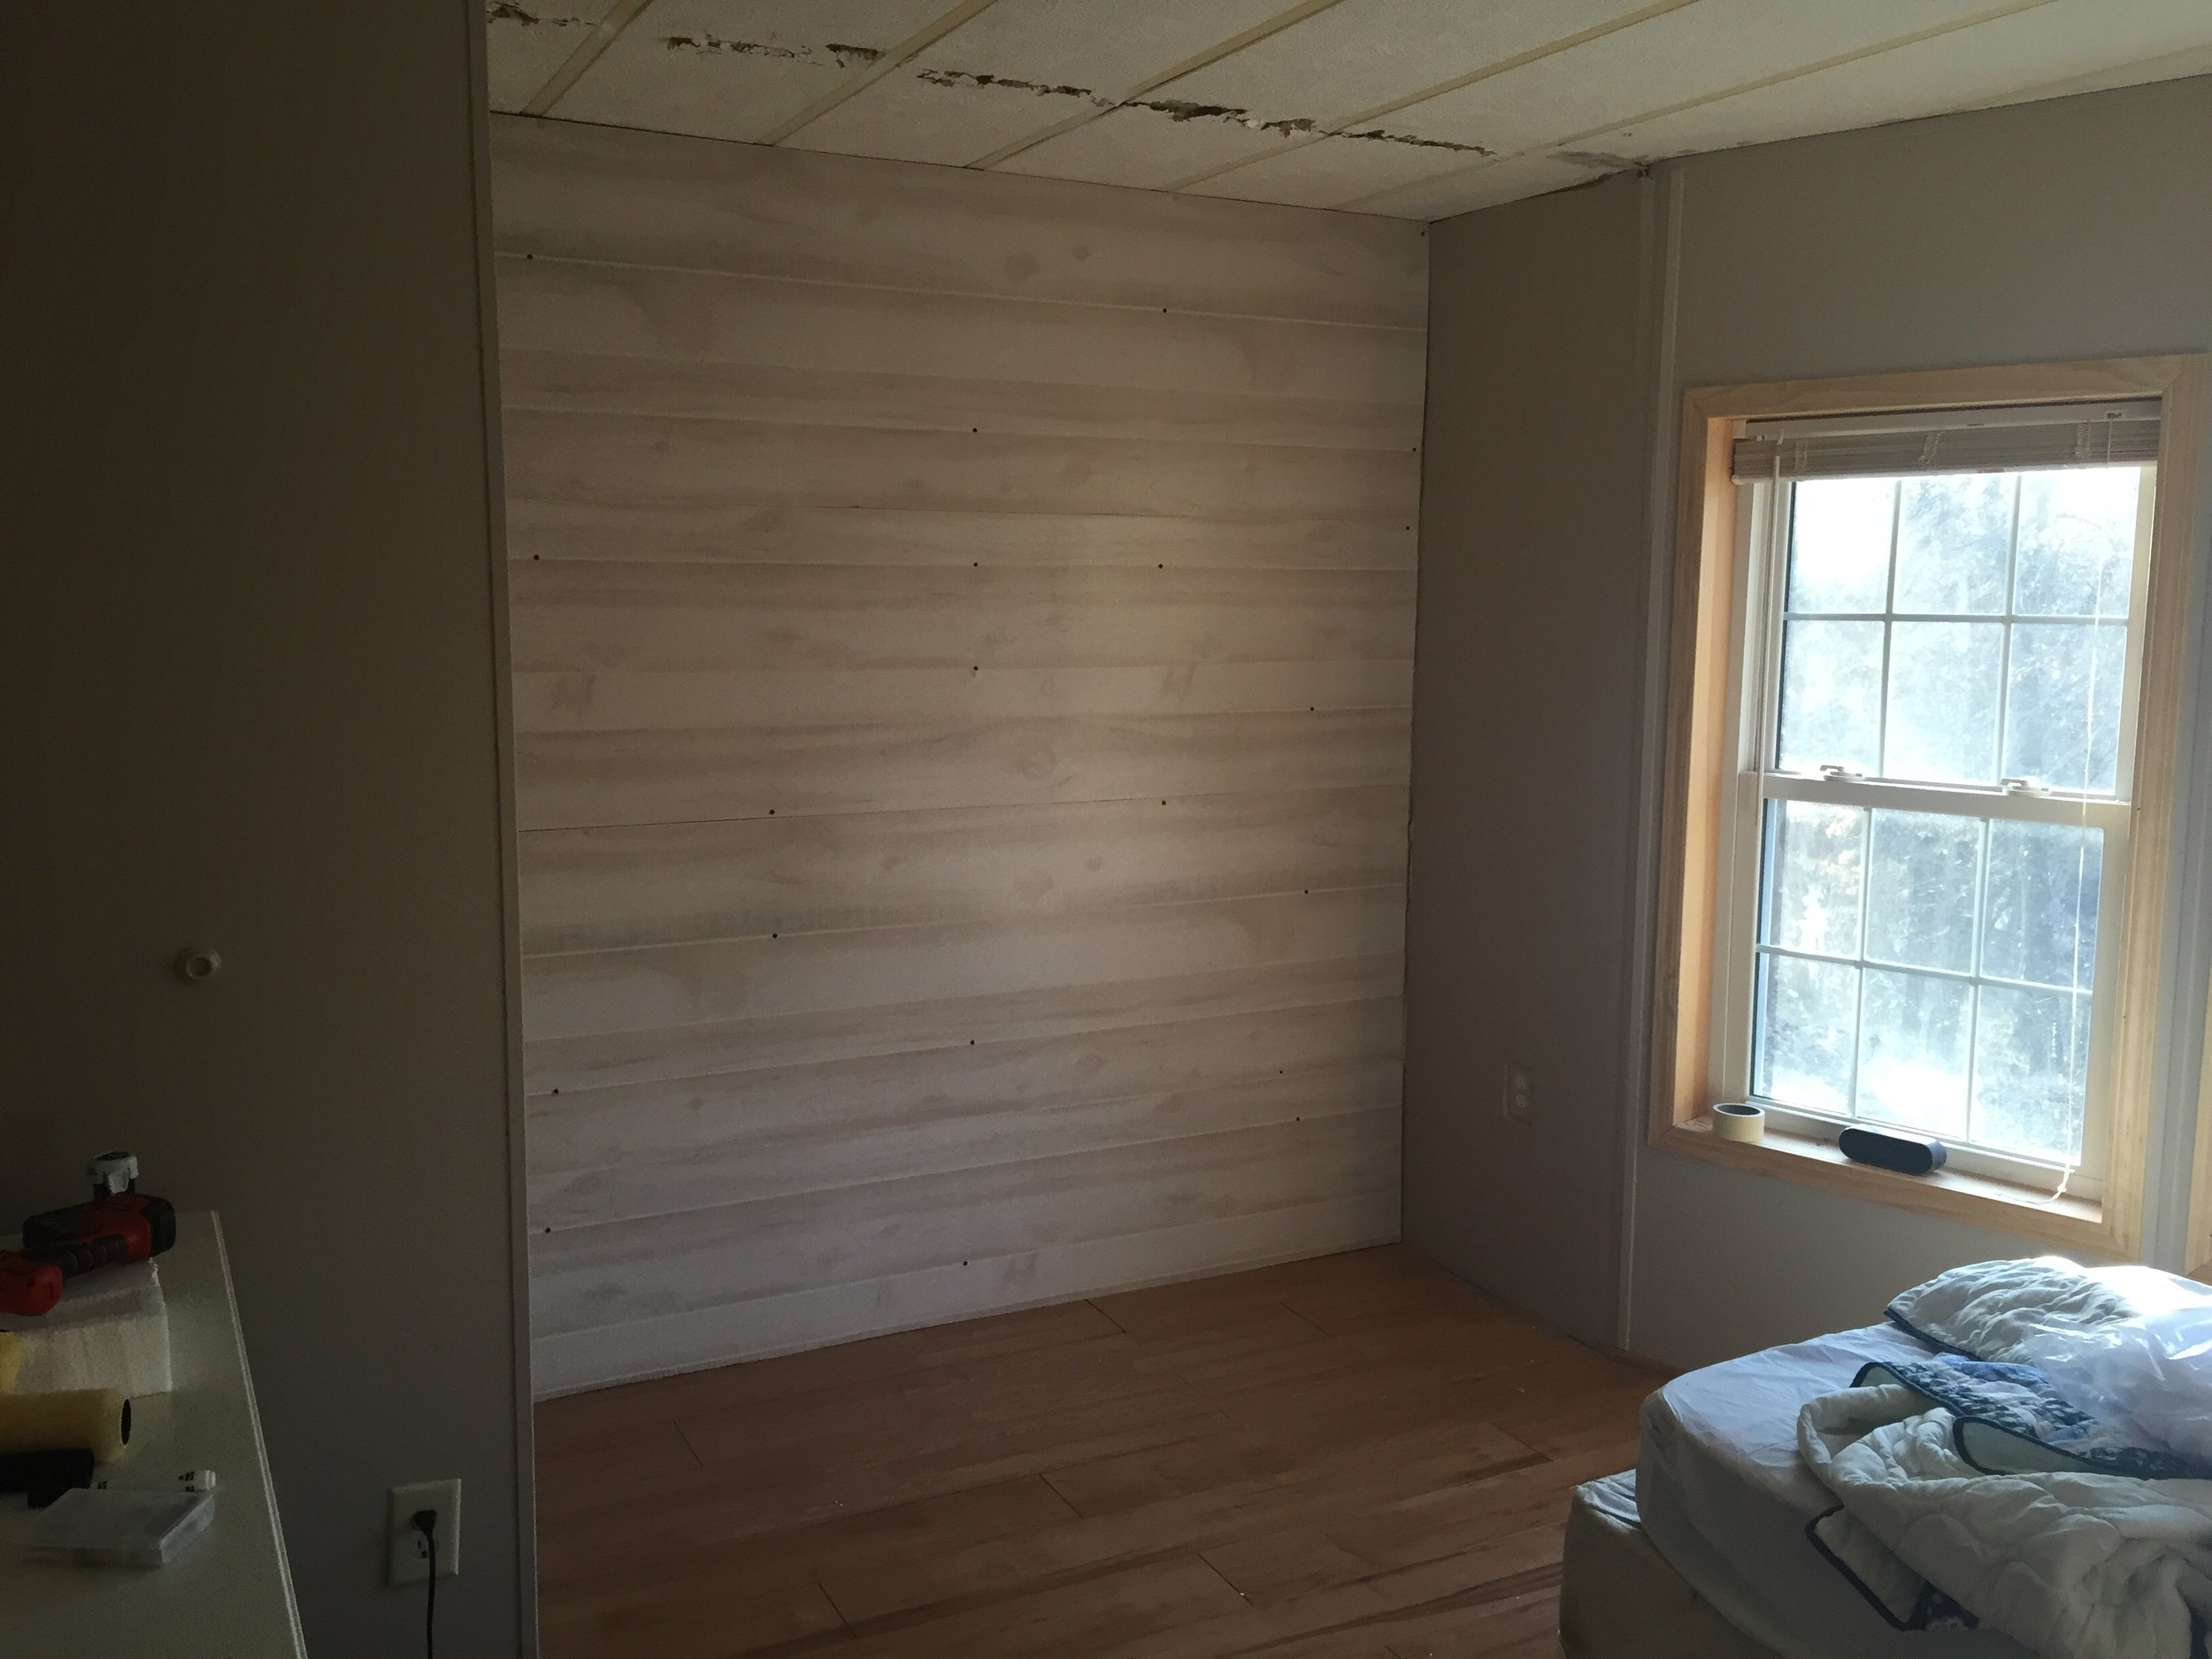
I first removed the mirrored doors. Which was surprisingly easy and I plan on reusing it for our bedroom downstairs. It has an unfinished closet.
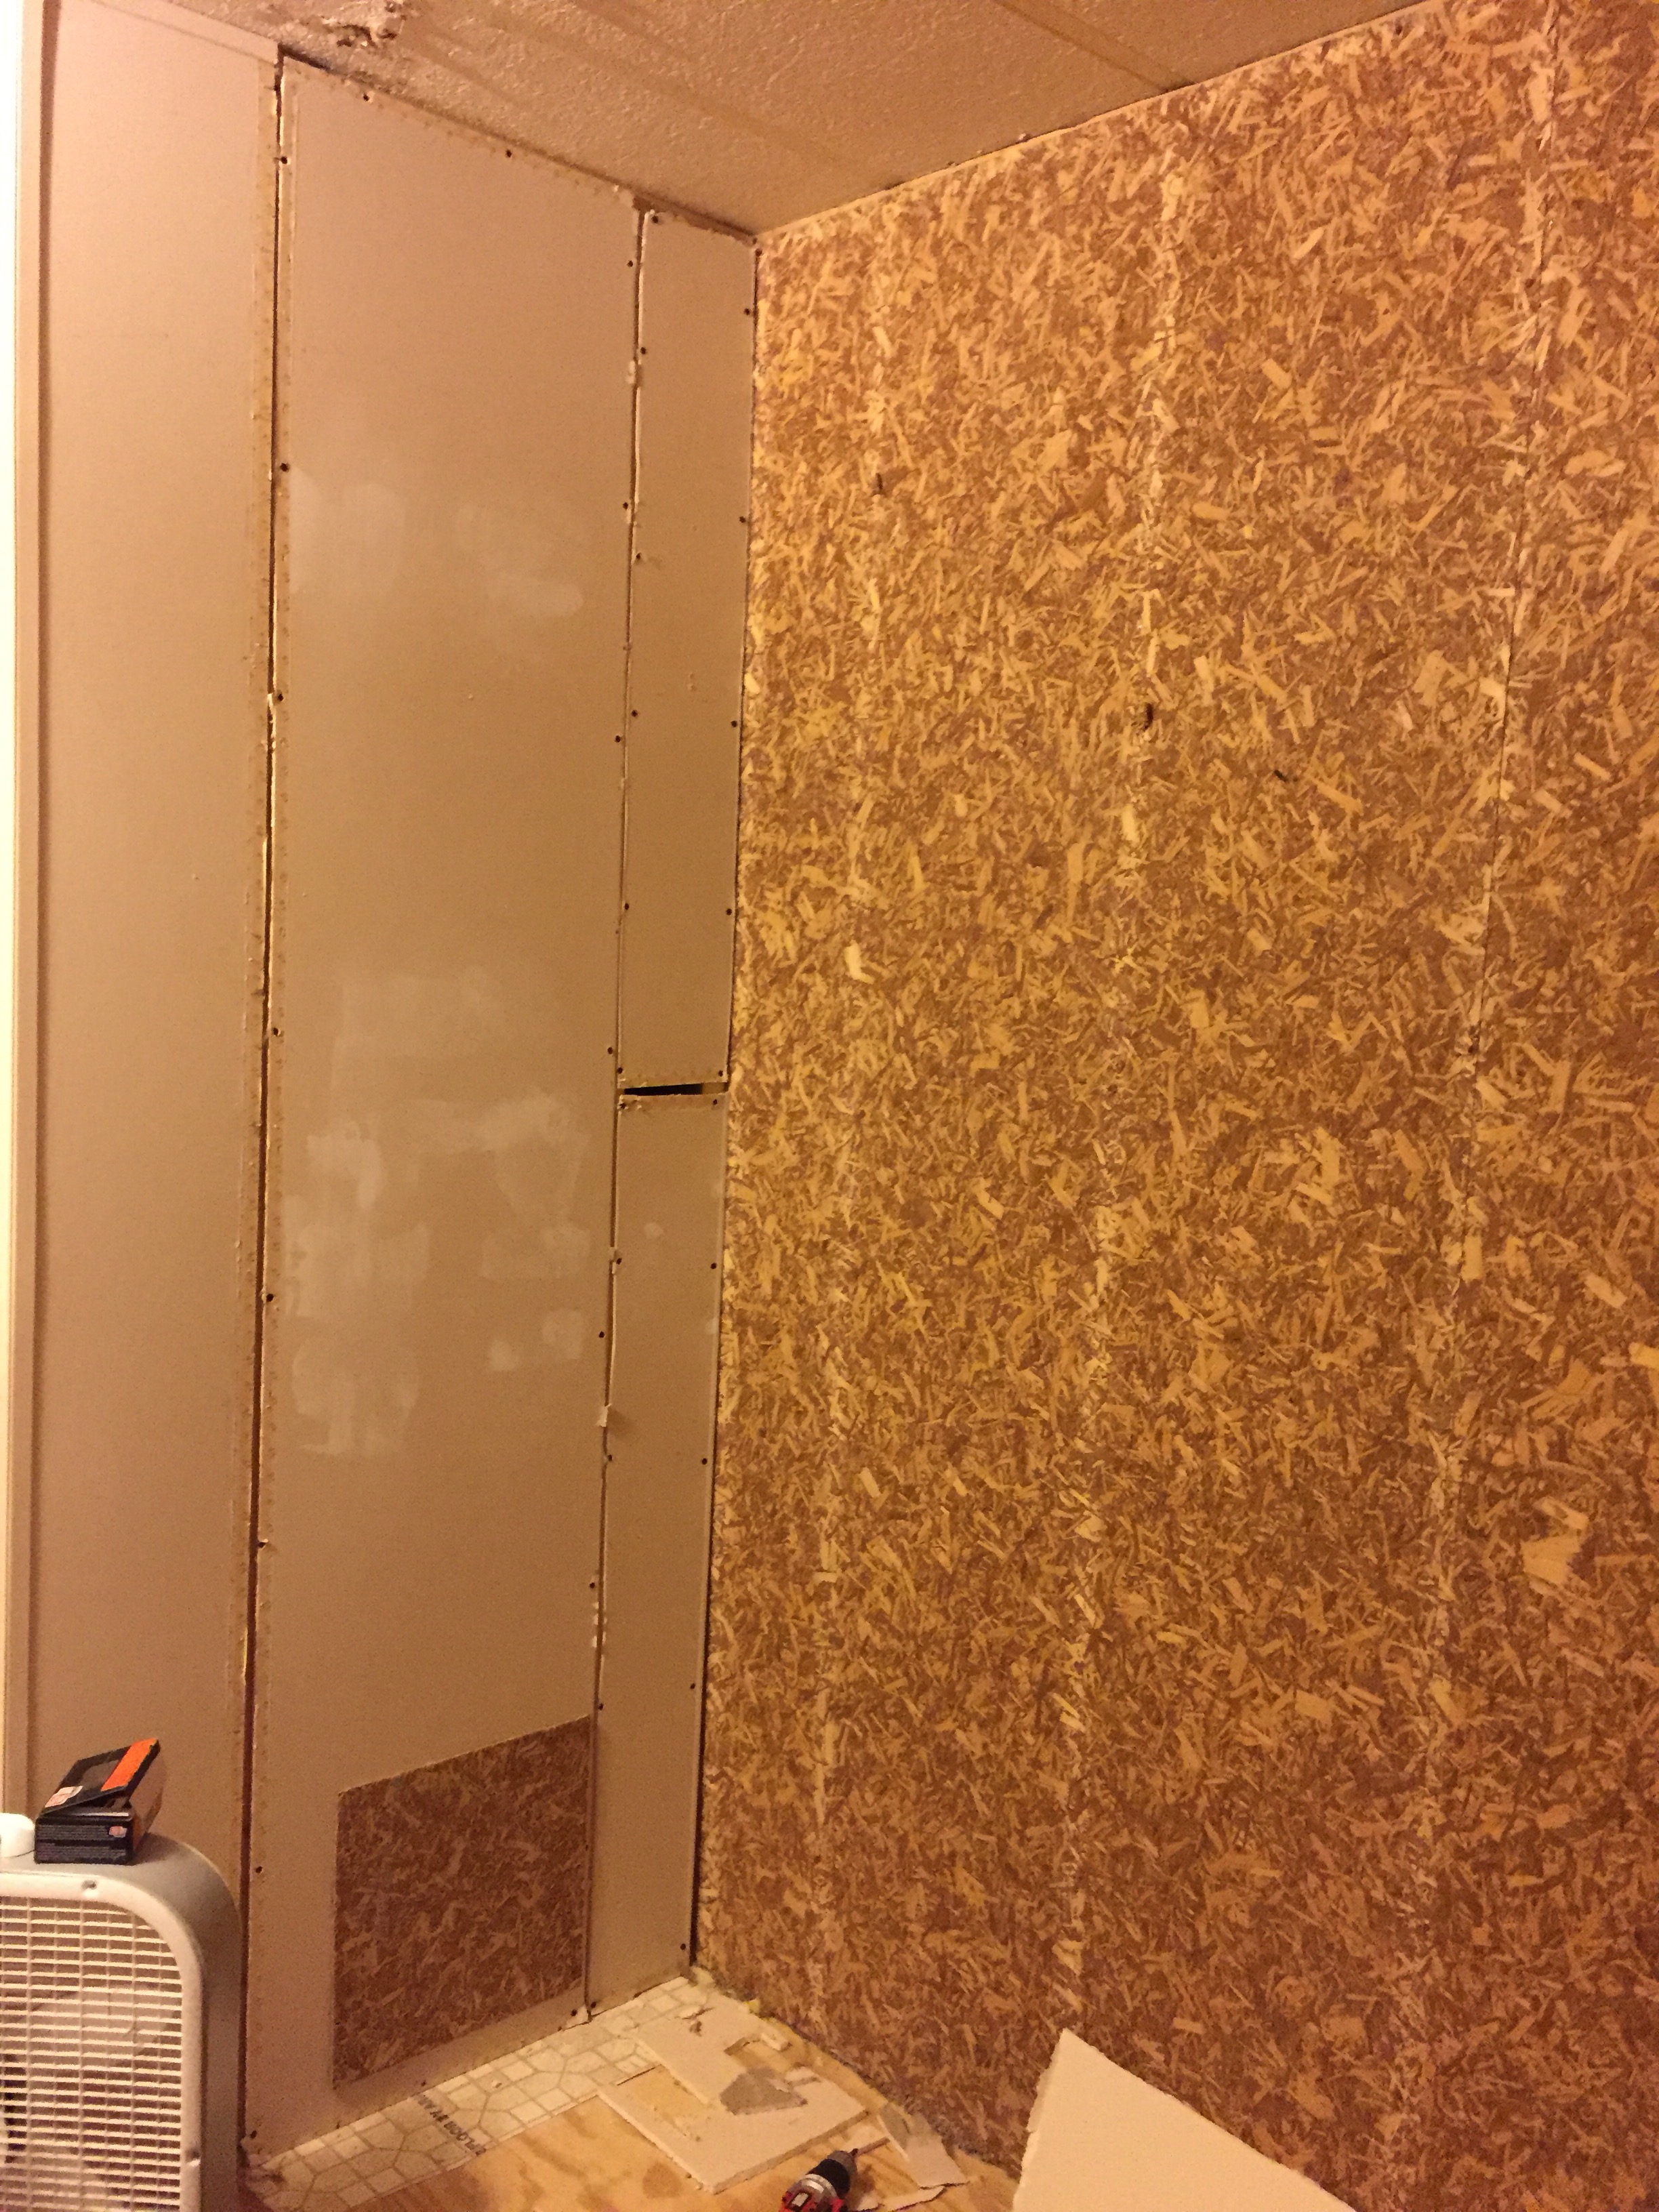
I then removed all the clothes in the closet. And pulled off all the trim on the outside and some of the Sheetrock.

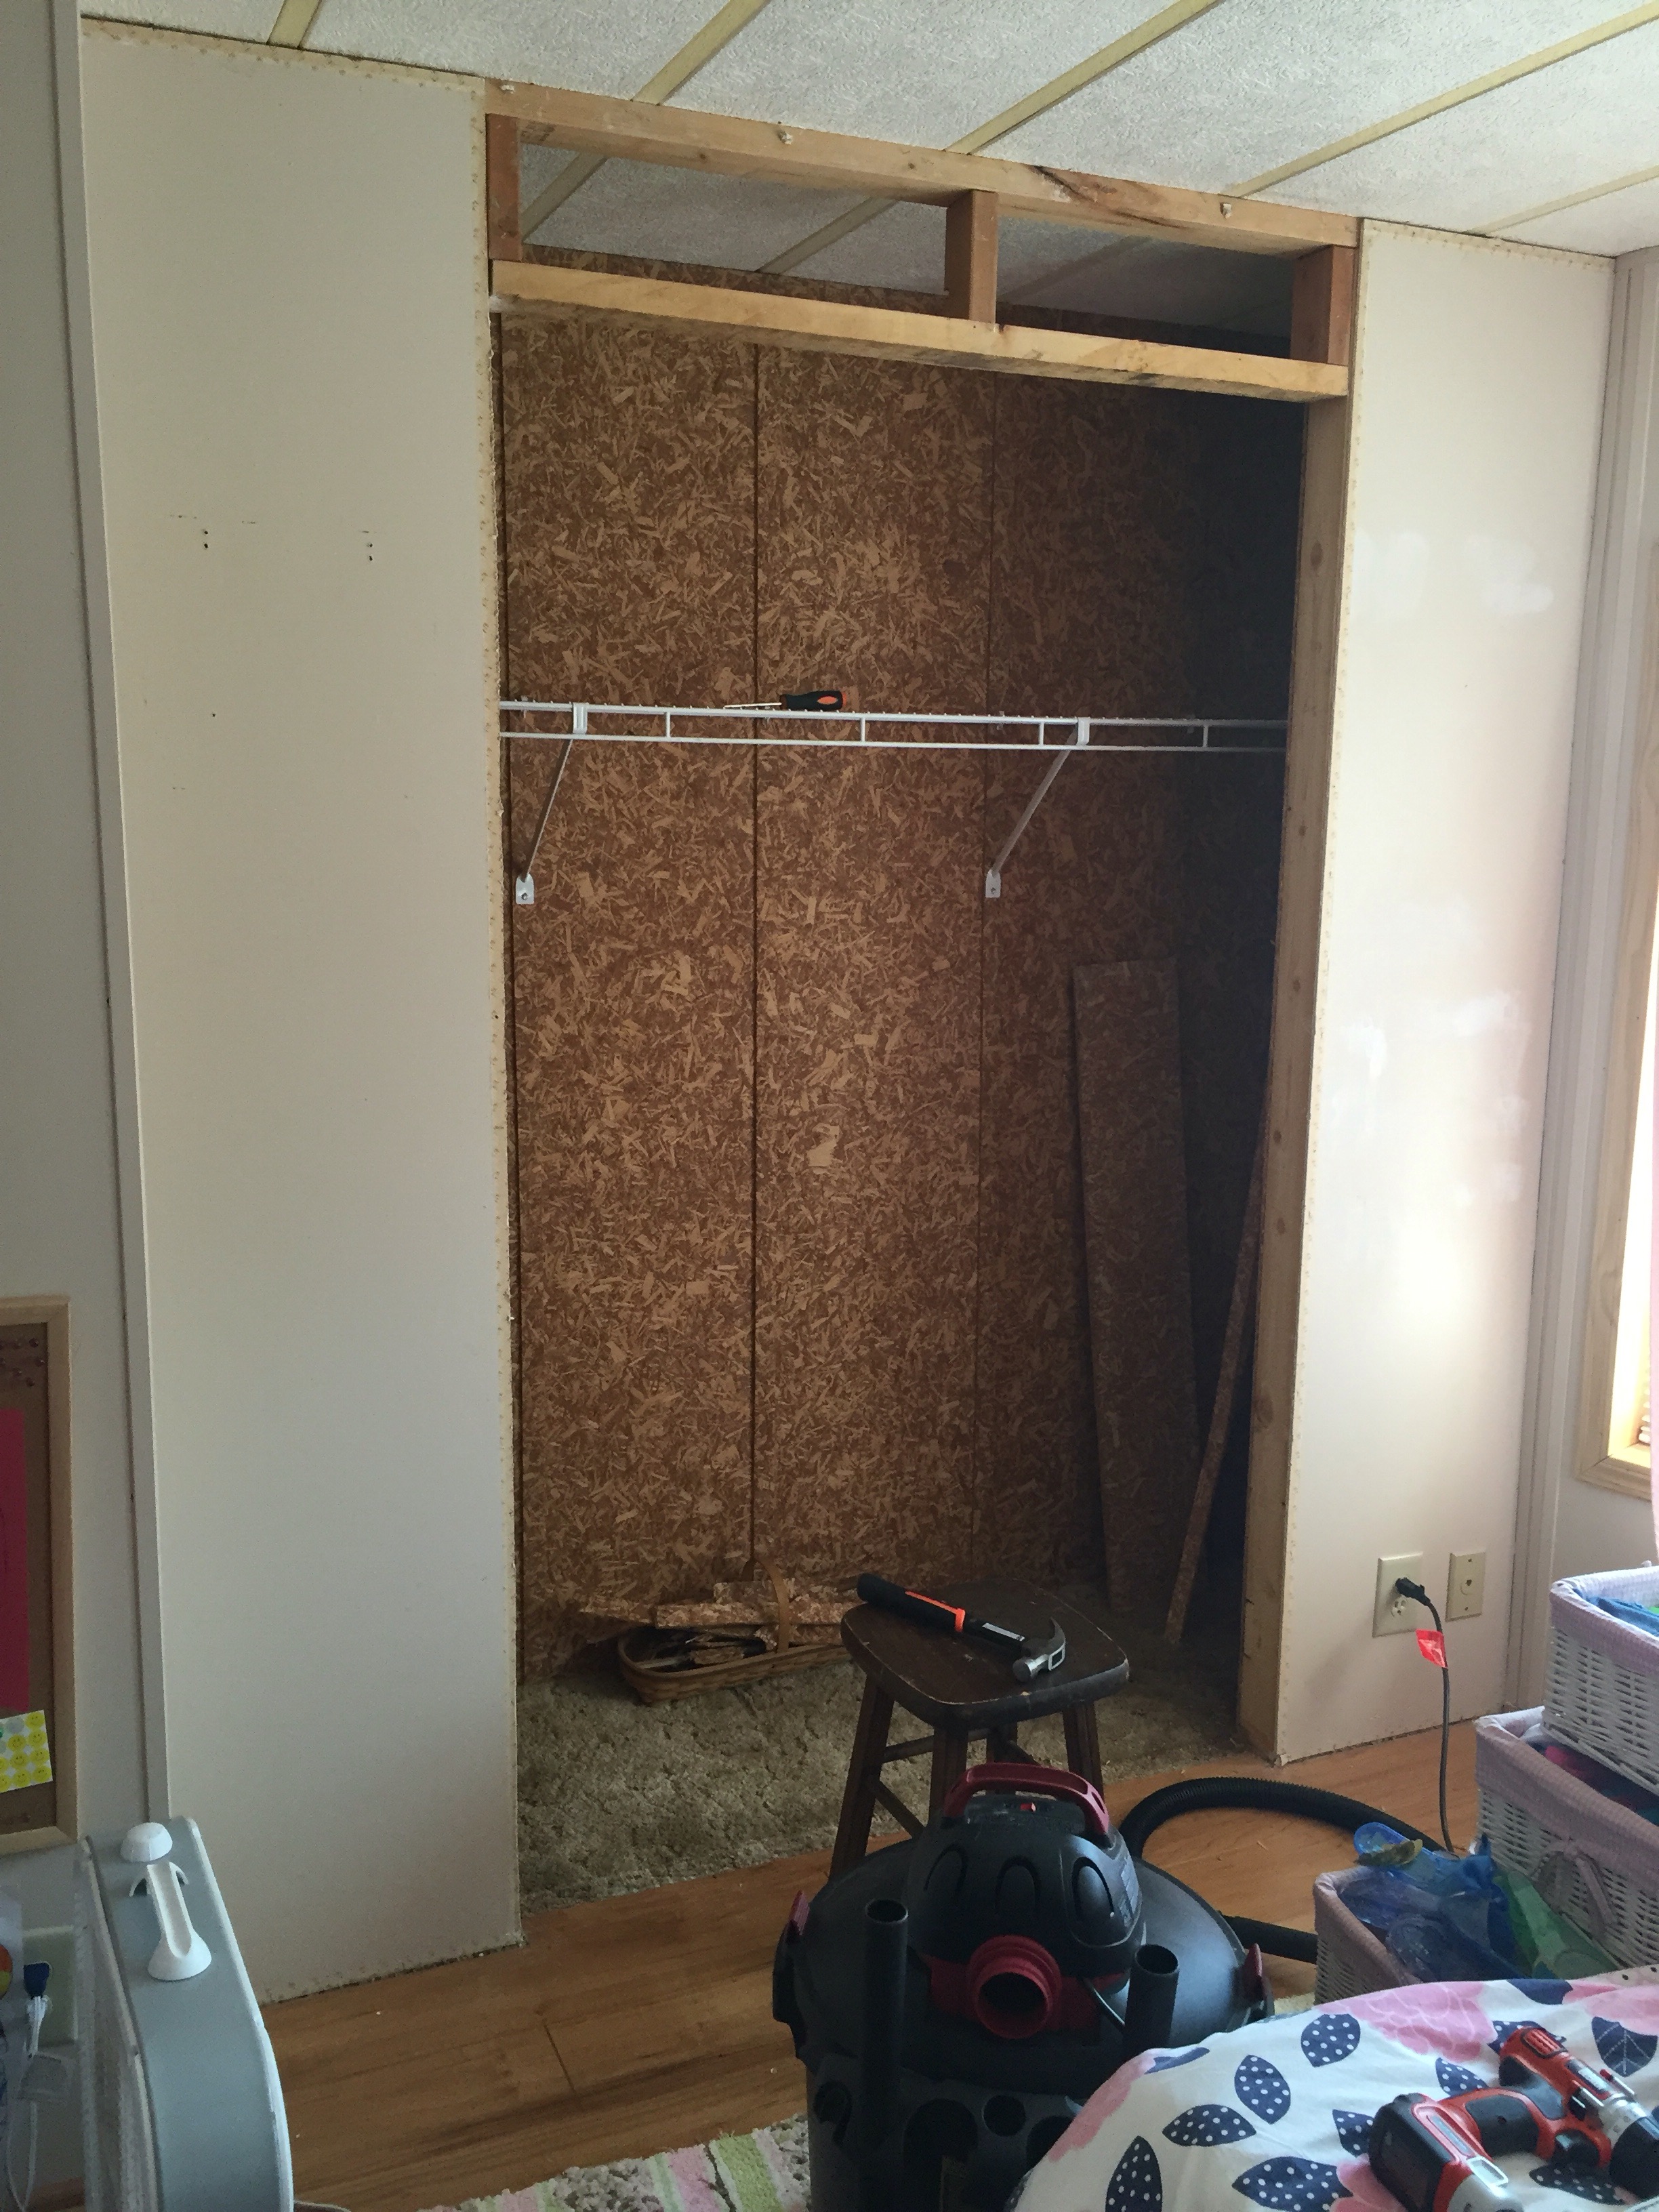
My progress was going pretty steady and I pulled off the rest of the Sheetrock and the cedar board trim in no time at all.
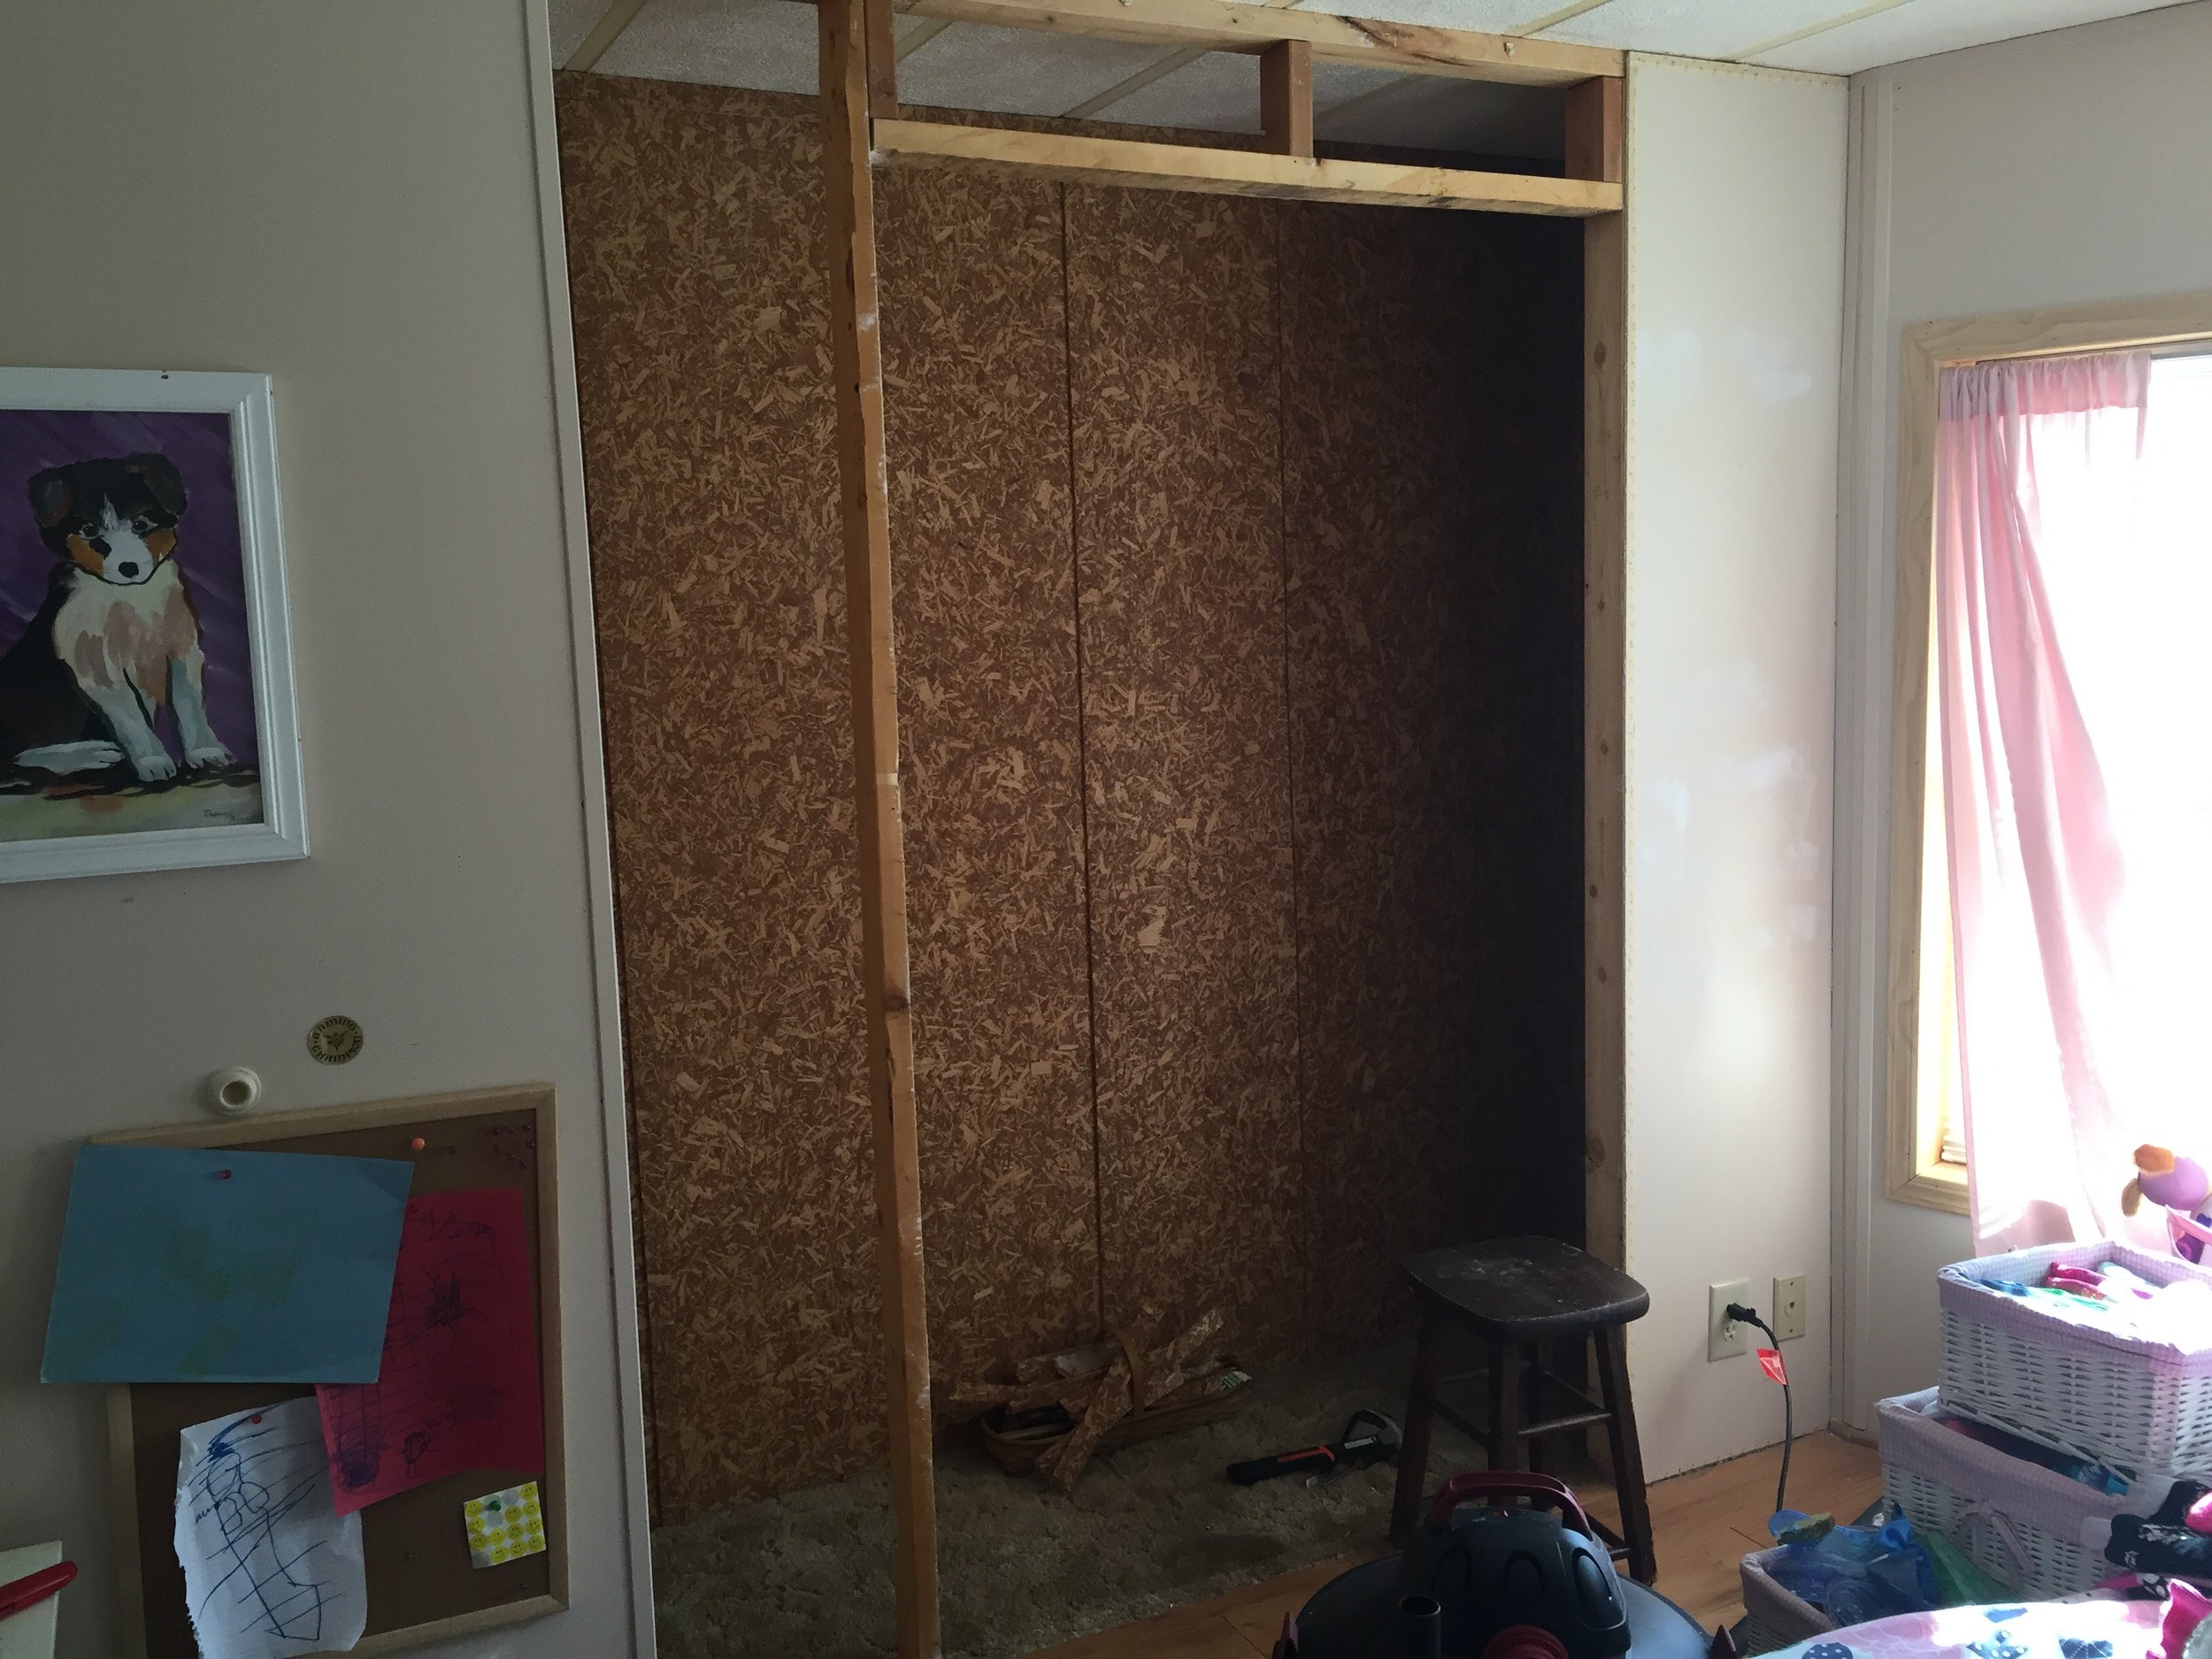
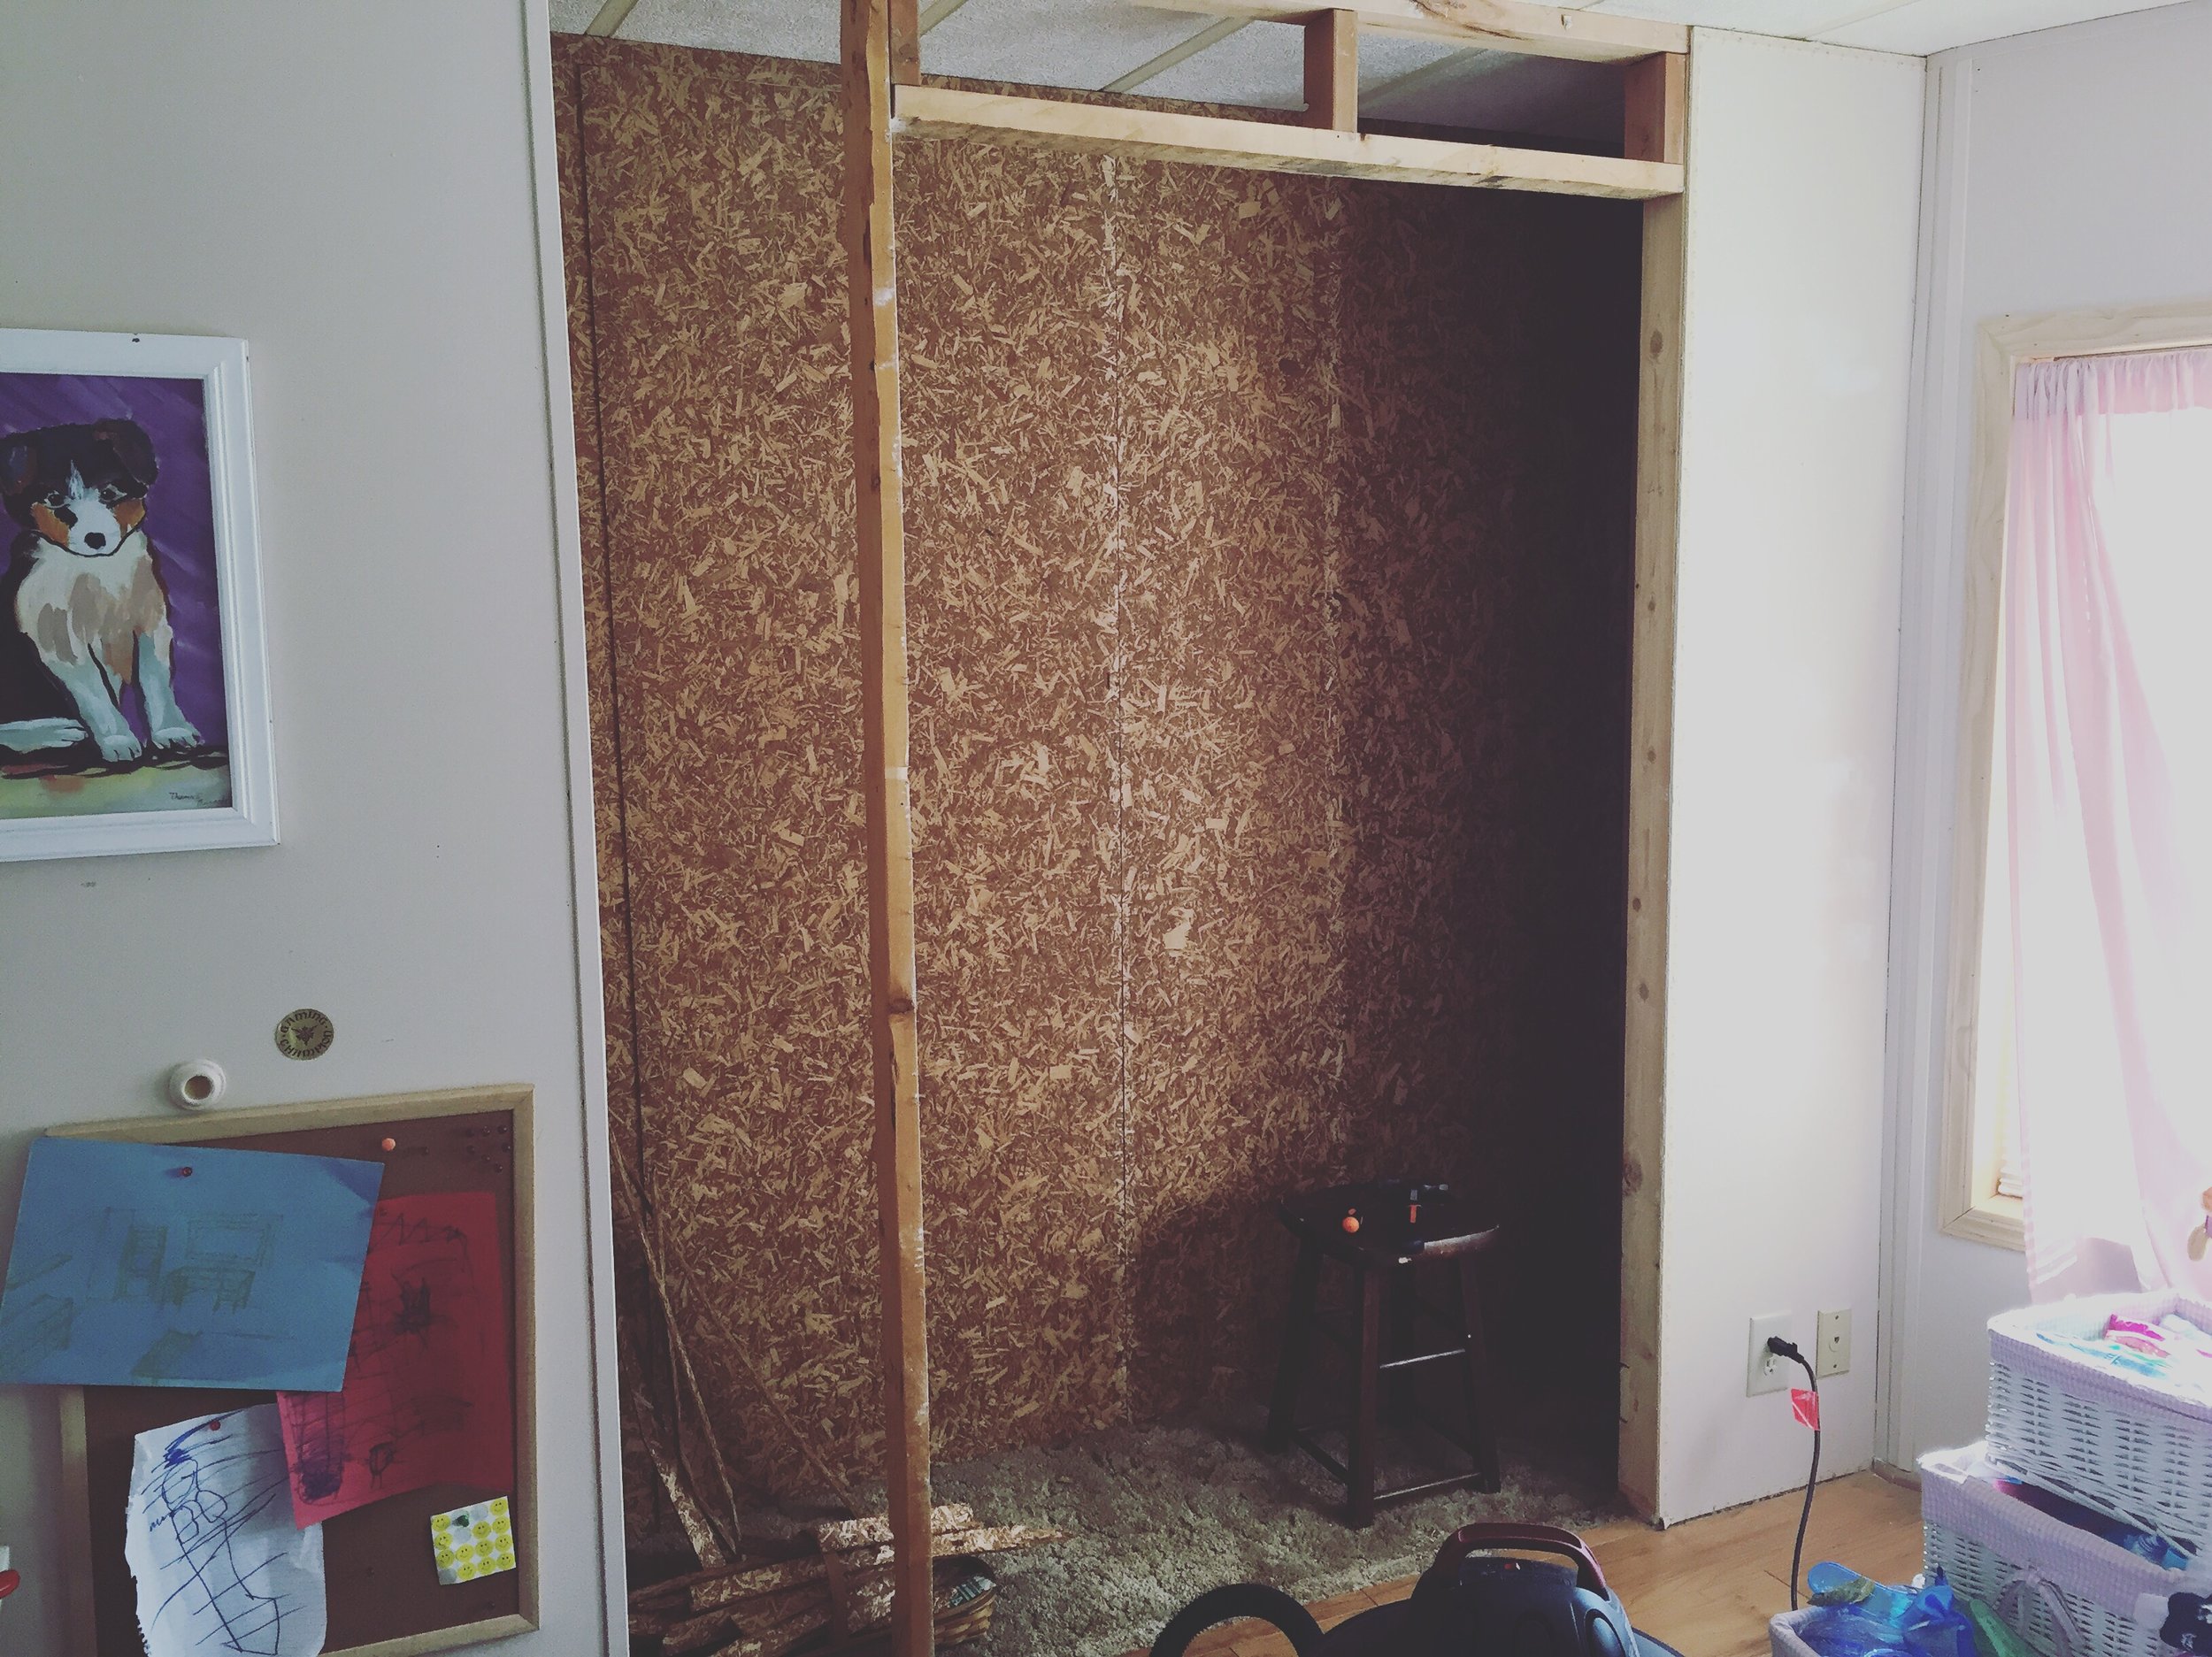
Next was the studs which took longer than I'd hoped but I am using a mini pry bar...#ineedmoretools

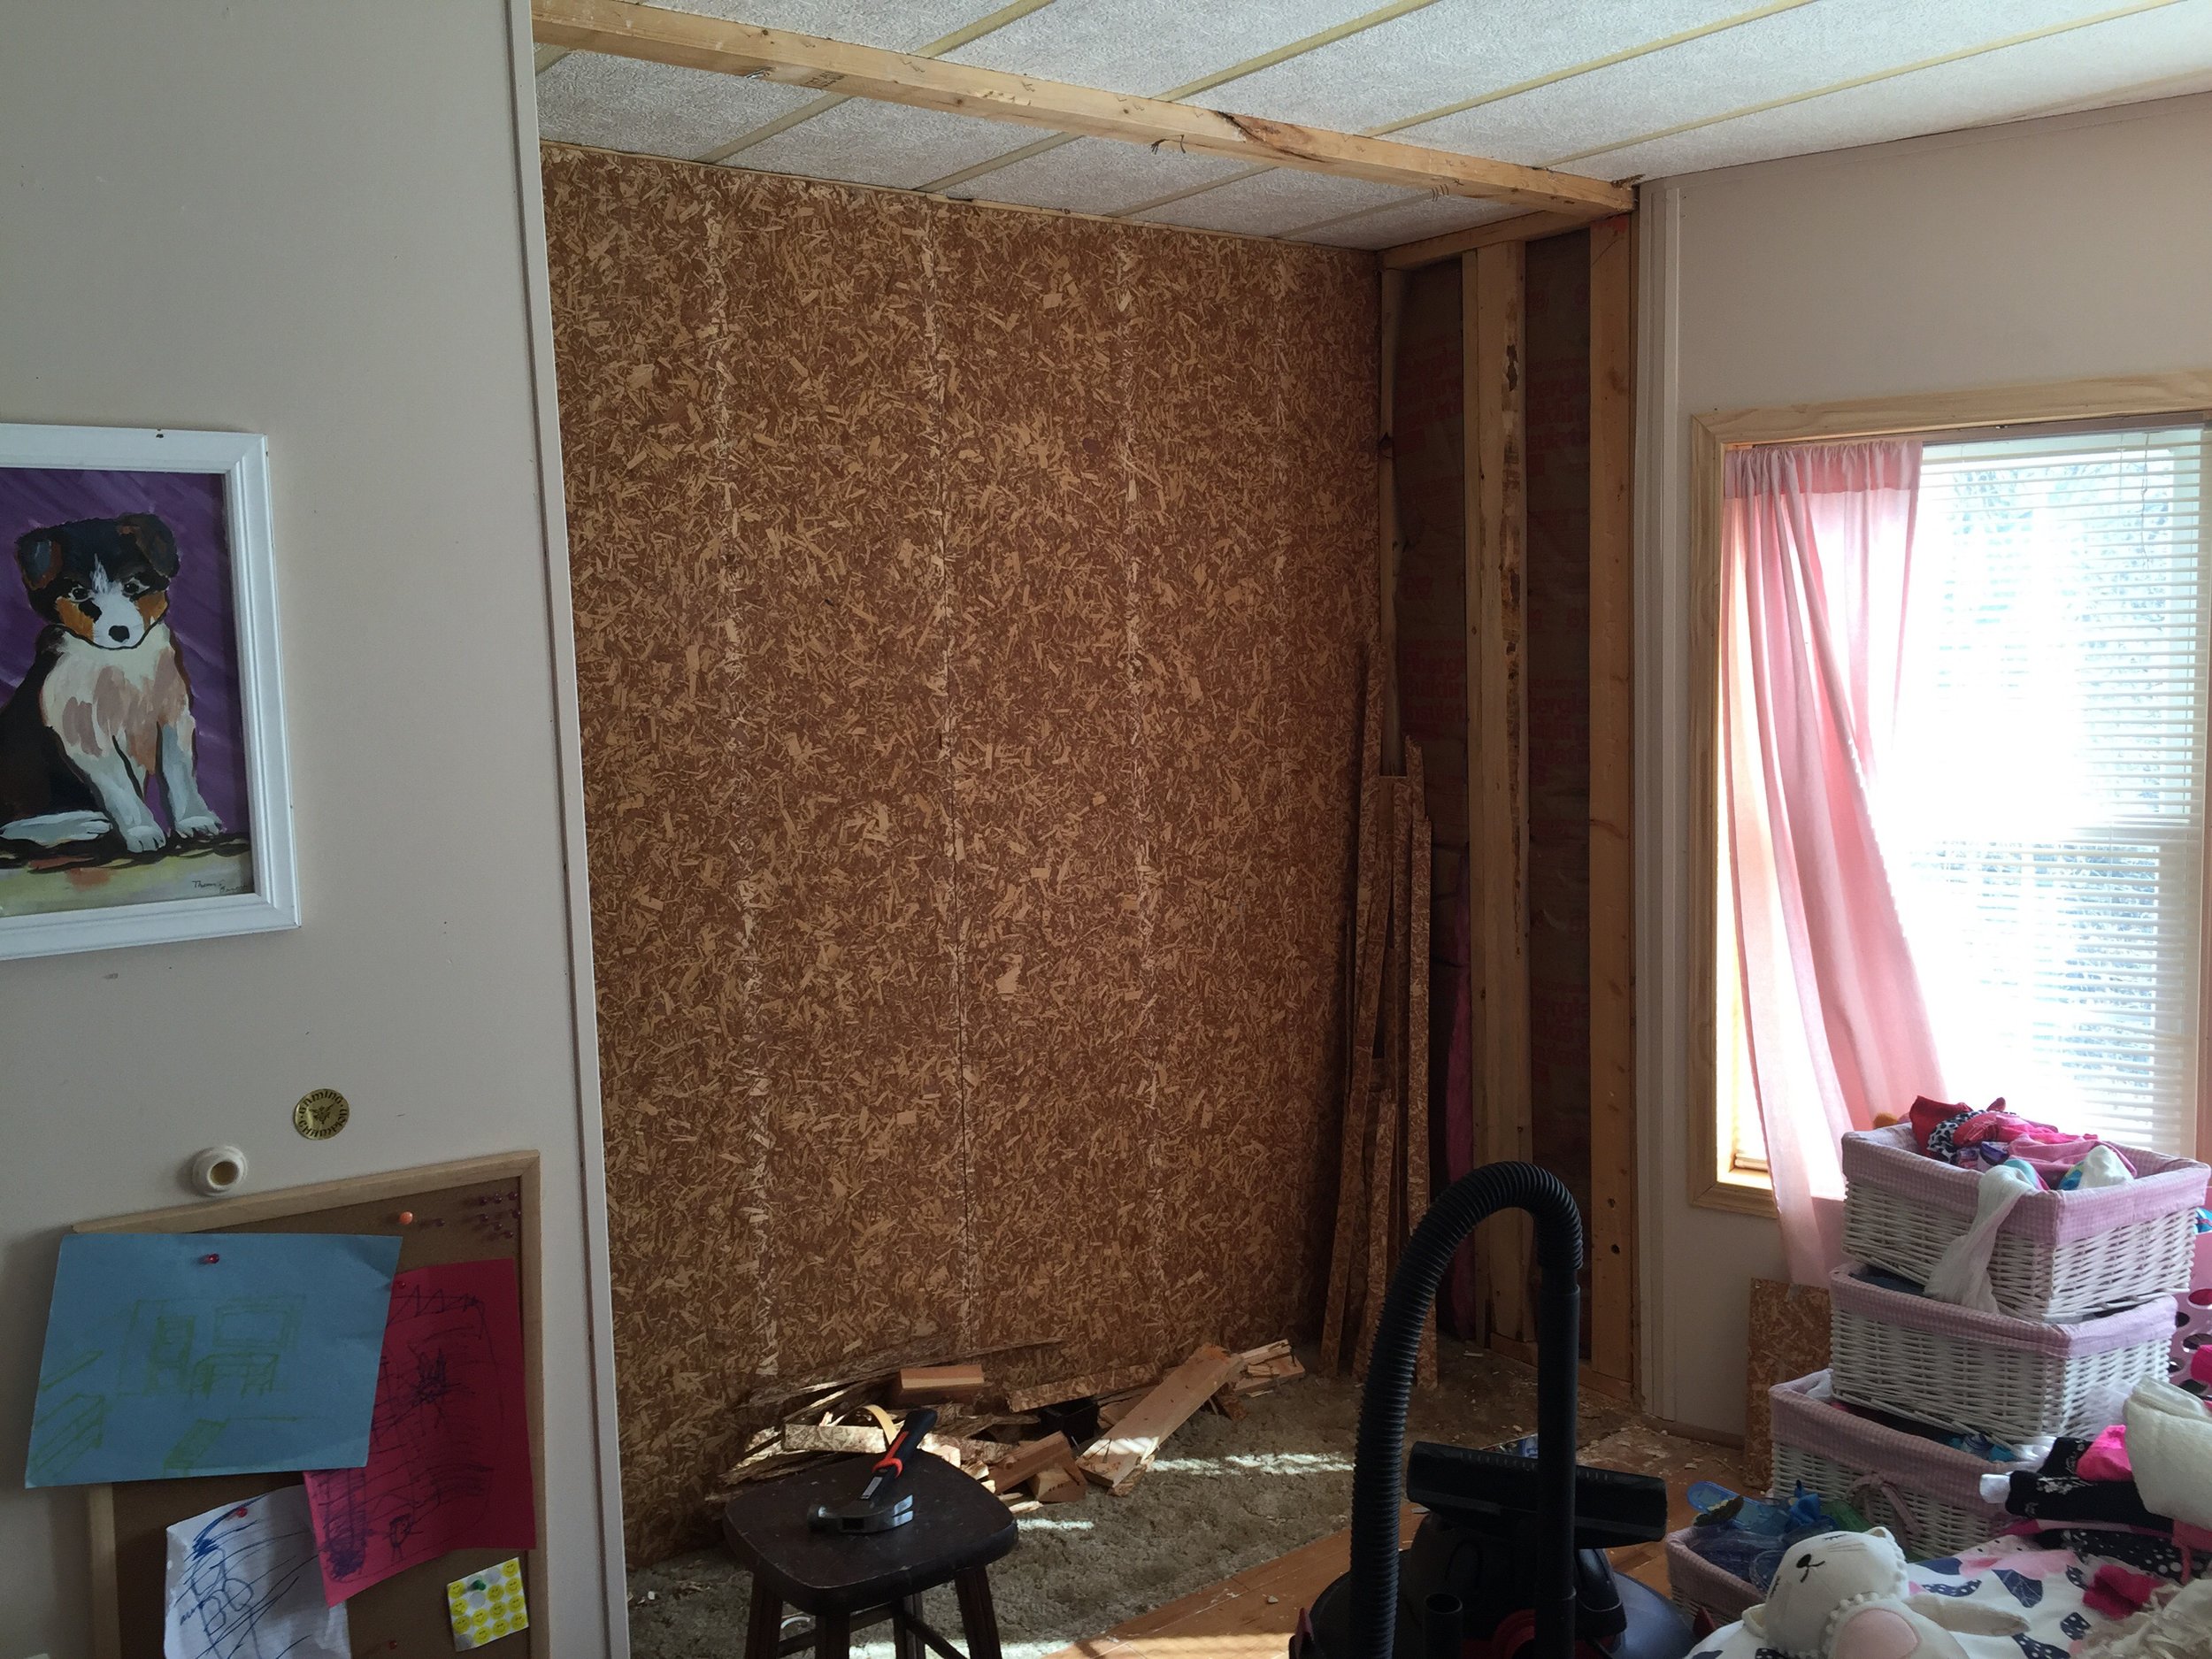
That stud on the top took some muscle to rip off, I ended up taking with it some ceiling. But I plan on using bead board on the entire ceiling so it wasn't that big of a deal to me. I ran into a small electrical problem but a family member (he works in construction) helped me with that. We just had to move the outlet over to the new wall. This whole process so far took me about 3-4 hours.
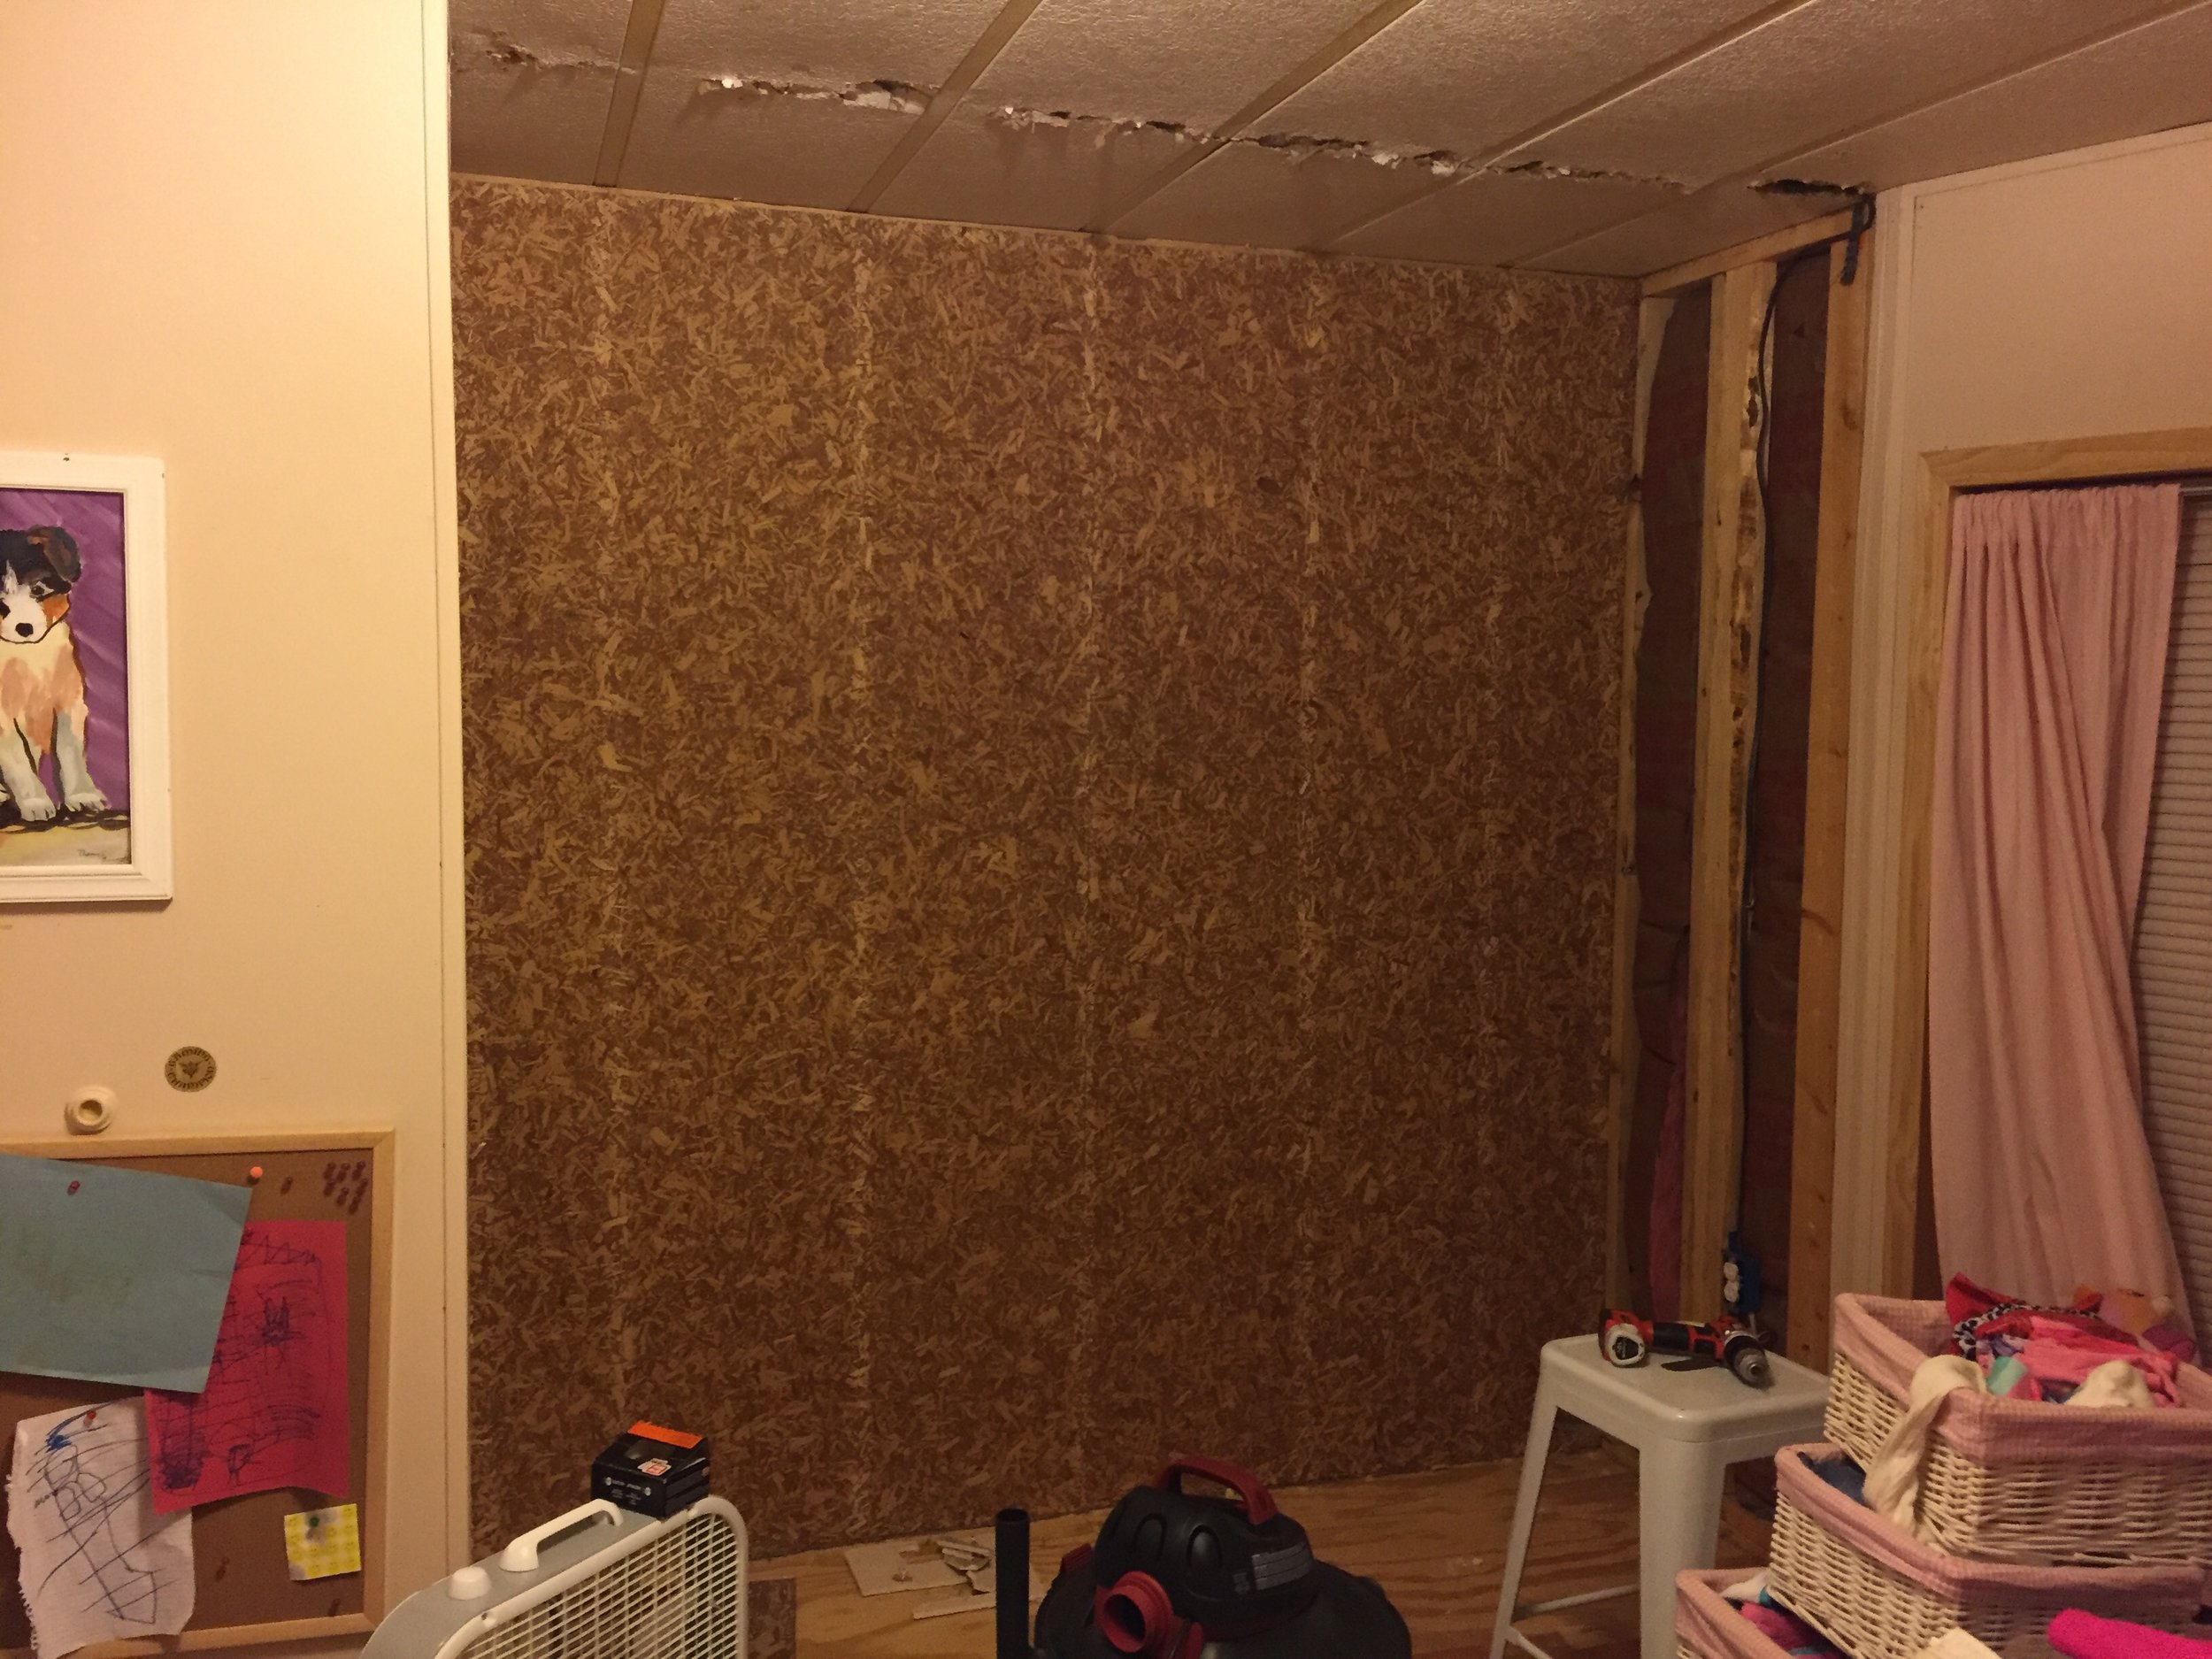
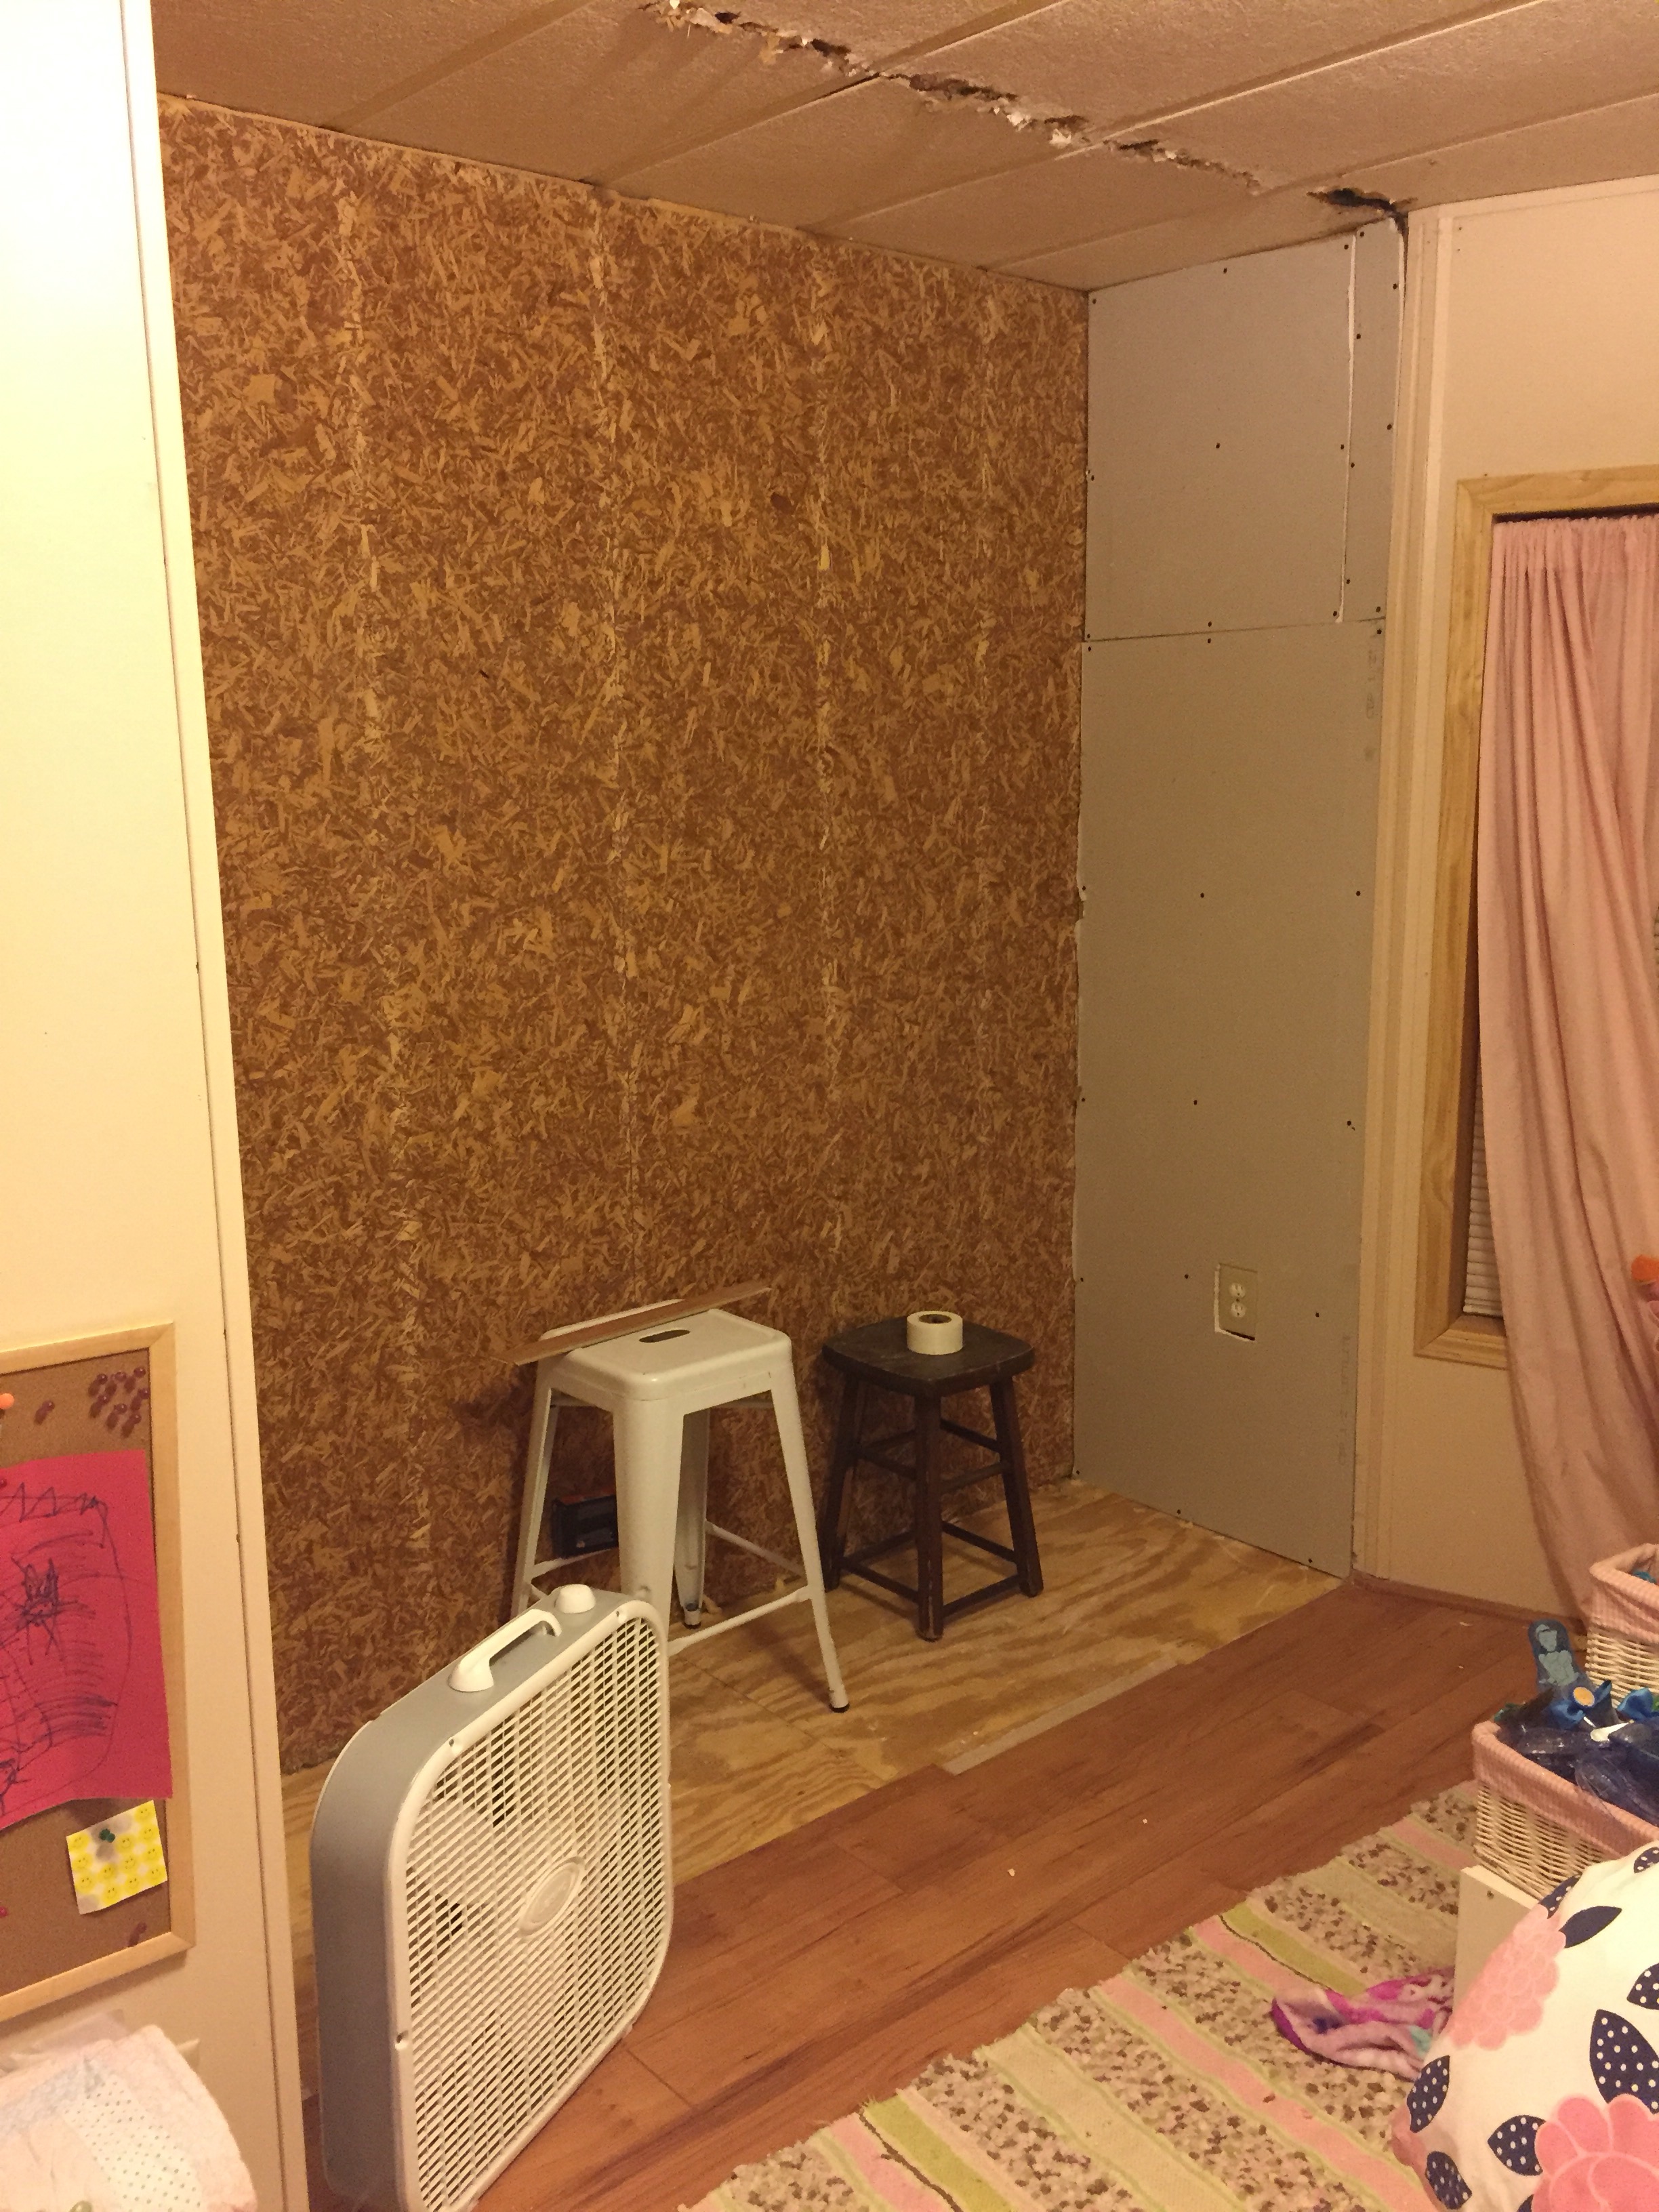
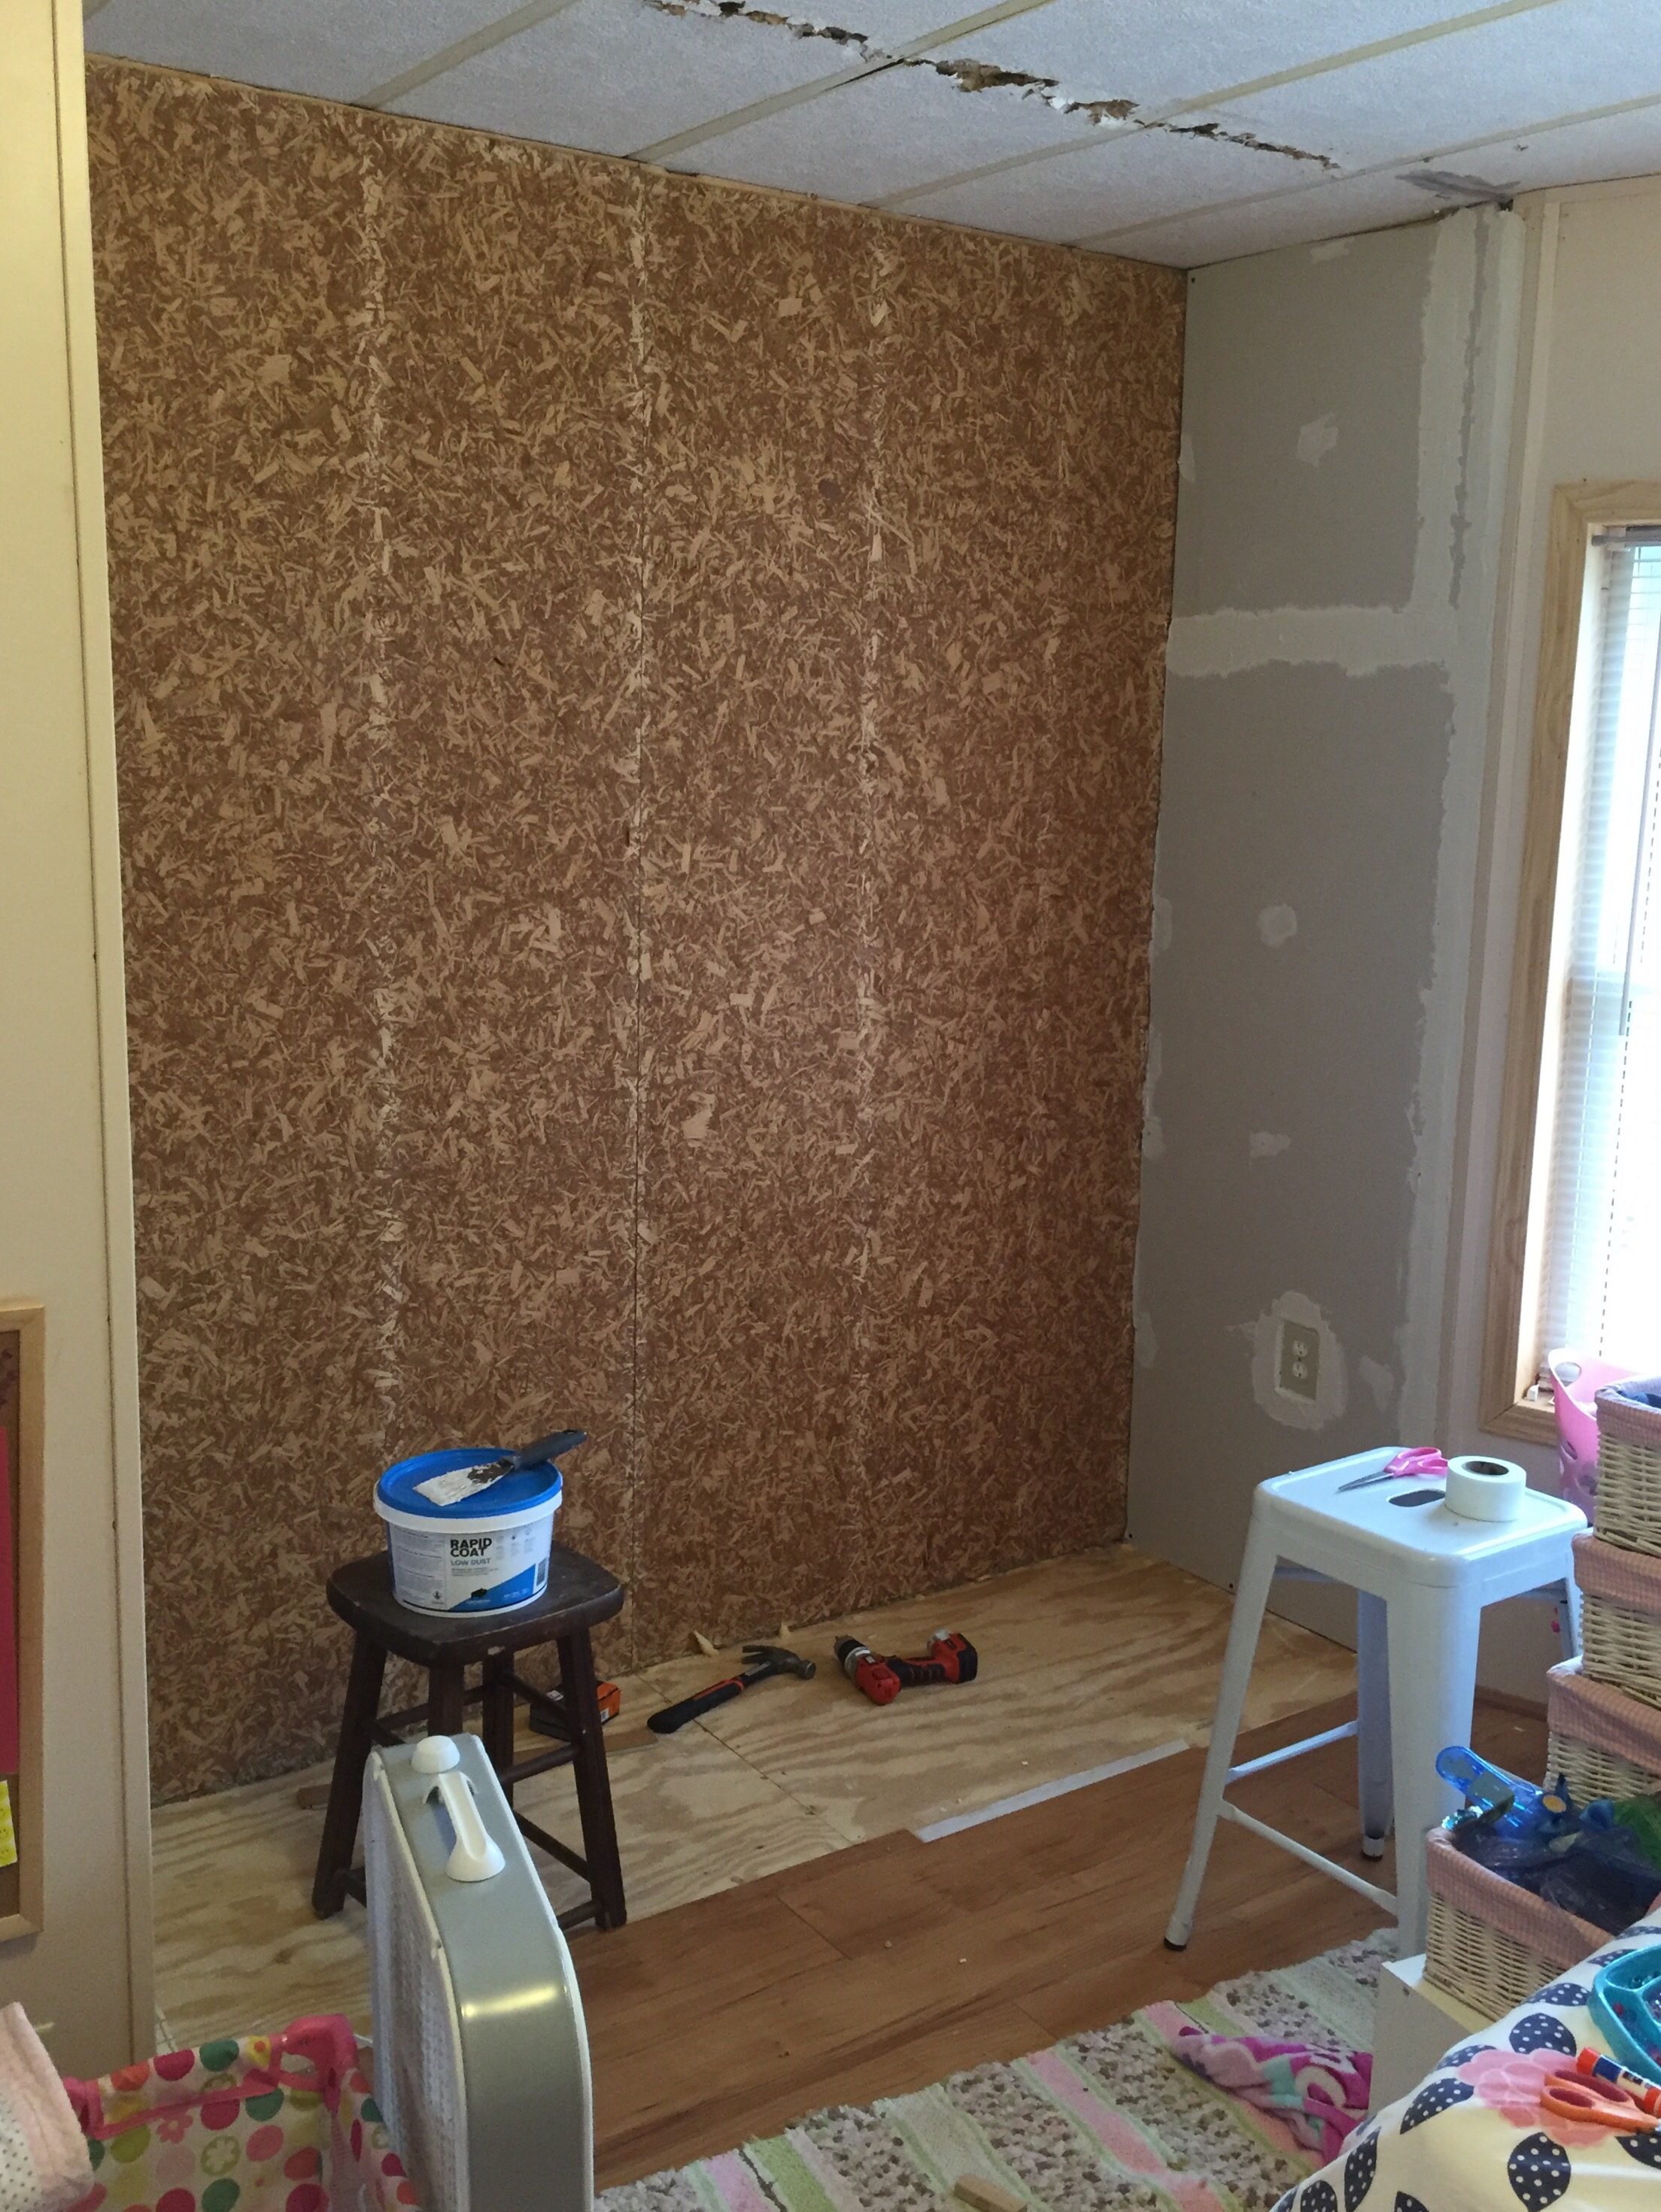
I reused some of the drywall I tore off the closet and then used some leftover drywall I had on hand. So this whole process only cost me the $6 for mudding.
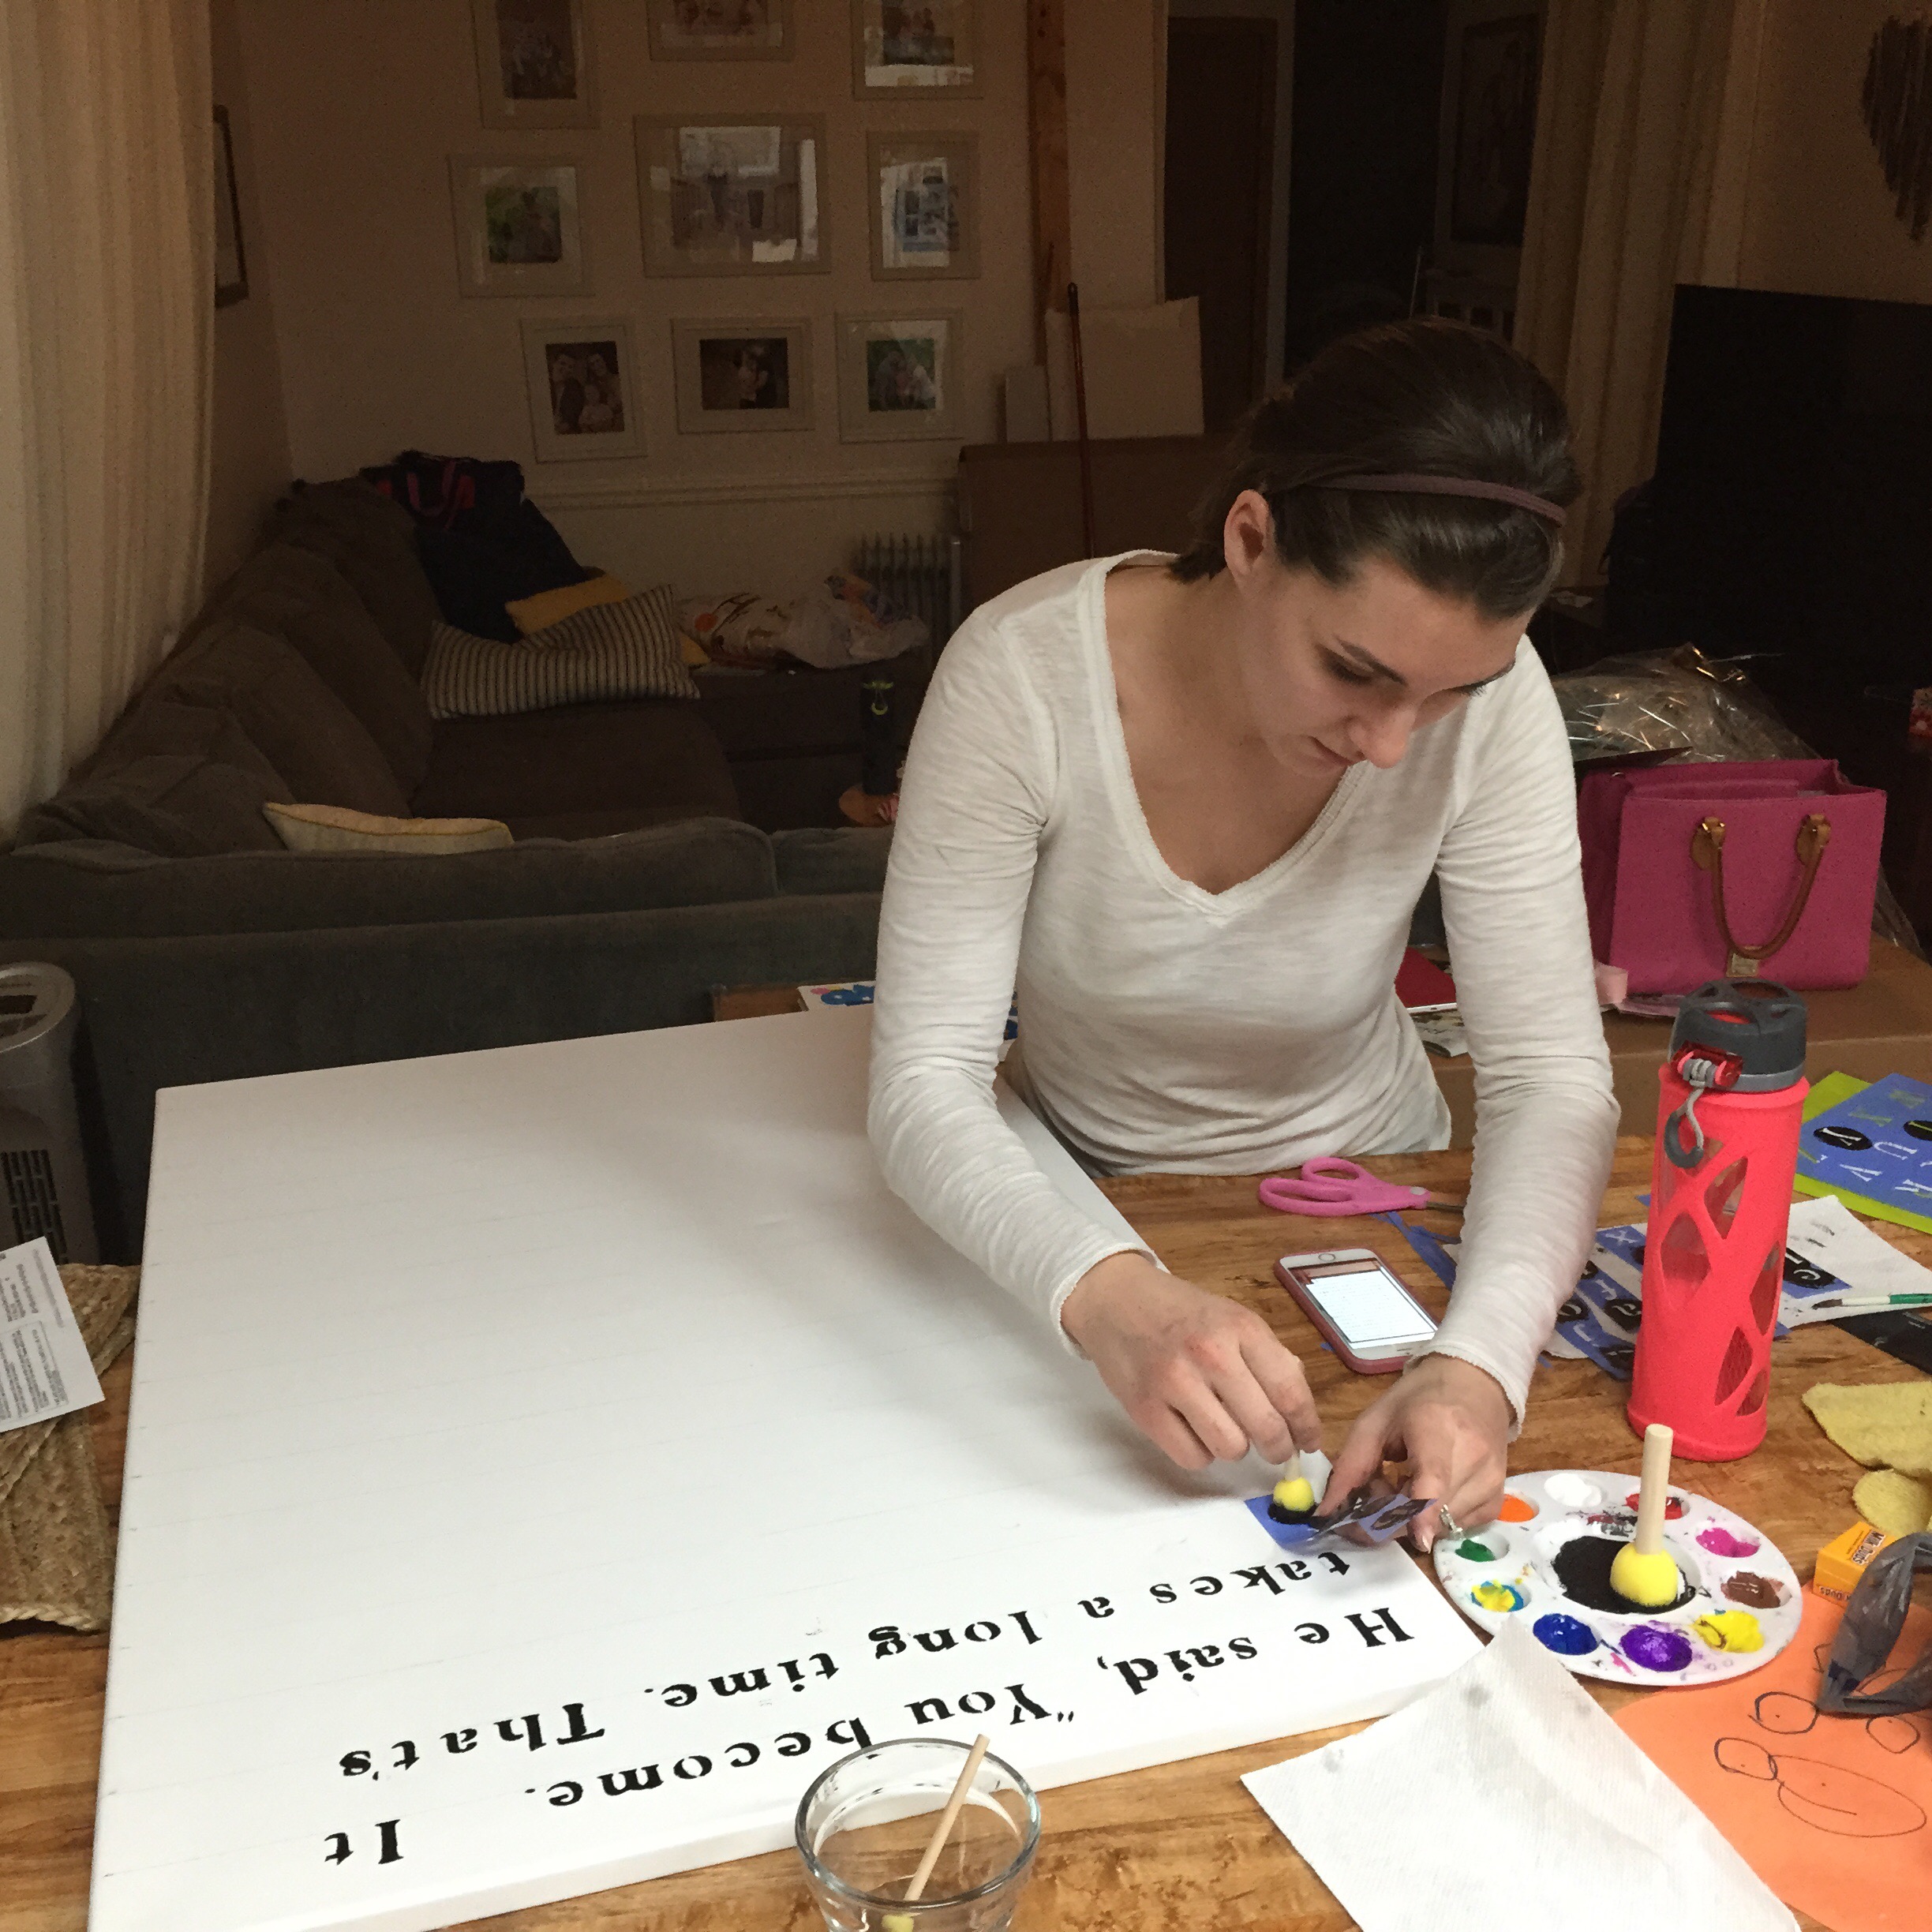
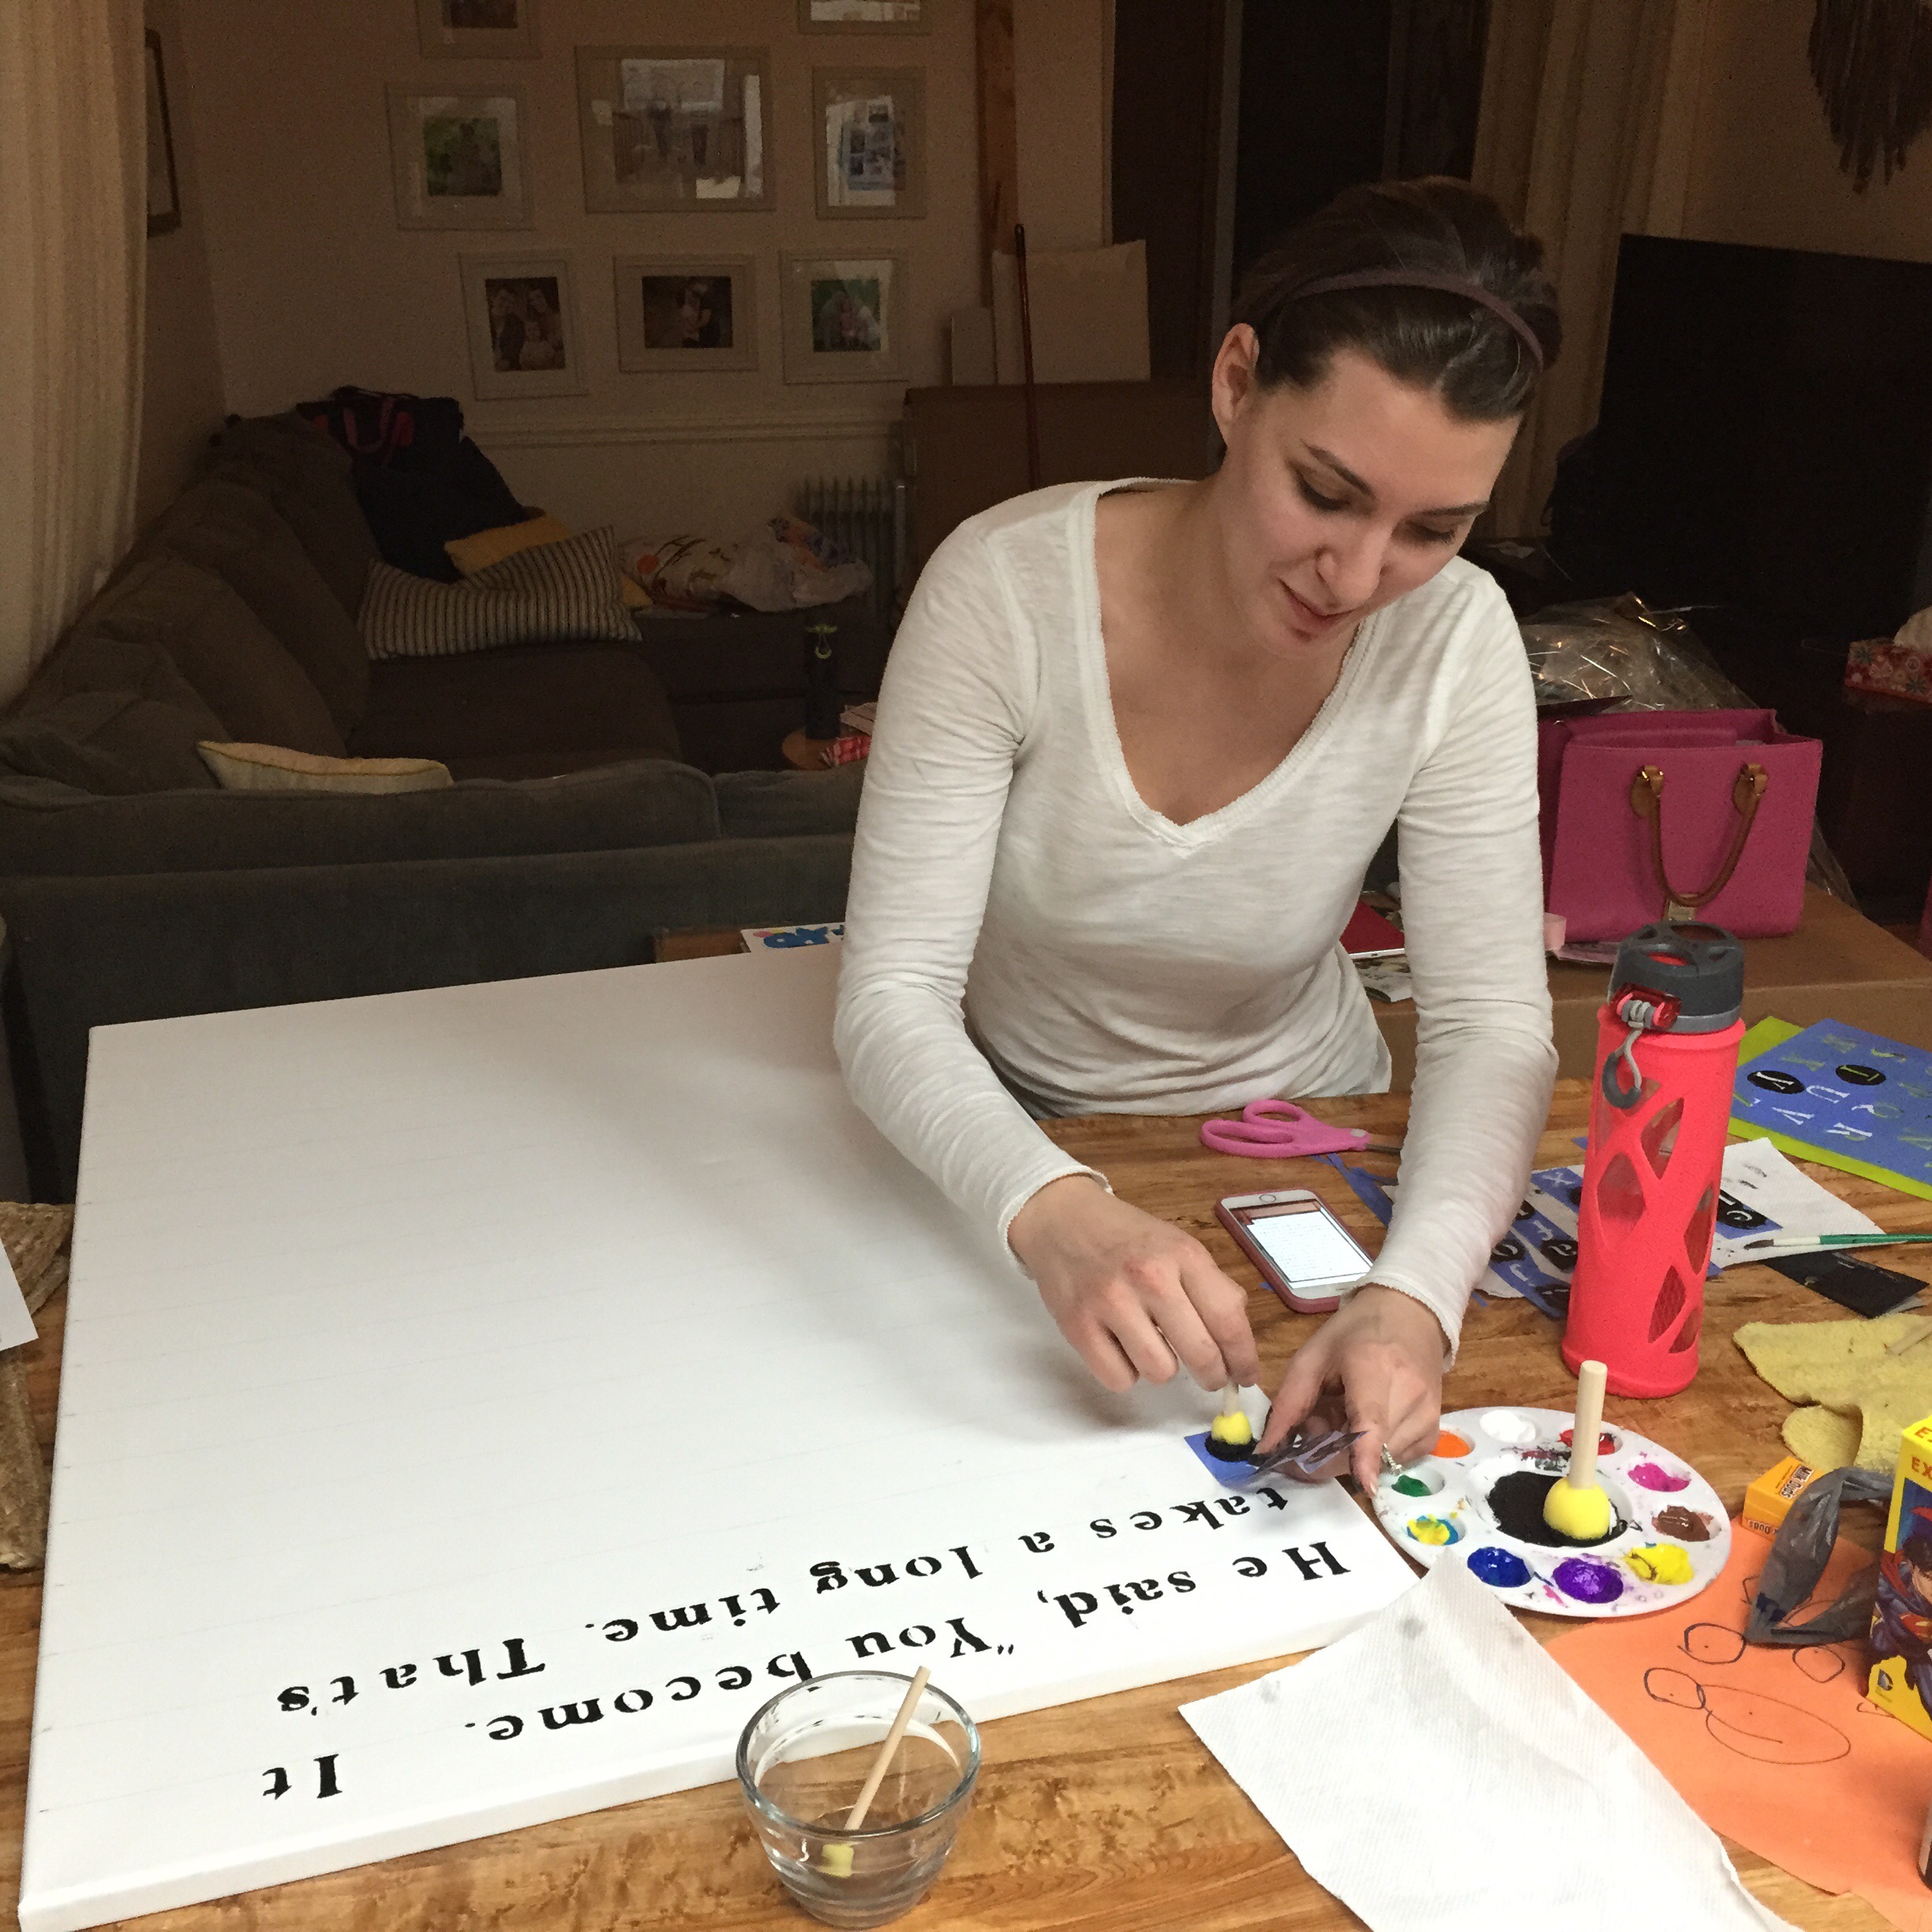
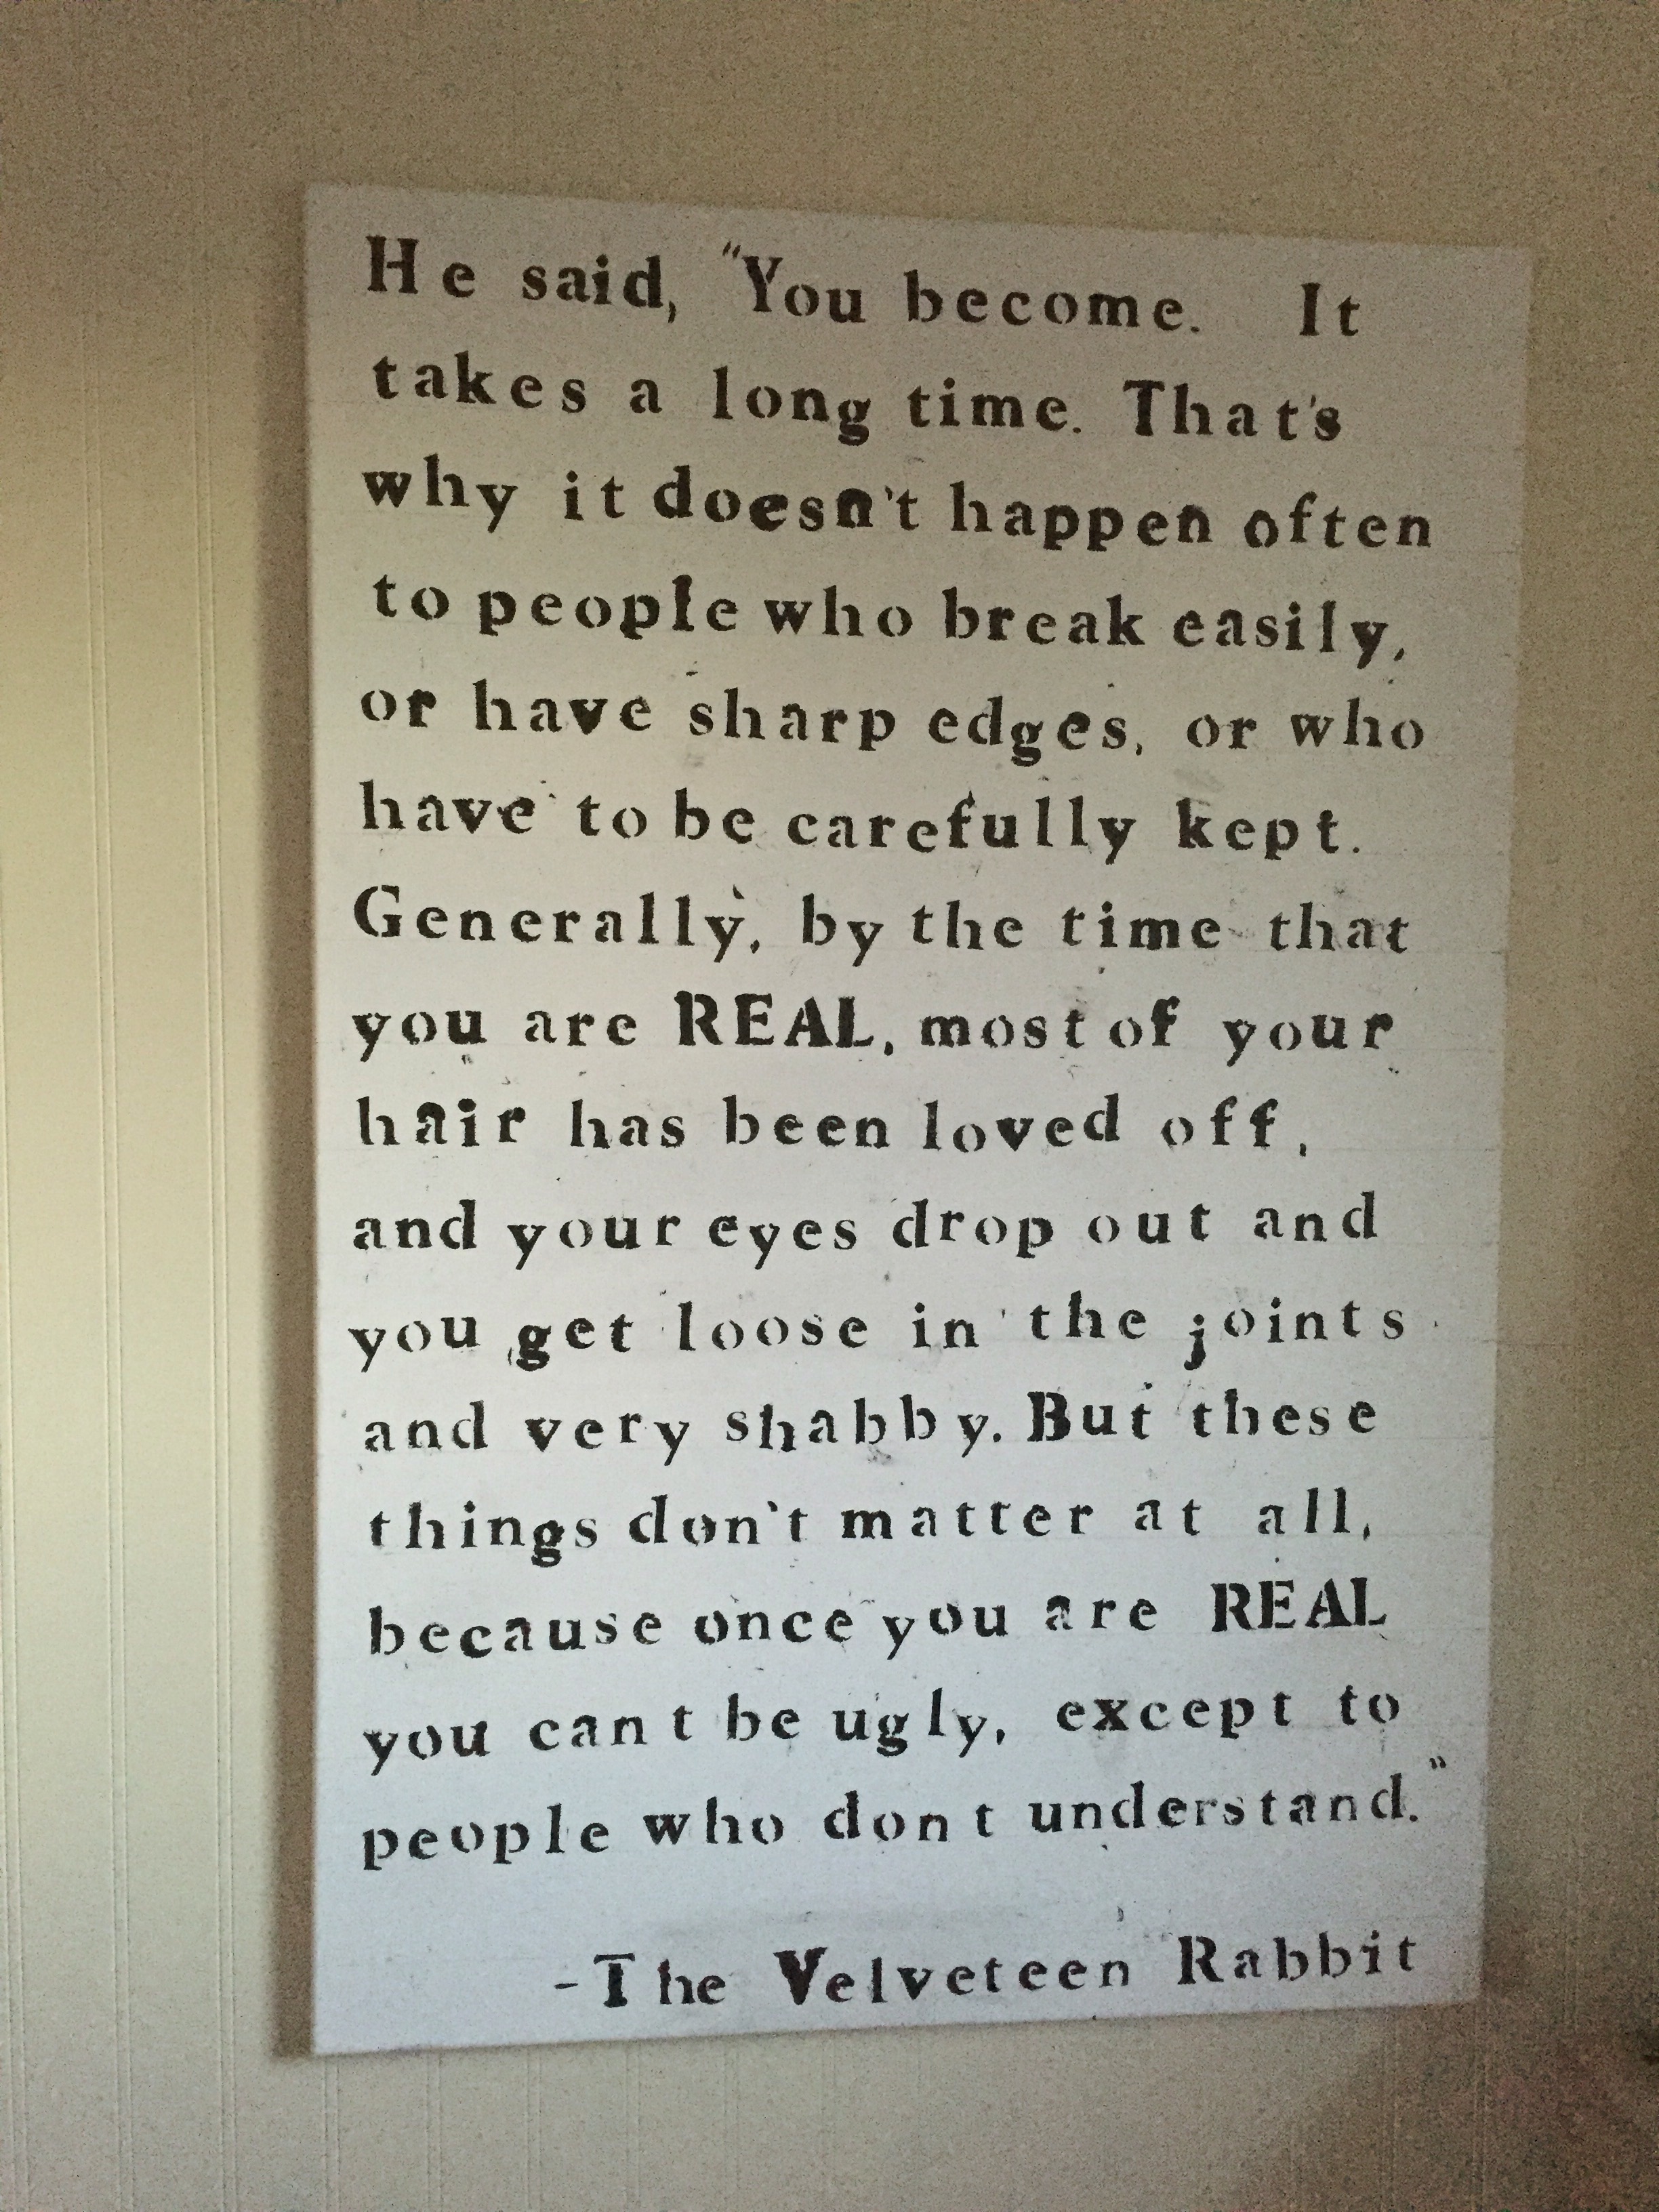
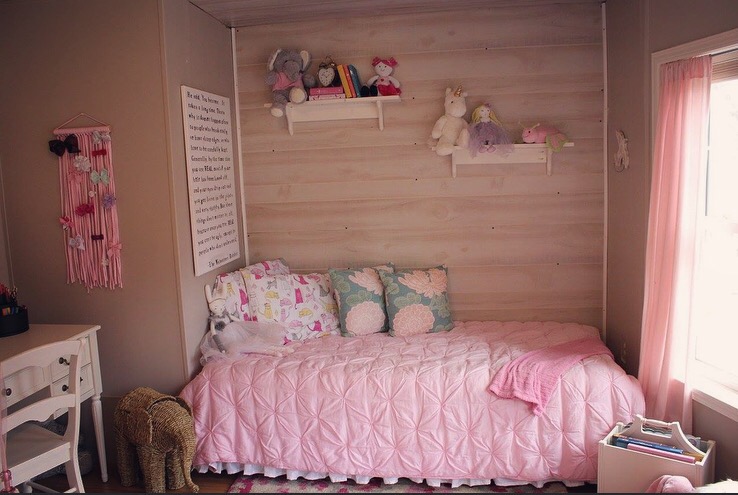
I did a DIY project and made this beauty right here. I loved a sign by BetweenYouAndMeSigns that used one of my favorite The Velveteen Rabbit quotes so I decided to make one like it. I bought canvas and an alphabet stencil from Hobby Lobby then I used some Martha Stewart craft paint that I had leftover from another project and stenciled each letter on the canvas.
Please ignore my background mess. :)
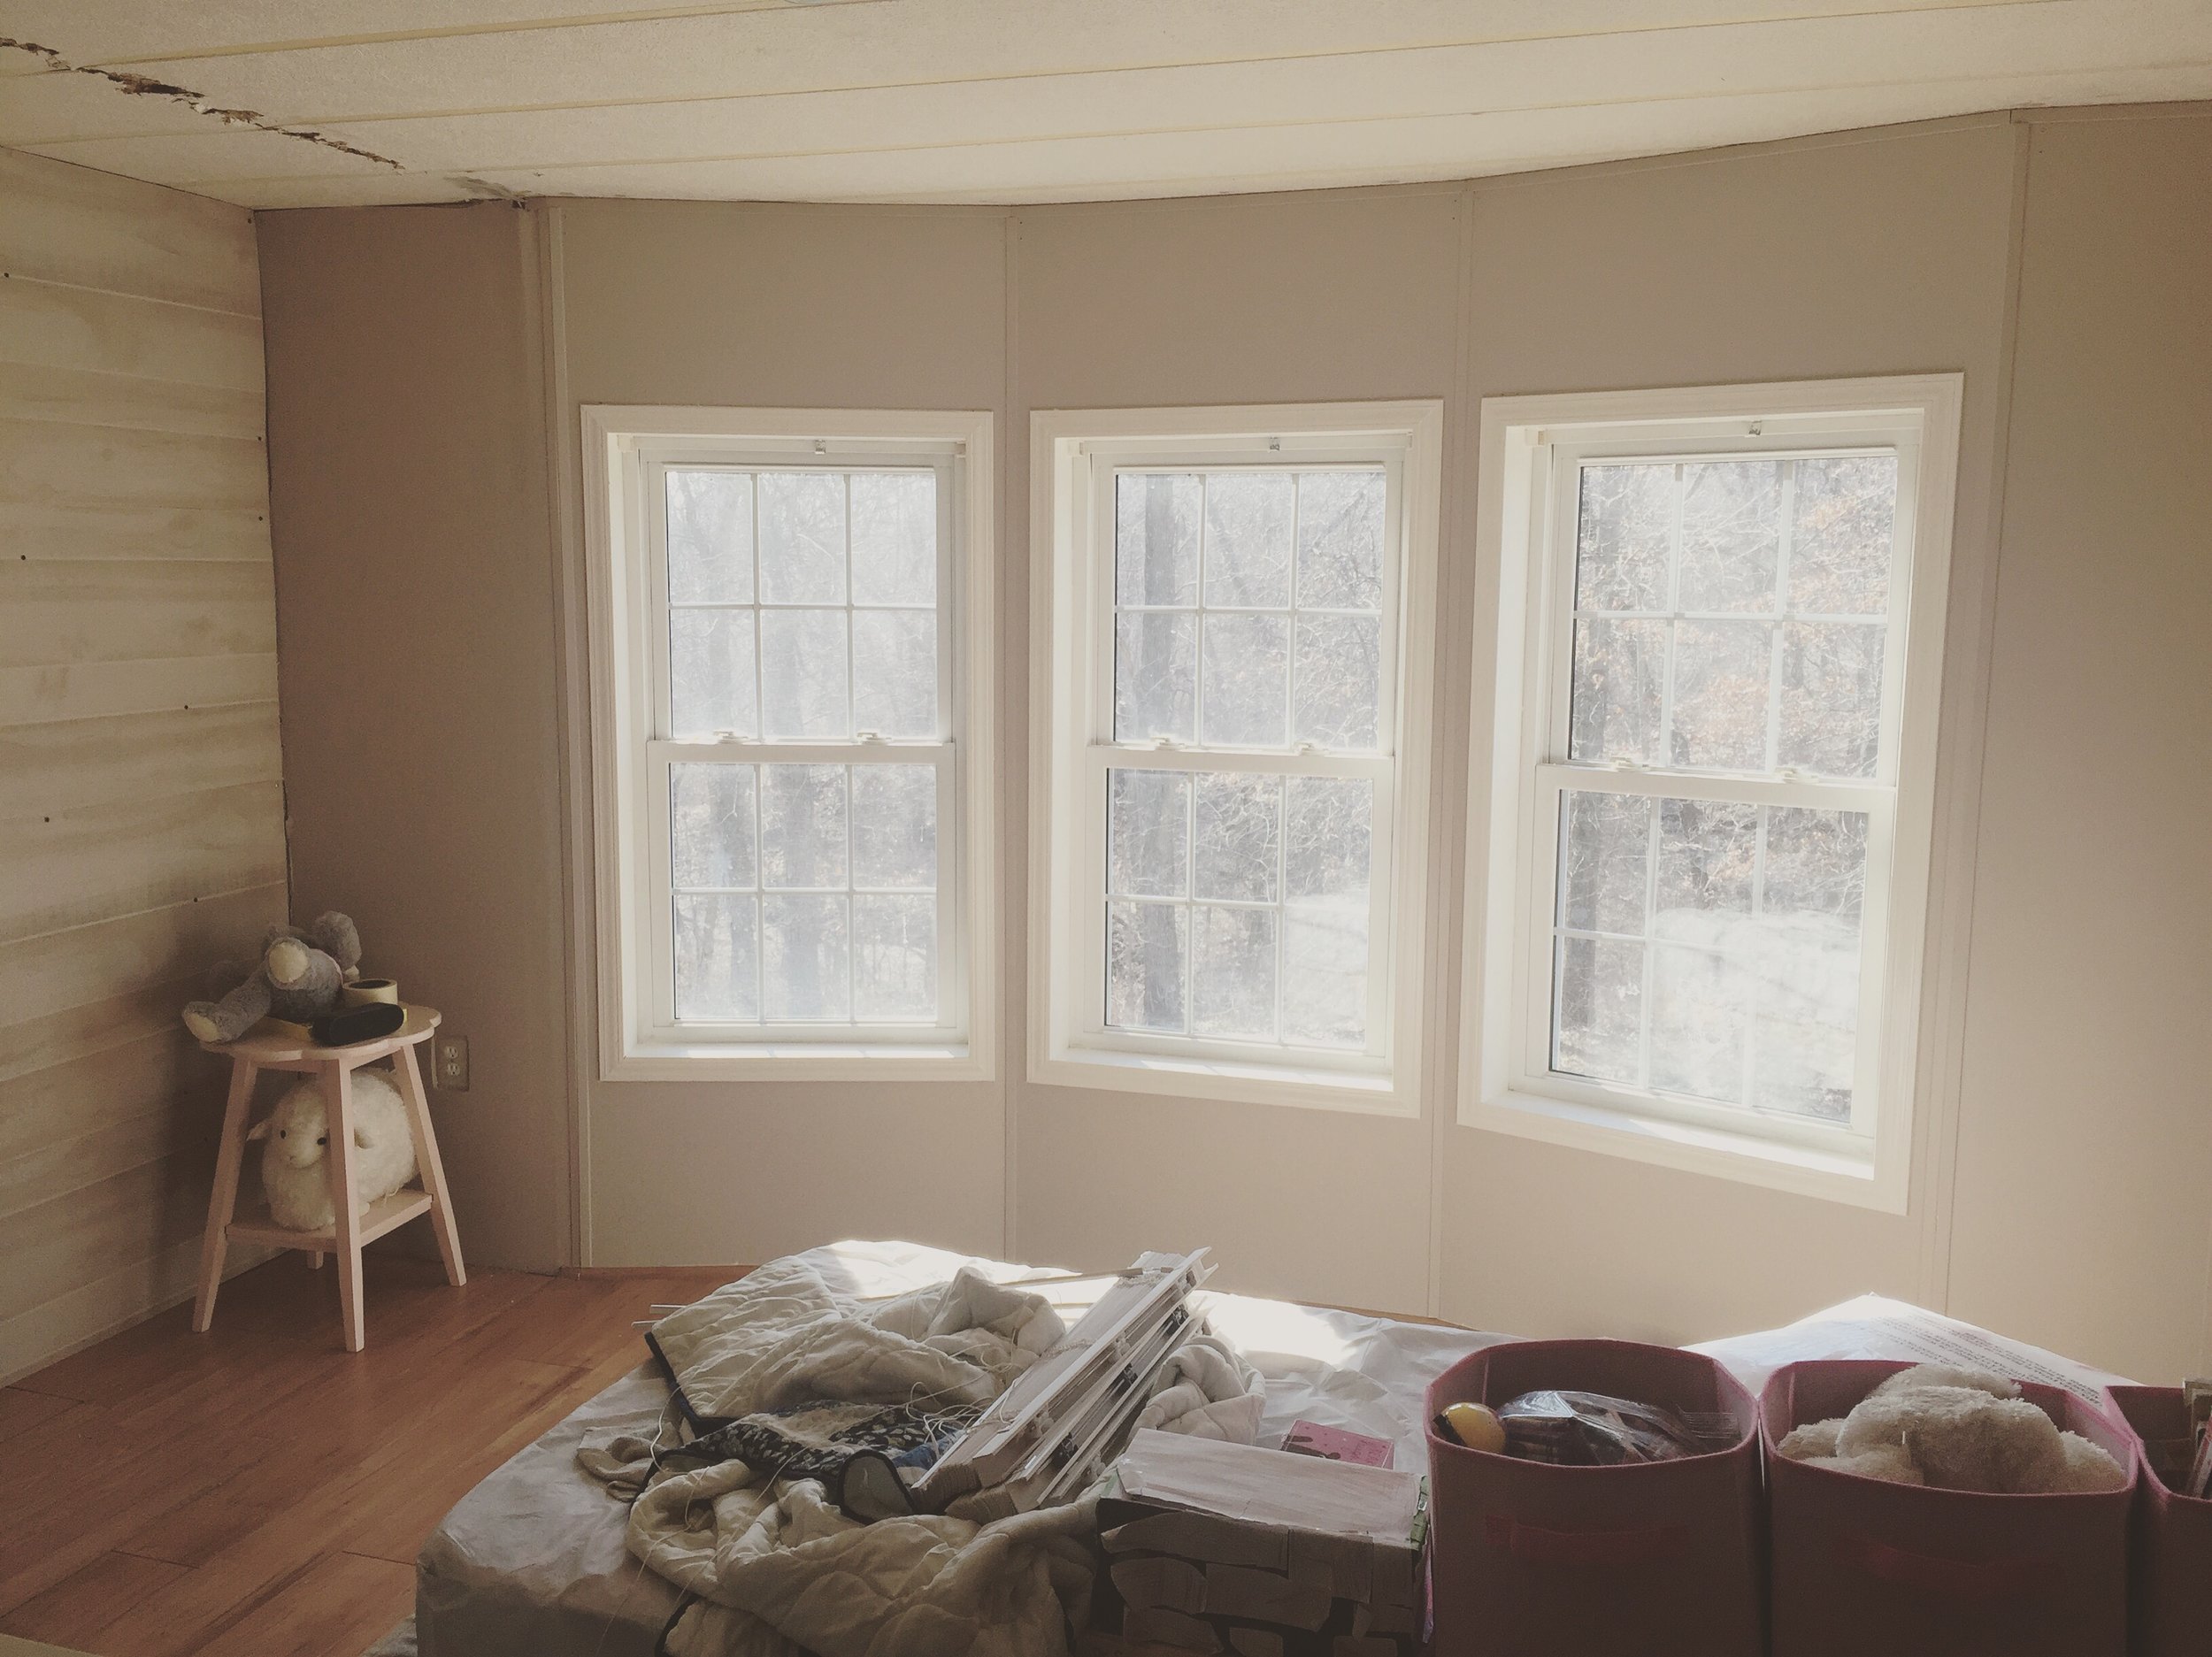
After my DIY project, I sanded down the walls and tied in some laminate flooring we already had (I still need to add a seam covering). My daughter worked on her house project too. ❤️
Then I got started on painting. We choose Valspar Lyndhurst Gallery Beige for the wall color and Sherwin Williams creamy for the trim. I used the paint + primer paint which made it super easy. Both the walls and trim took two coats.
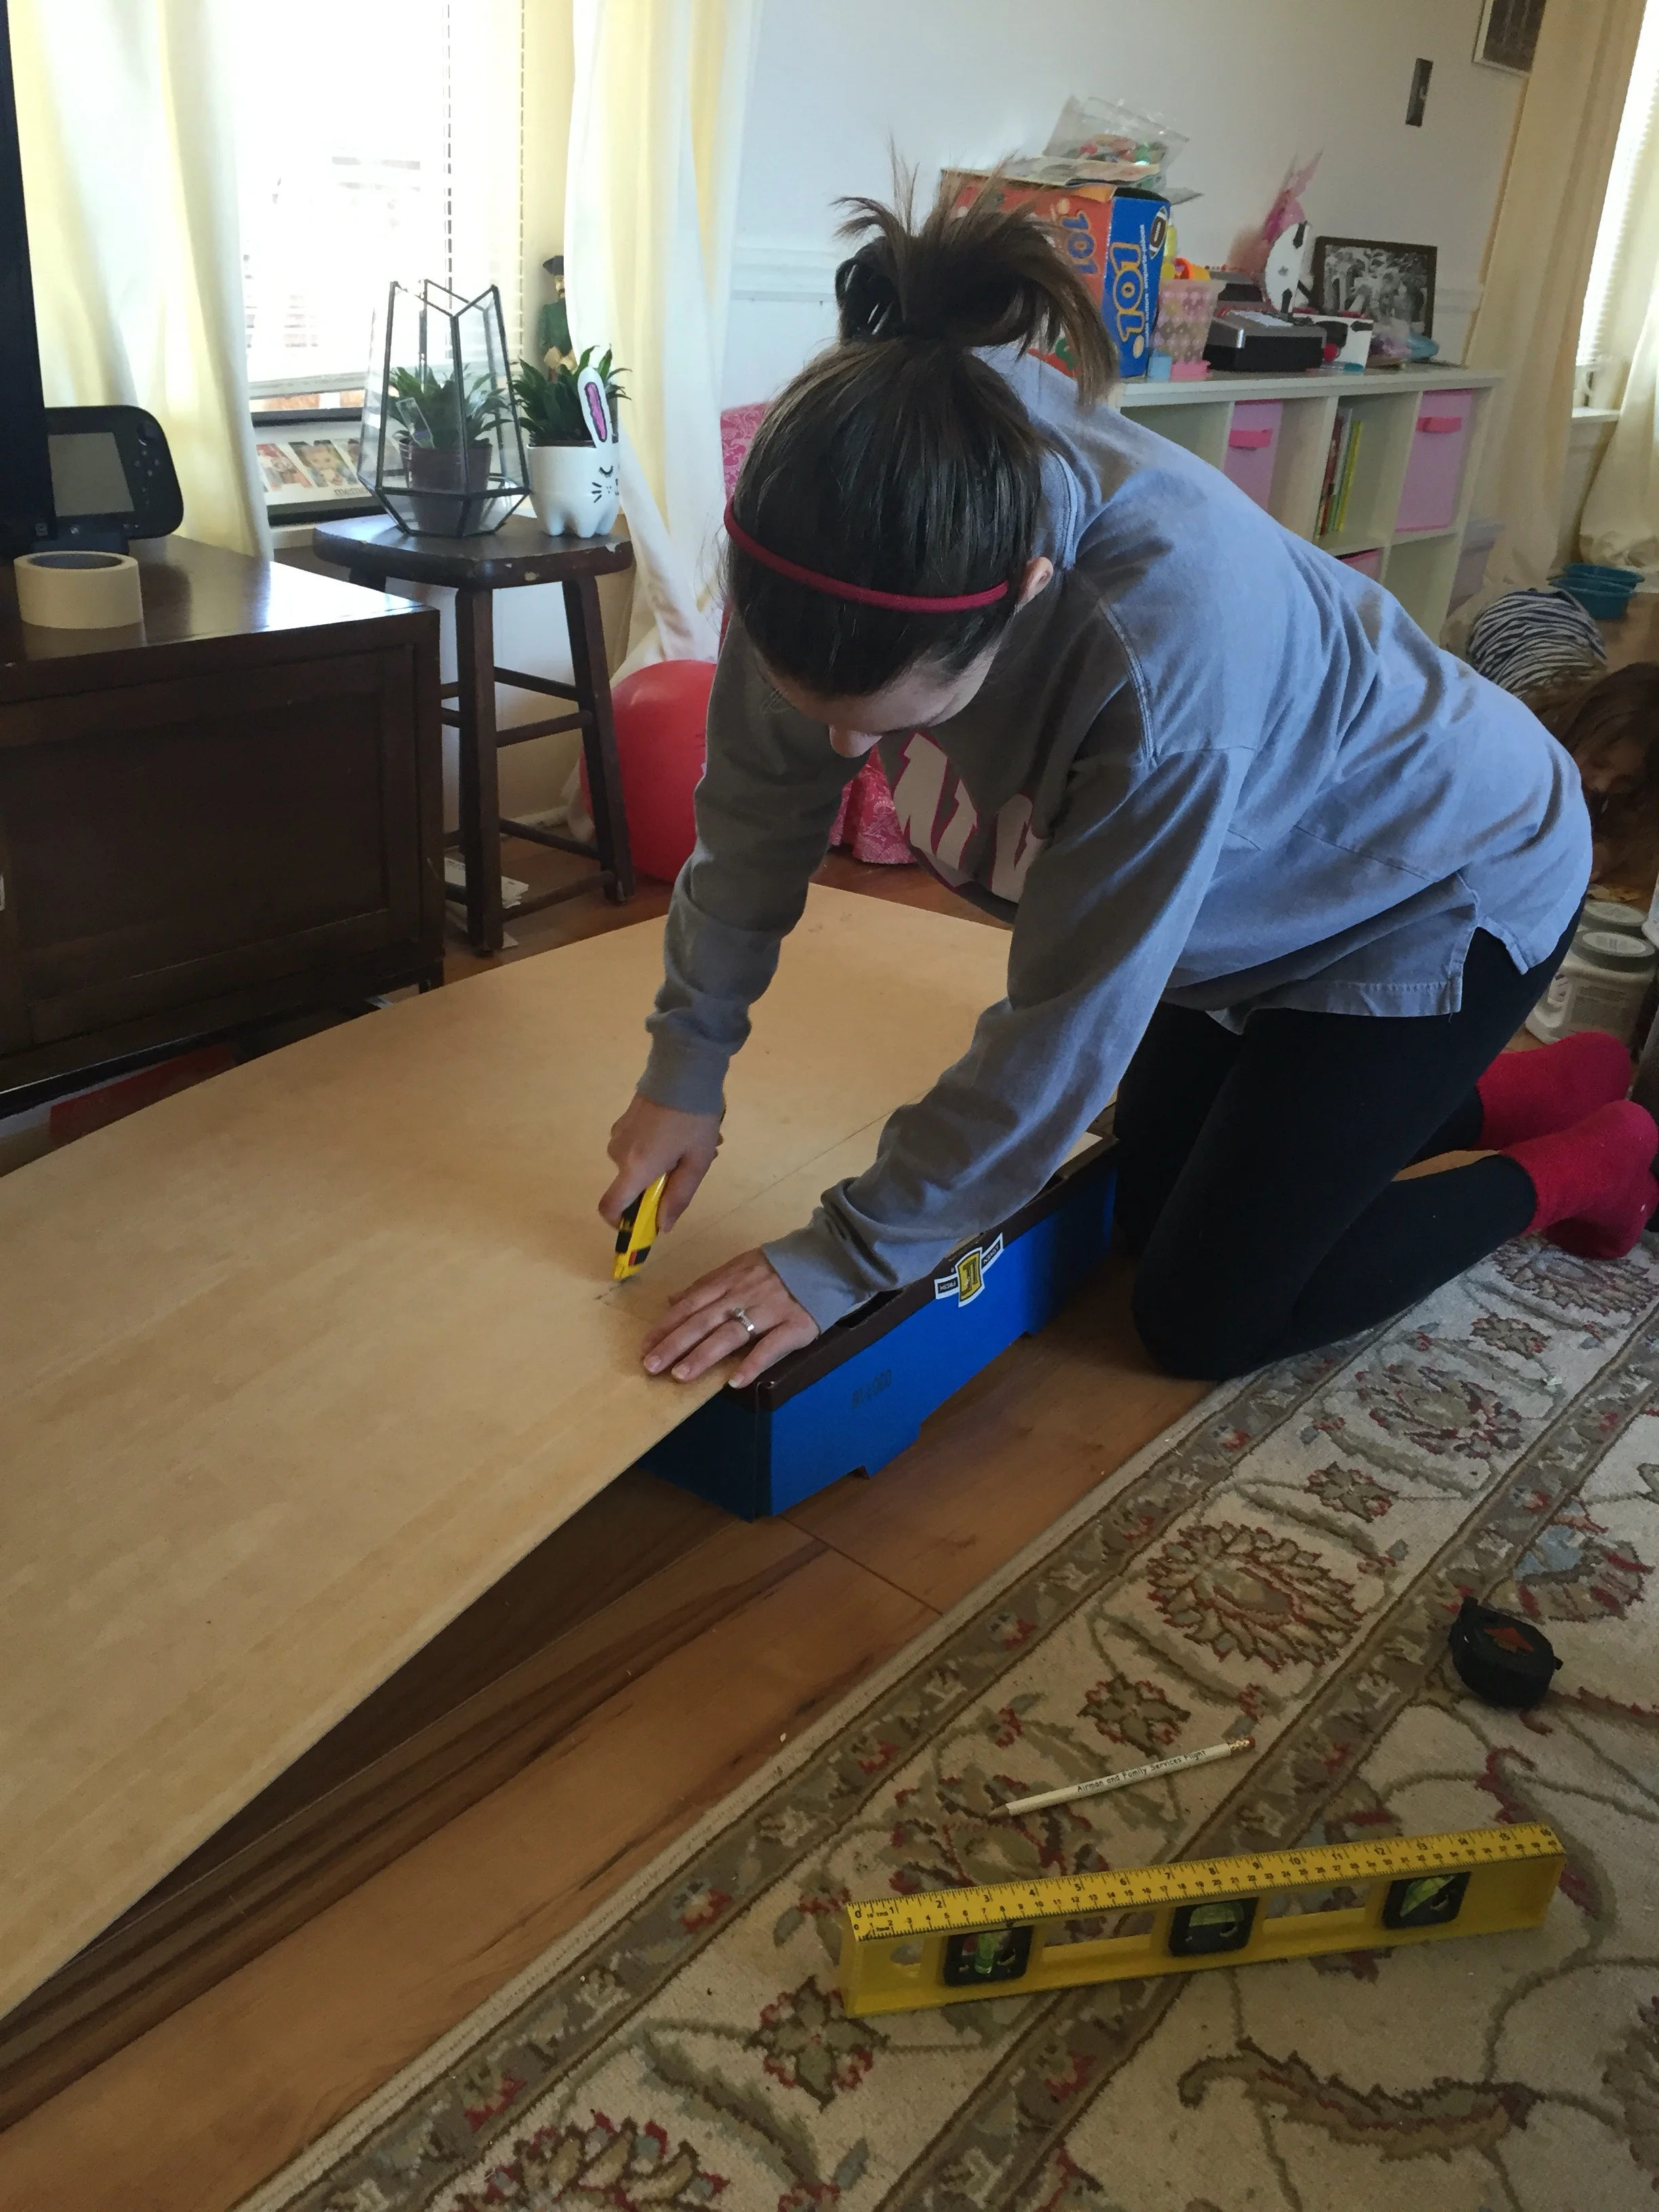
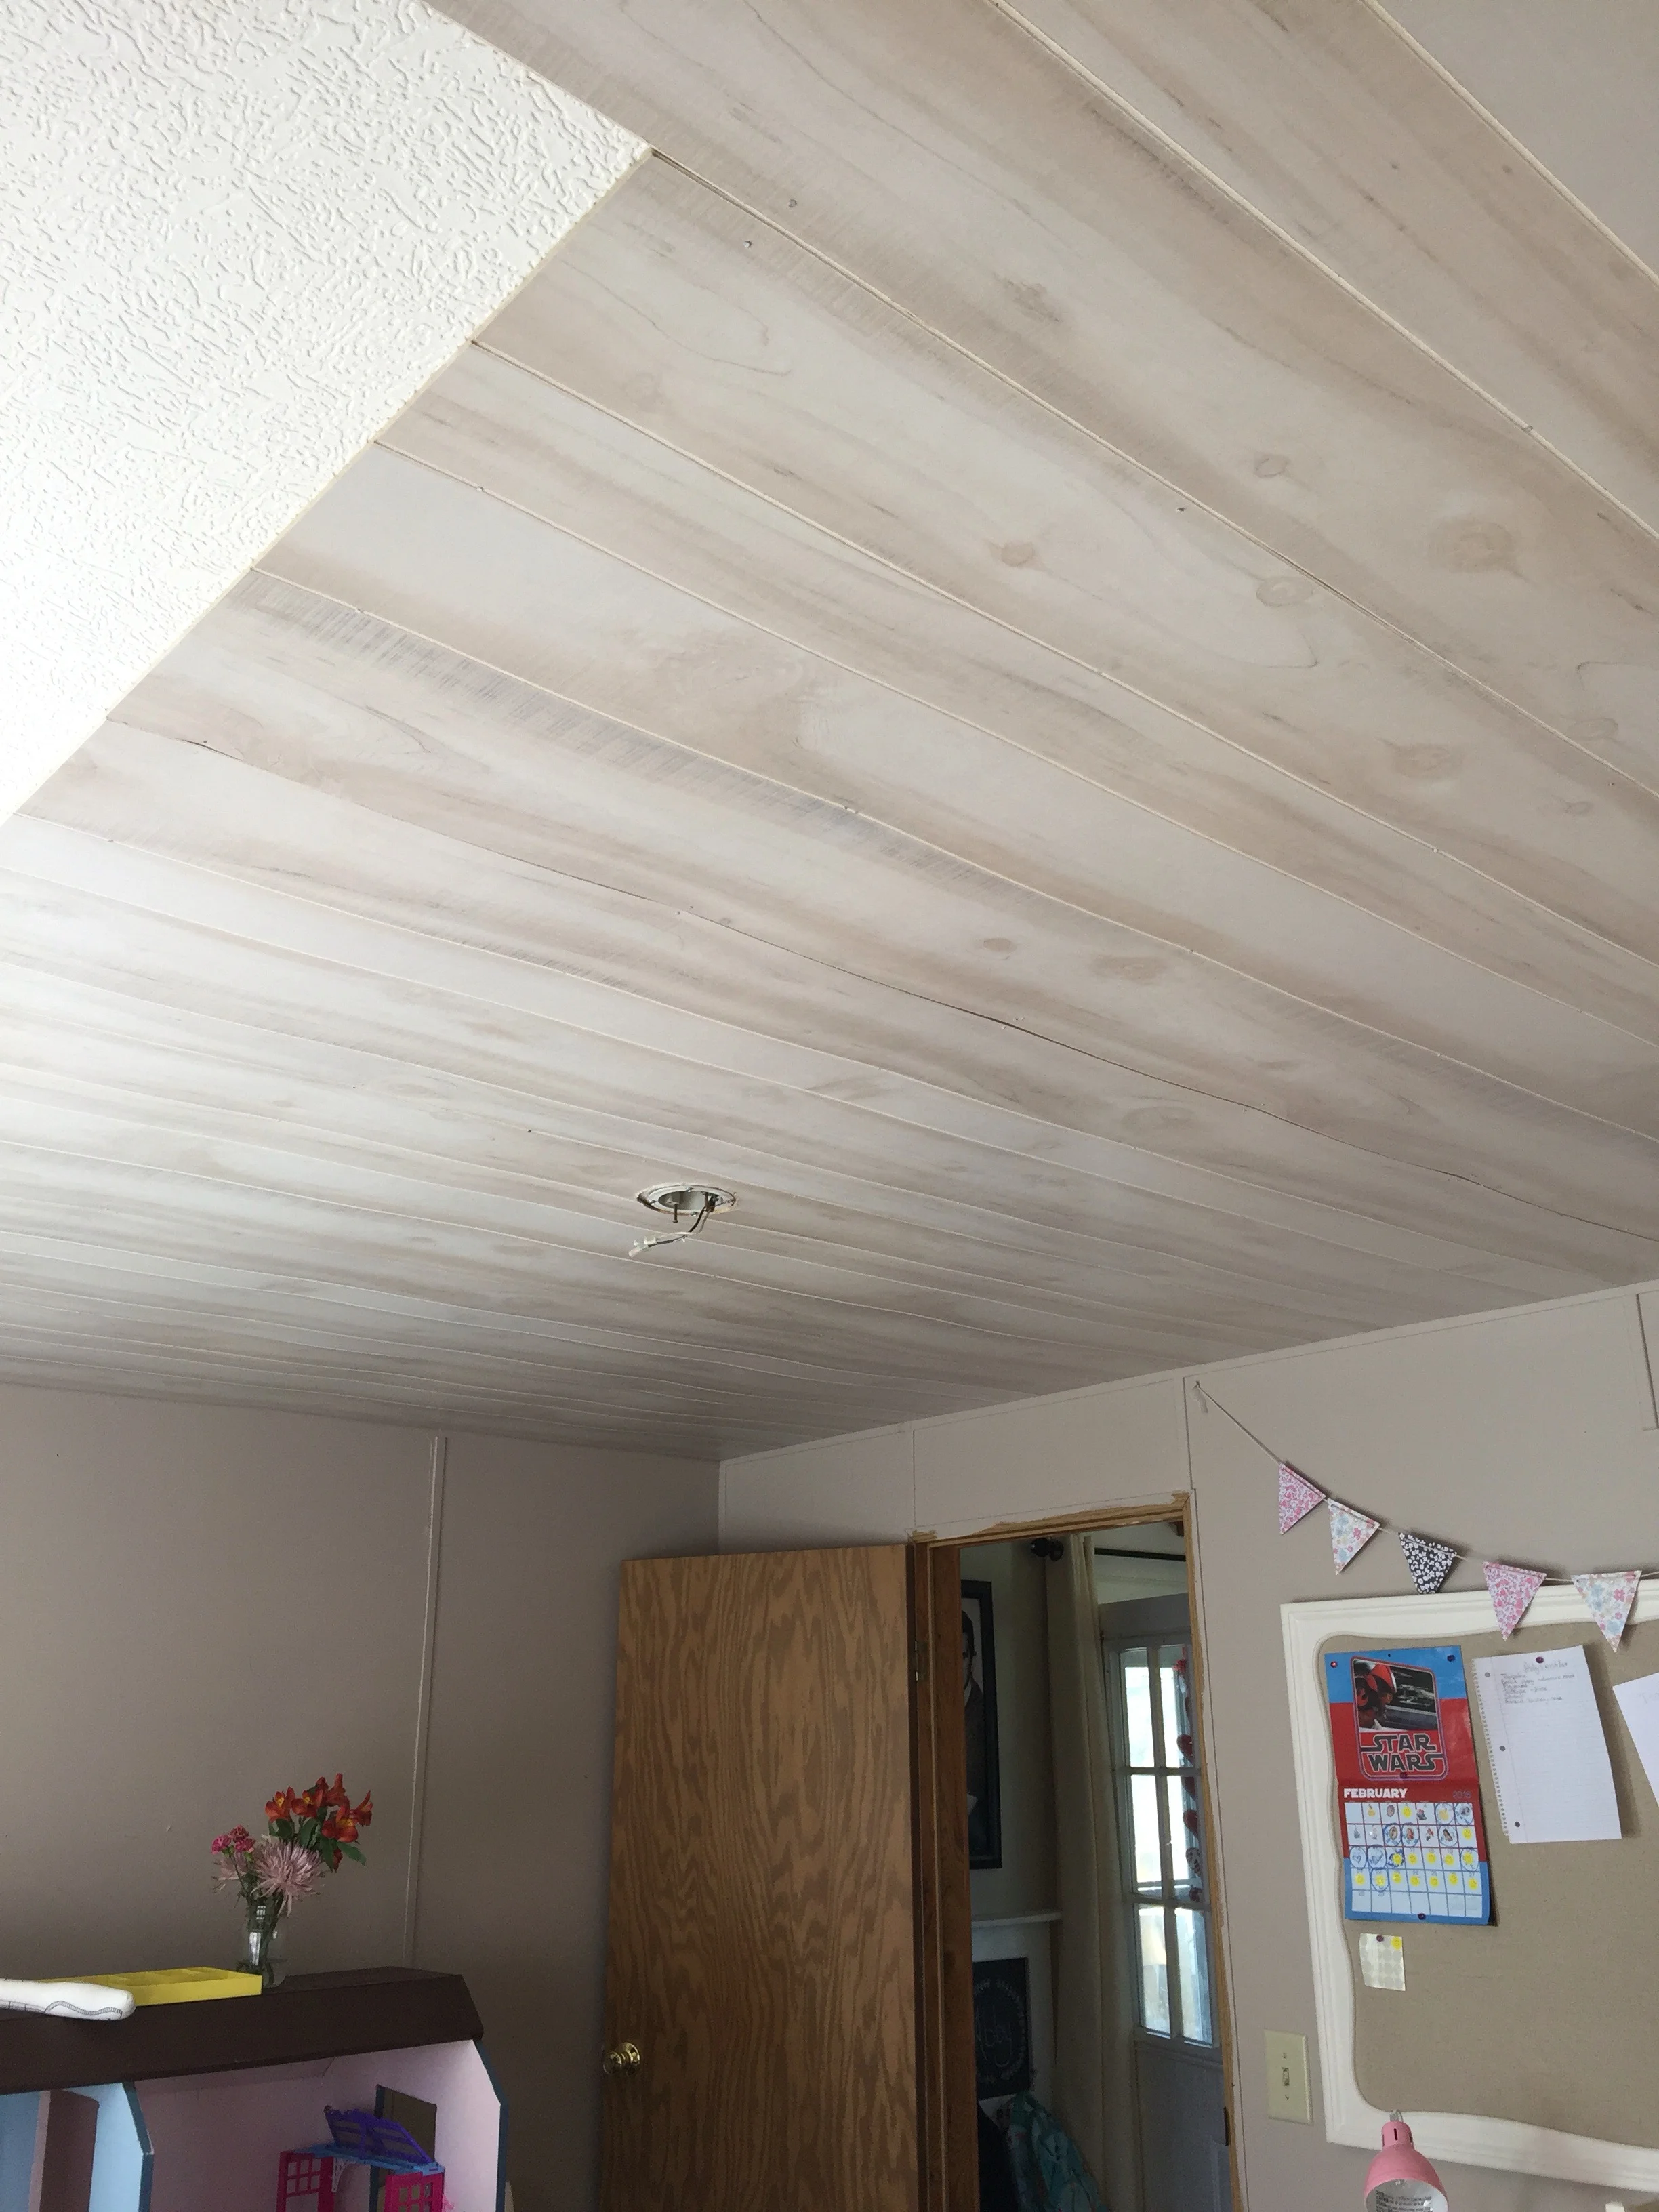
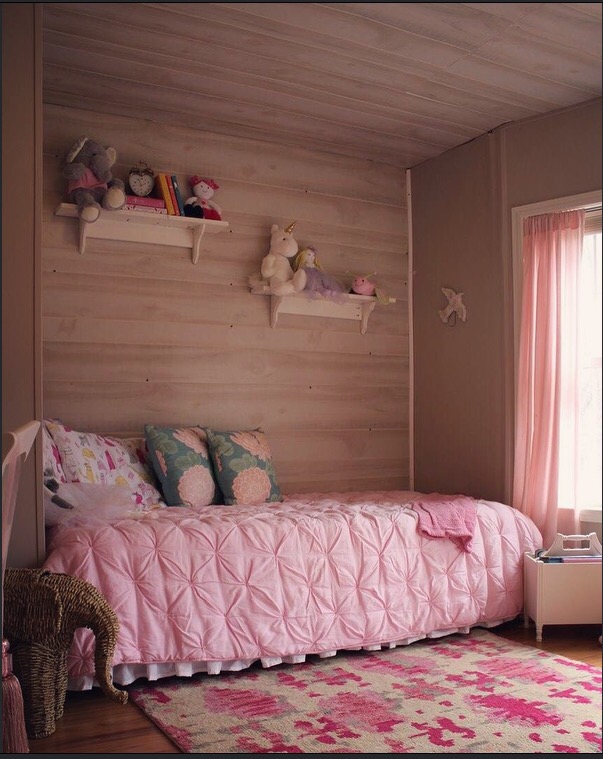
After the paint dried, I added, with some help from my husband these wall panels that I bought from Lowes. I had them cut down (almost) in half at the store to fit in my Jeep and so I could customize the pattern.
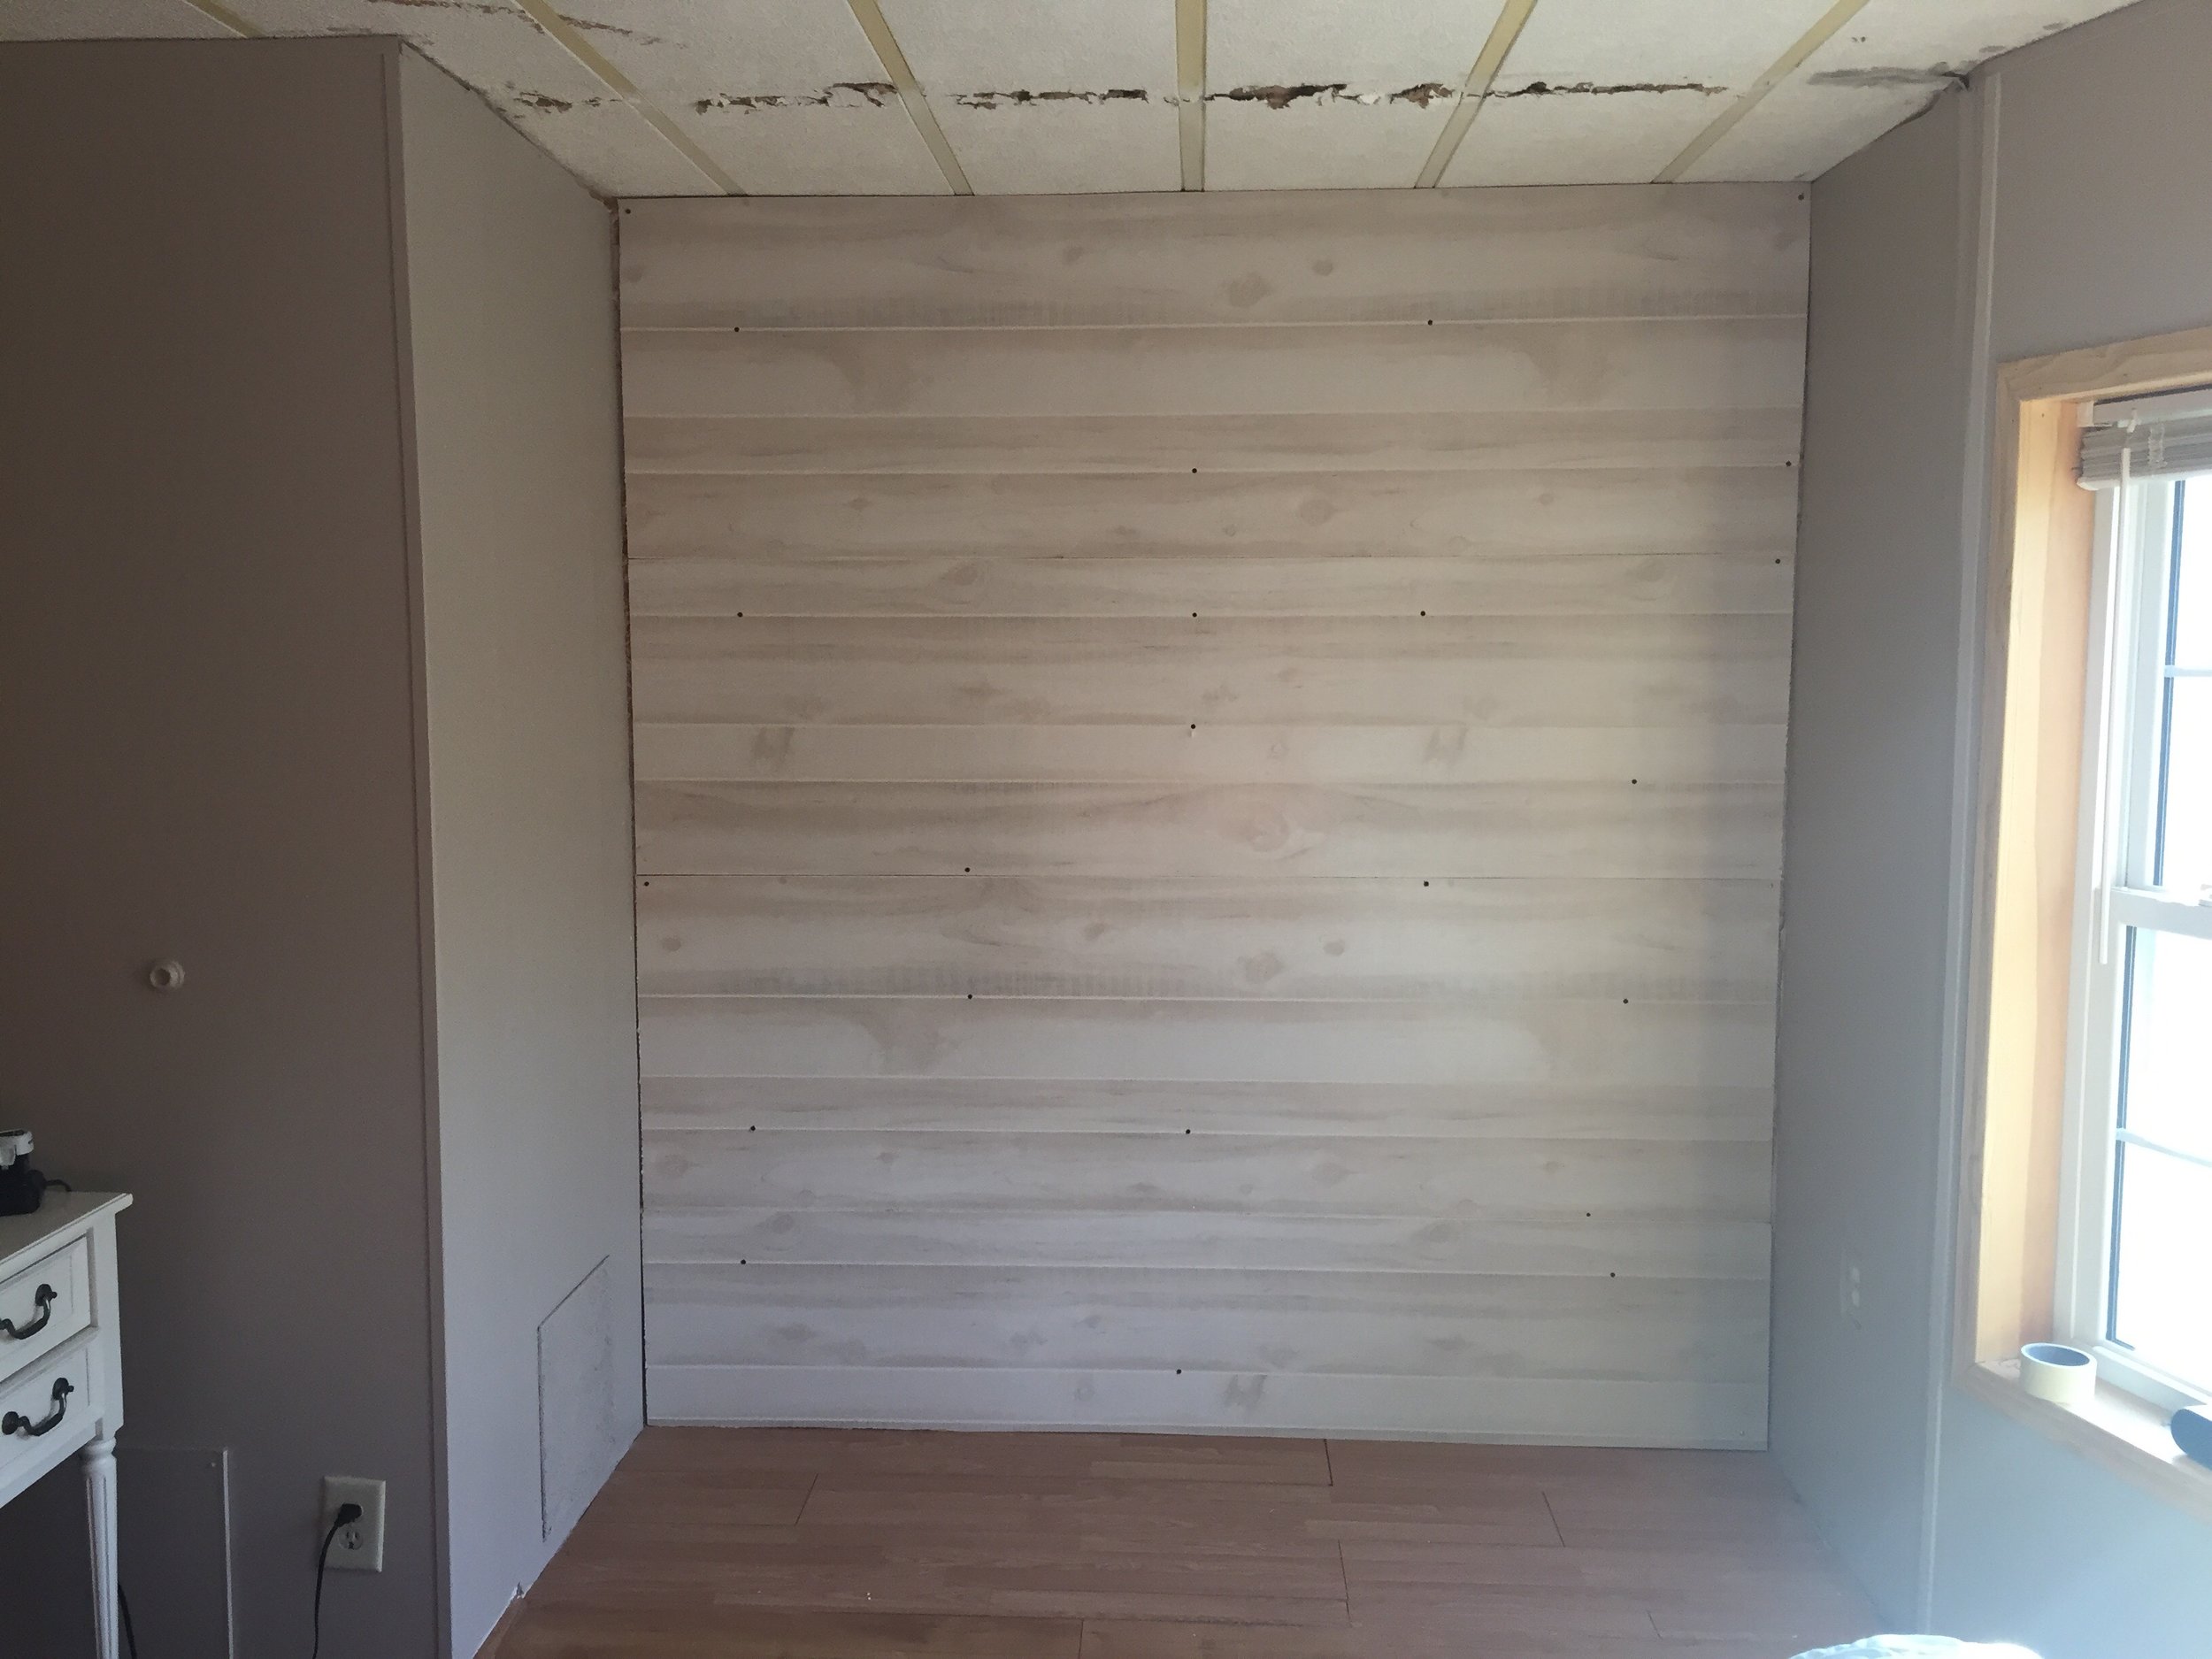
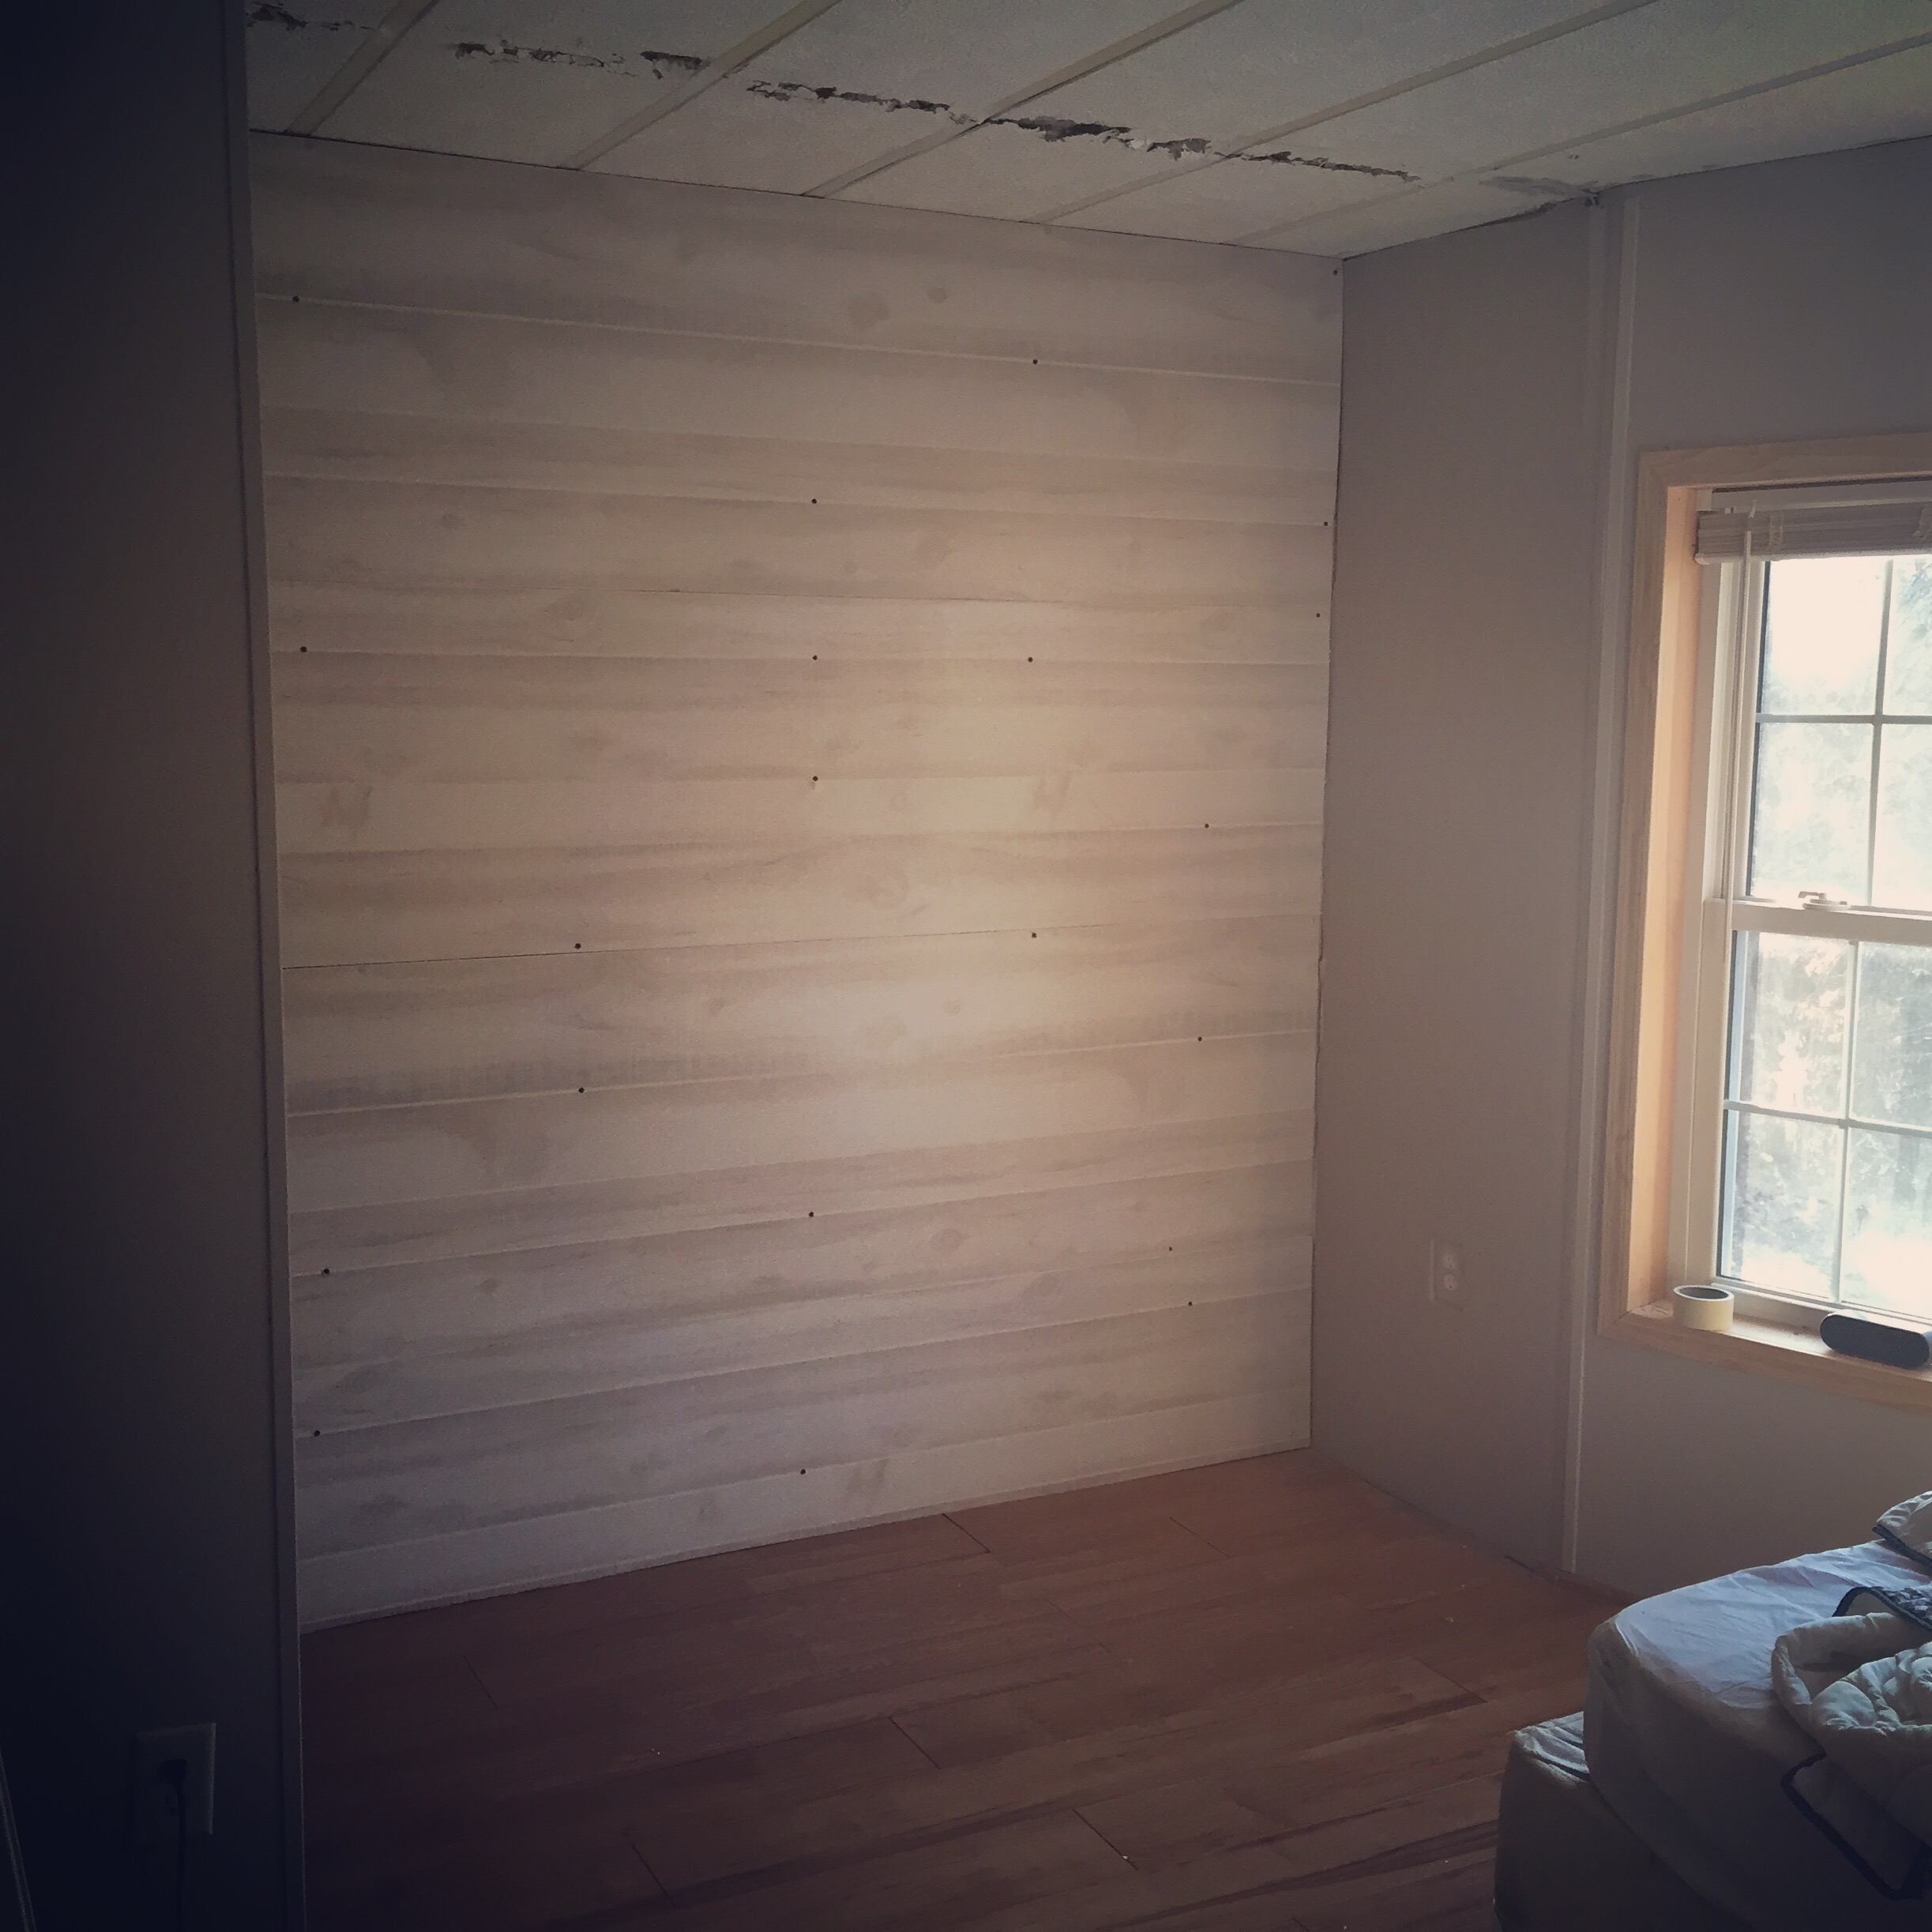
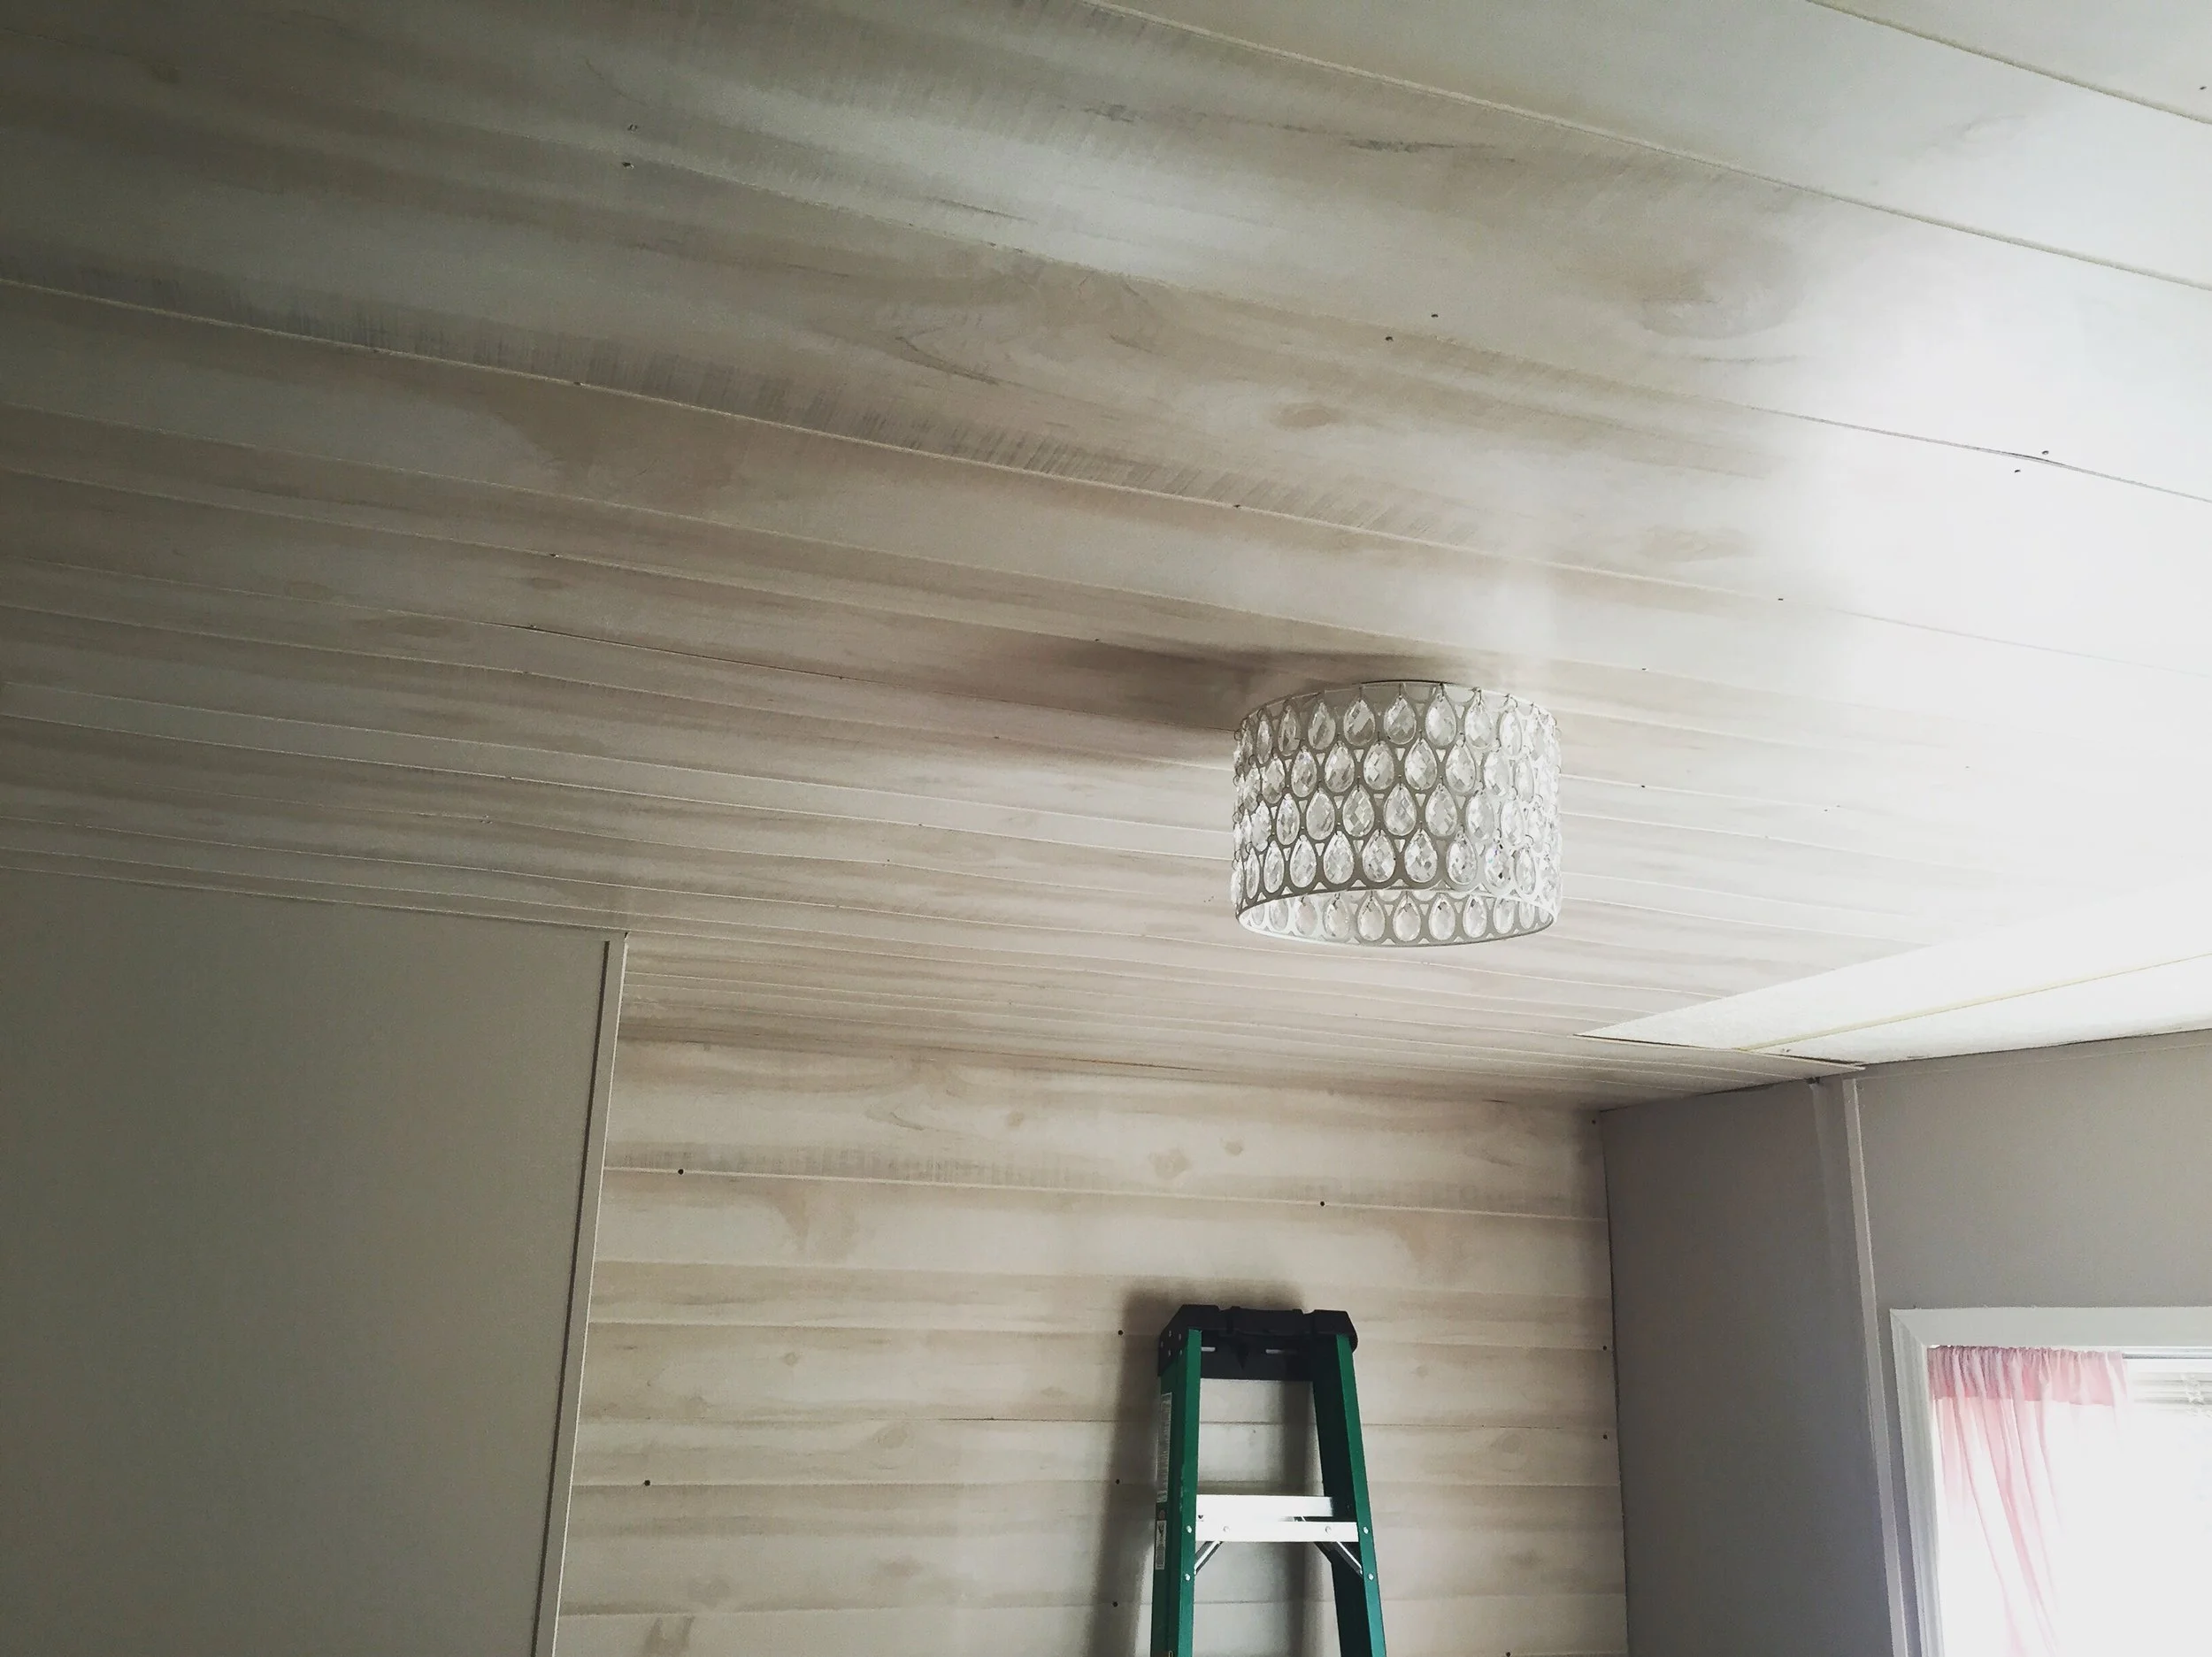
Isn't it beautiful? It's called Coastal Cedar and it has this lovely whitewashed finish. Next we managed to get most of the ceiling done and installed her new flushmount light. But first, here's how I keep all Abigail's art supplies organized.
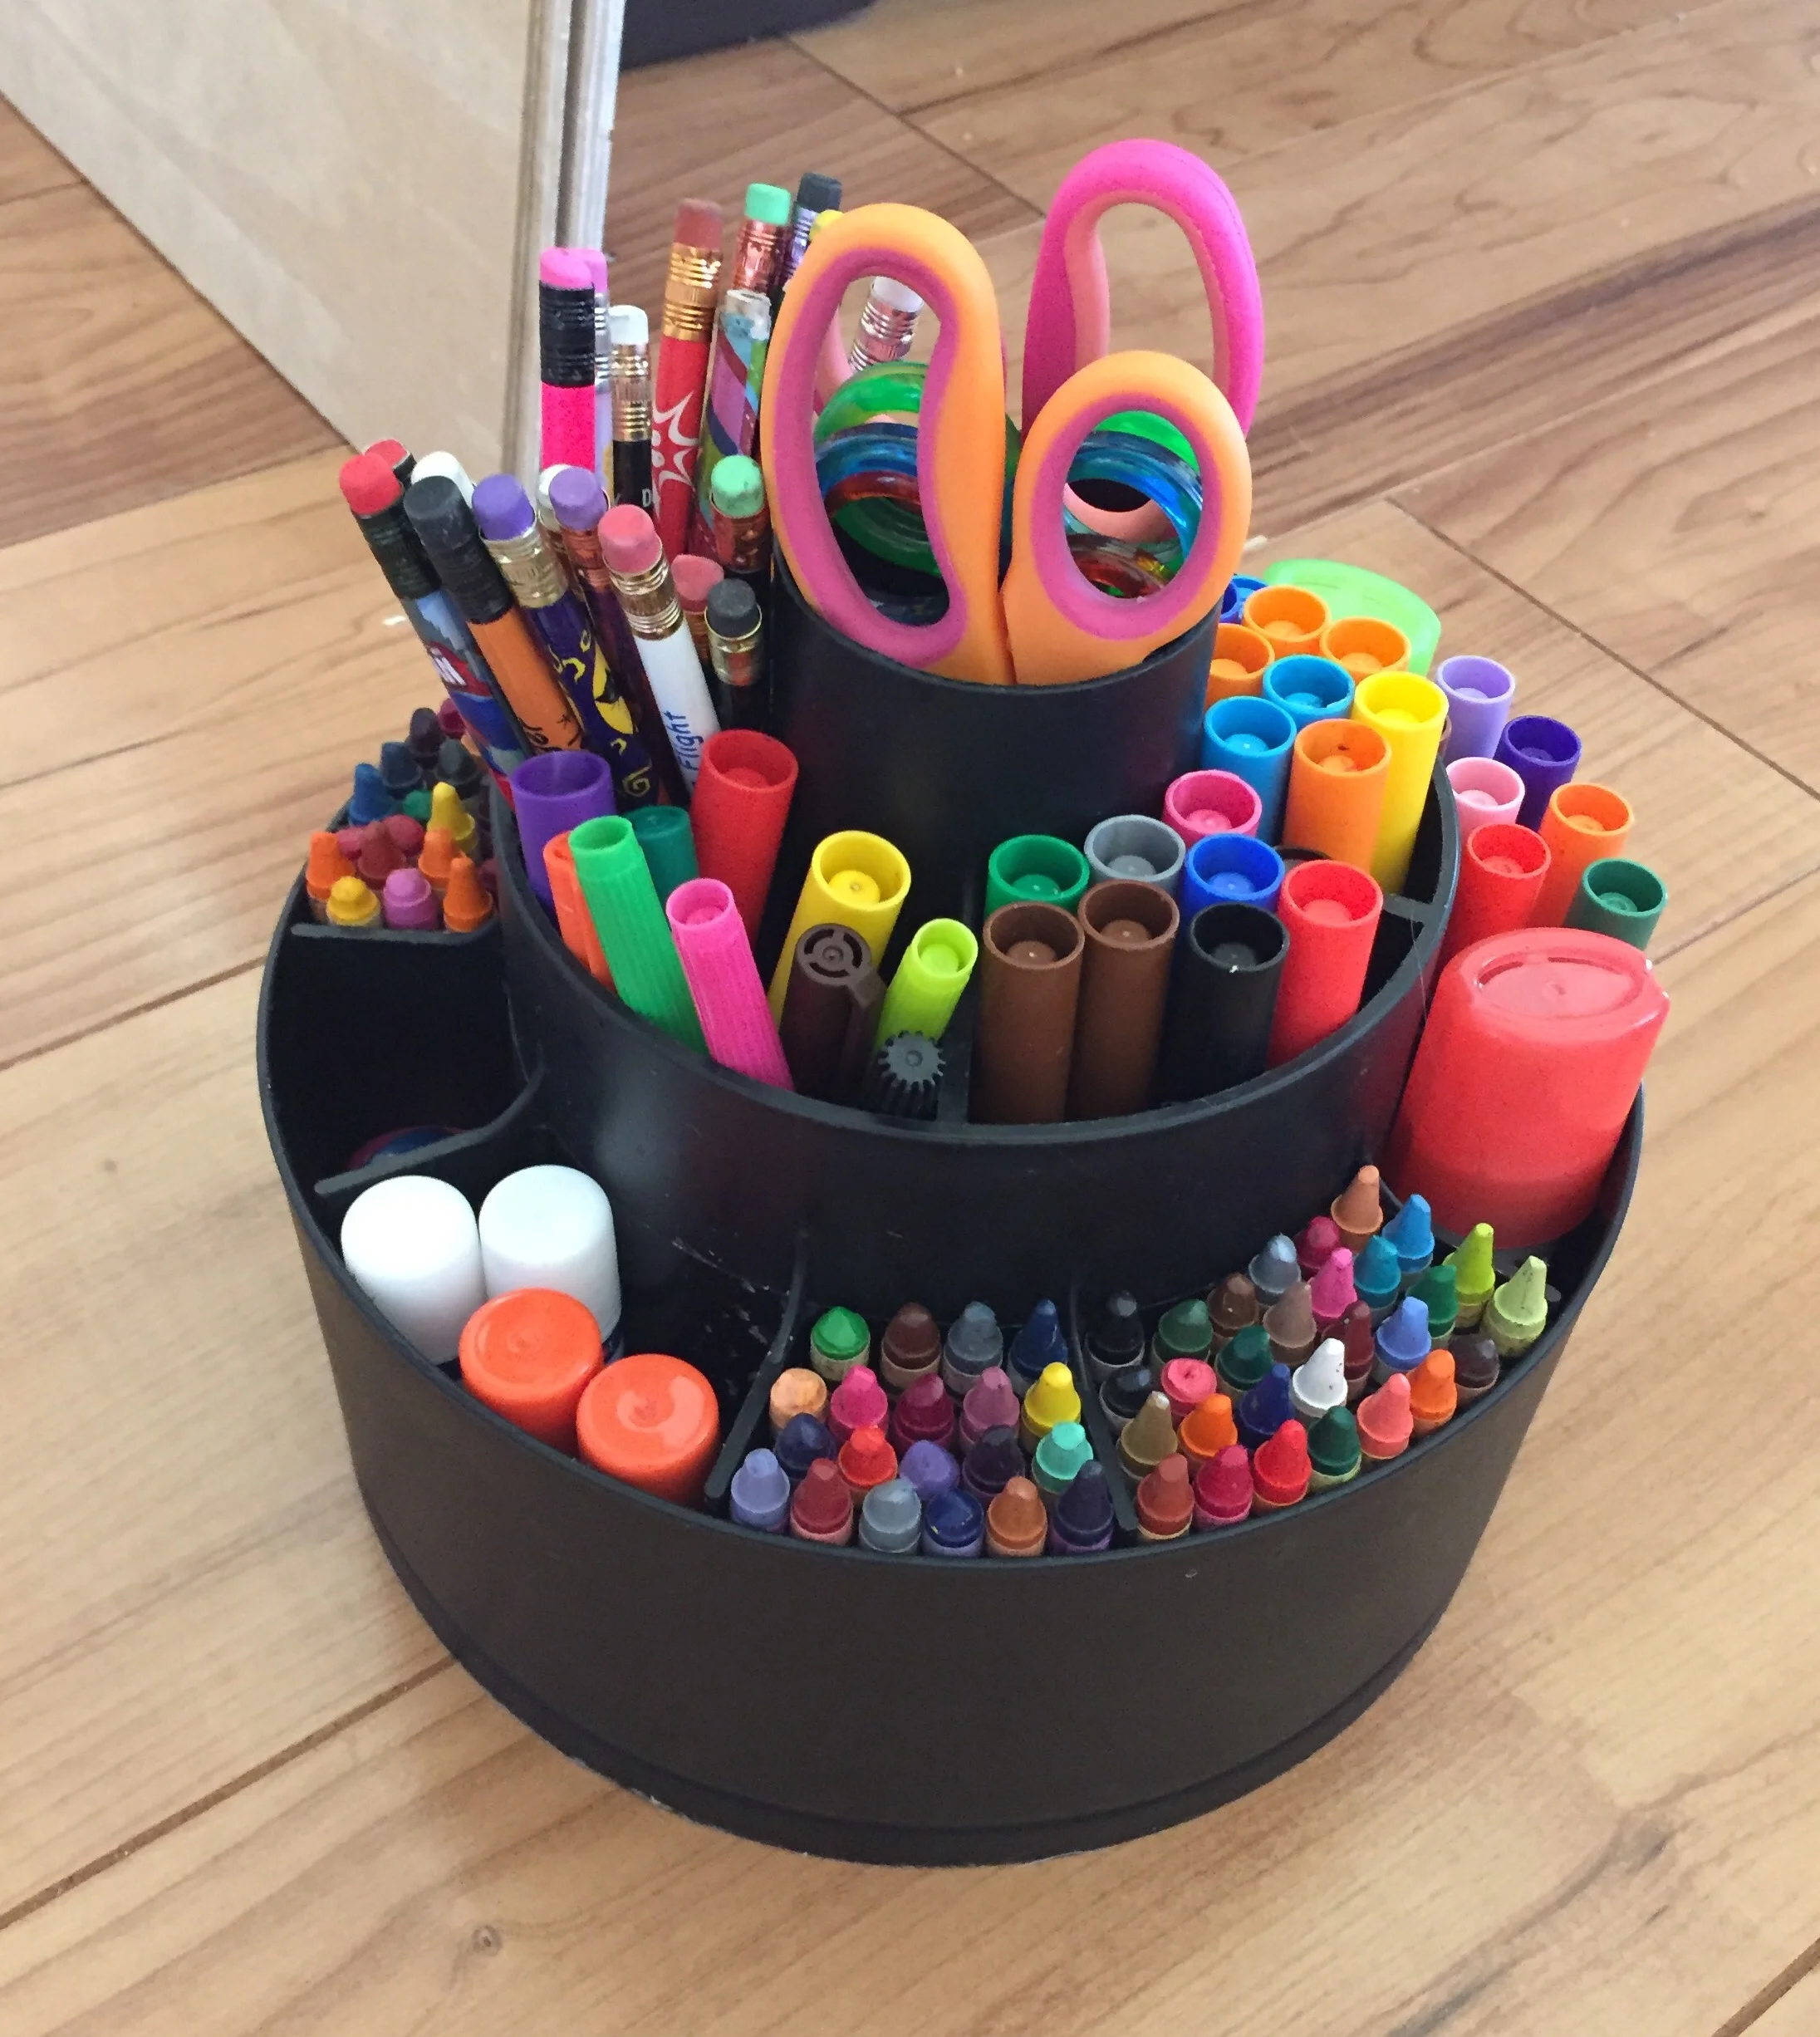
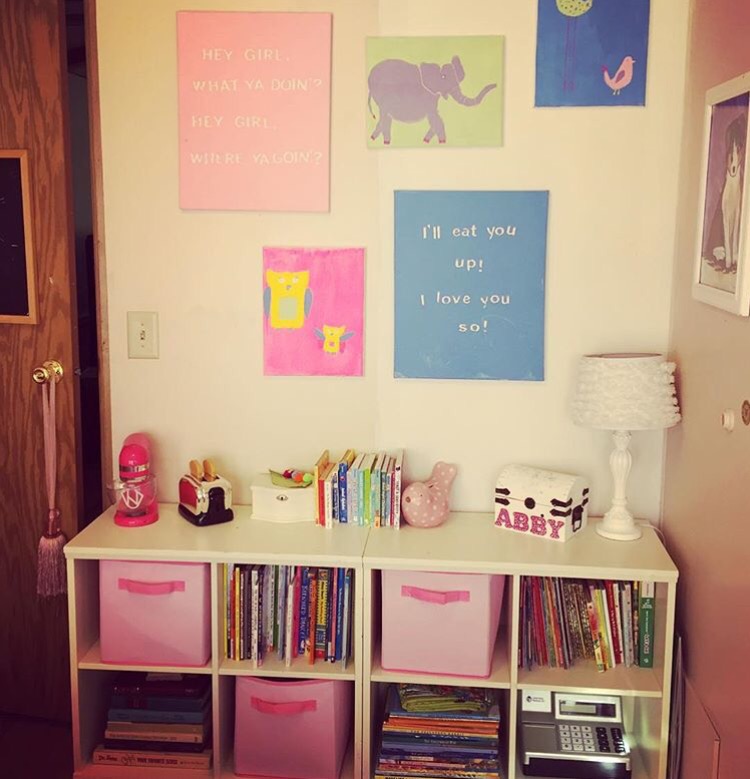
I used a Pampered Chef tool turn-around and put all her markers, glue, scissors, and etc inside. These cost just $19.50! I plan on spray painting it gold at a later date. My daughter loves that all her art supplies are easy to find, and I love that they stay organized. And now on with the ceiling progress.

While my husband and daughter were out at the gym, I got started on the ceiling. My panel pieces were 23-25" wide and 8' long so holding them up myself proved to be quite tricky. I first used our ladder with some books stacked on top (don't be like me. Get a buddy to help you, or two).
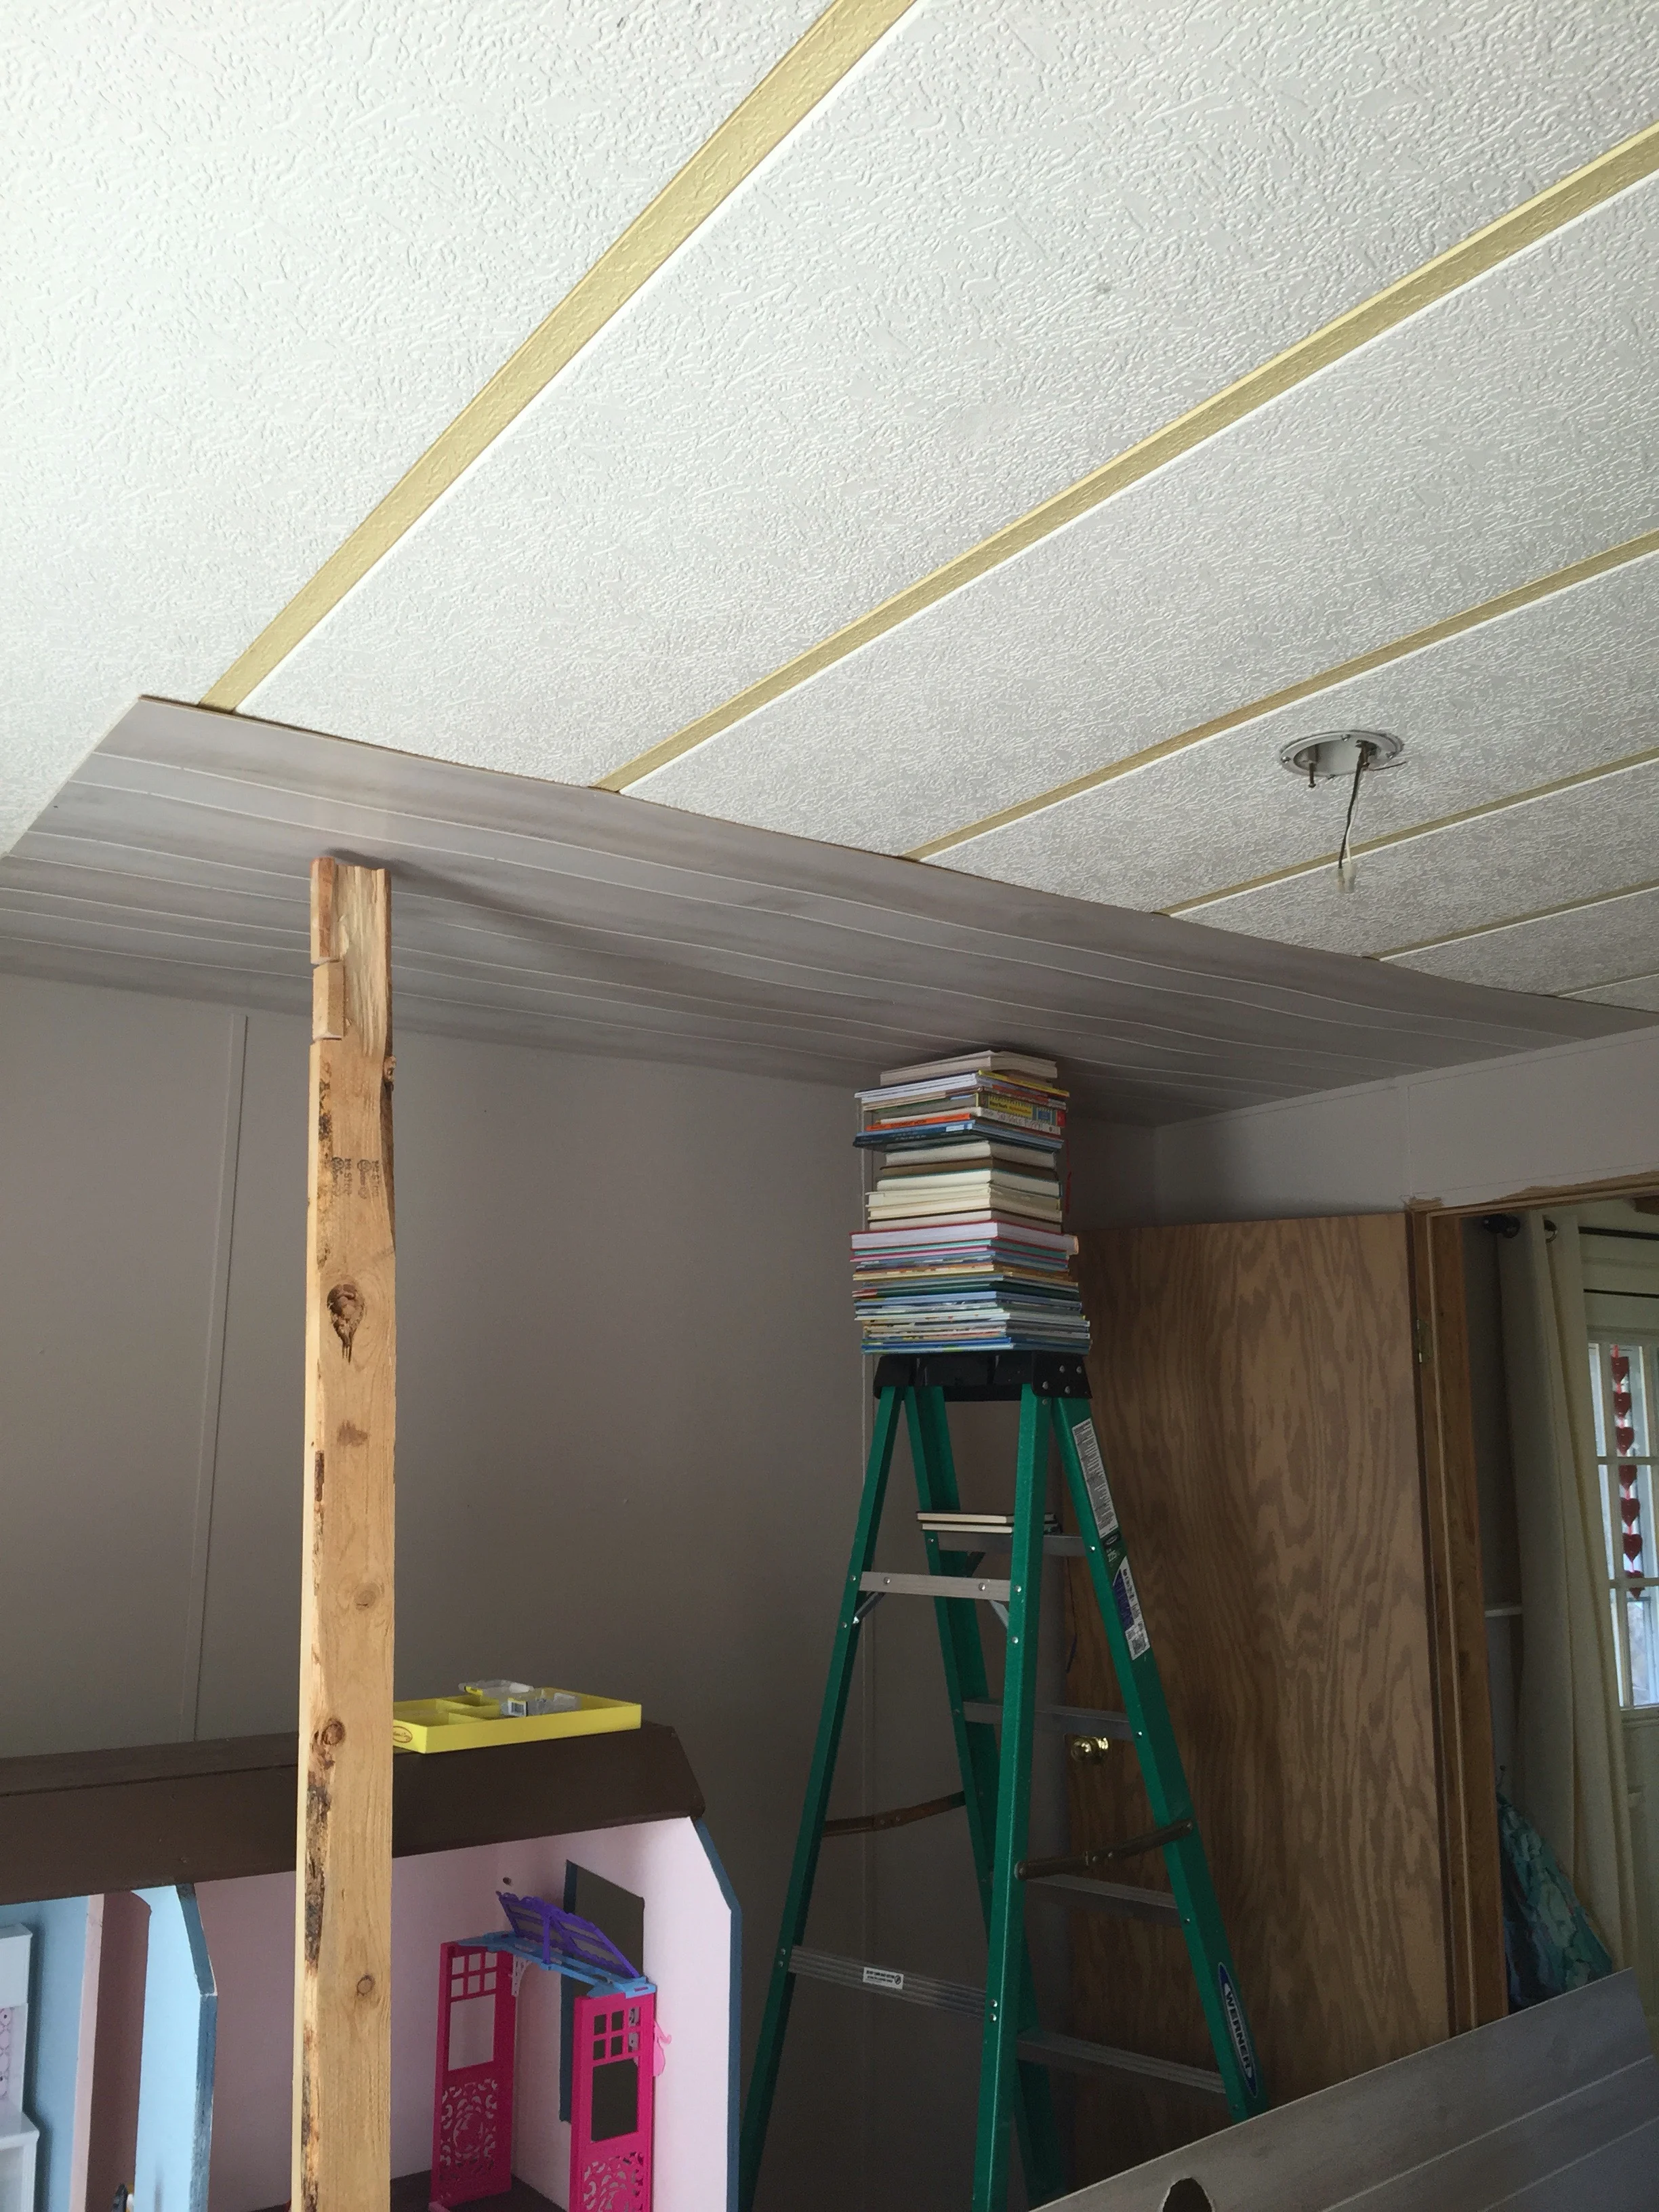
I still had a problem with the panels bowing so I added a stud to help hold the panel up while I nailed it in. I used liquid nail adhesive on the back and then panel nails to hang the panels on the ceiling. It was a long process and my arms, neck and back hate me for it.
I removed the old light and then cut out a hole for the new light. By this time I had reinforcements. With my husbands help, the progress went a lot faster.
It's looking pretty! I got super excited about the progress so I stopped to put up the new light fixture.
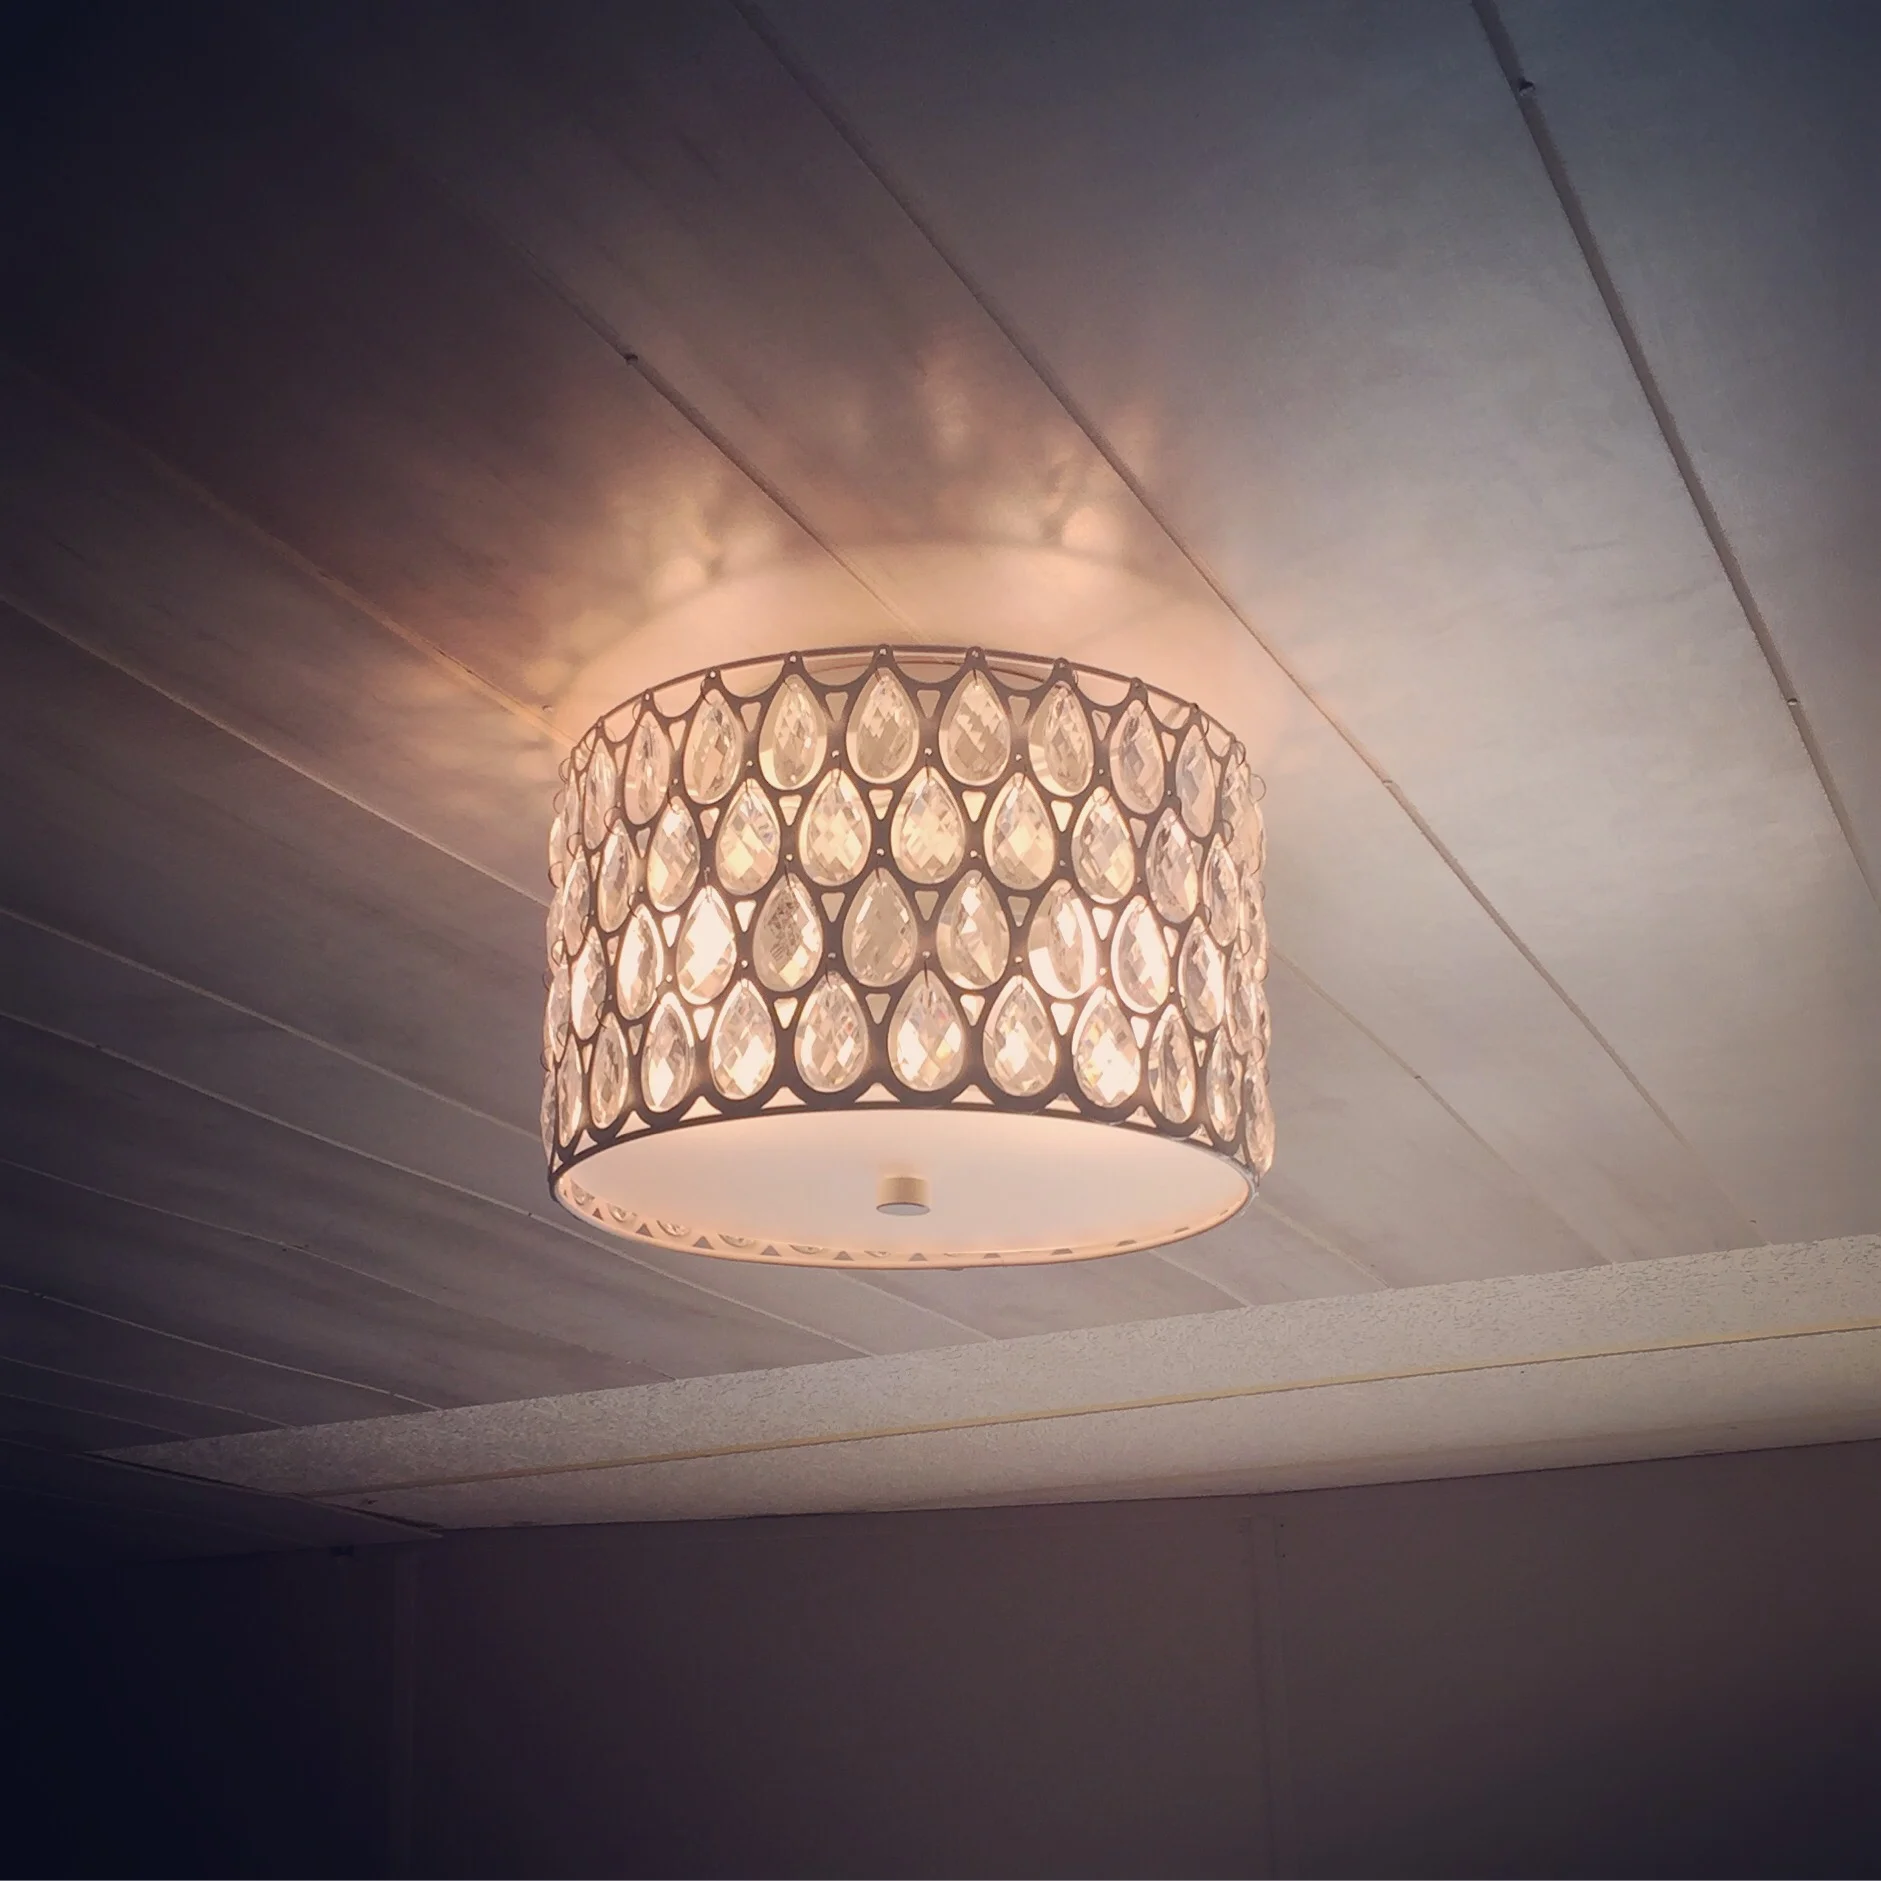
What do y'all think of the waterfall effect of the paneling? I kinda love it! And look at that Ruby flushmount light I got from Pottery Barn Kids, isn't it lovely?!
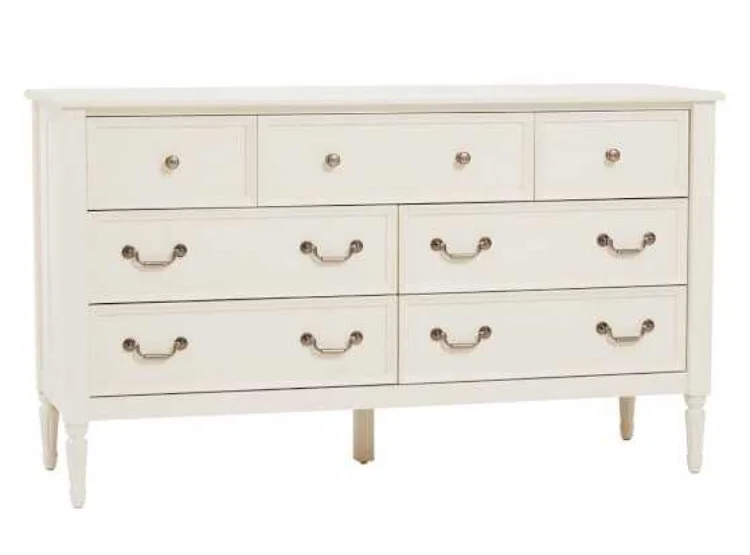
I am pretty happy with my choice to switch dressers last minute. Our original choice was this beautiful Blythe extra-wide dresser.
It matches her desk and it's simply stunning. But I caught a great sale and got this little beauty at less than half the price (Score!).
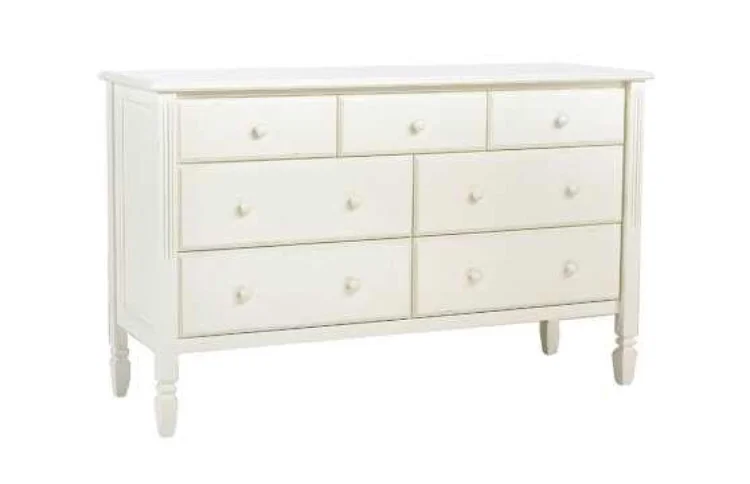
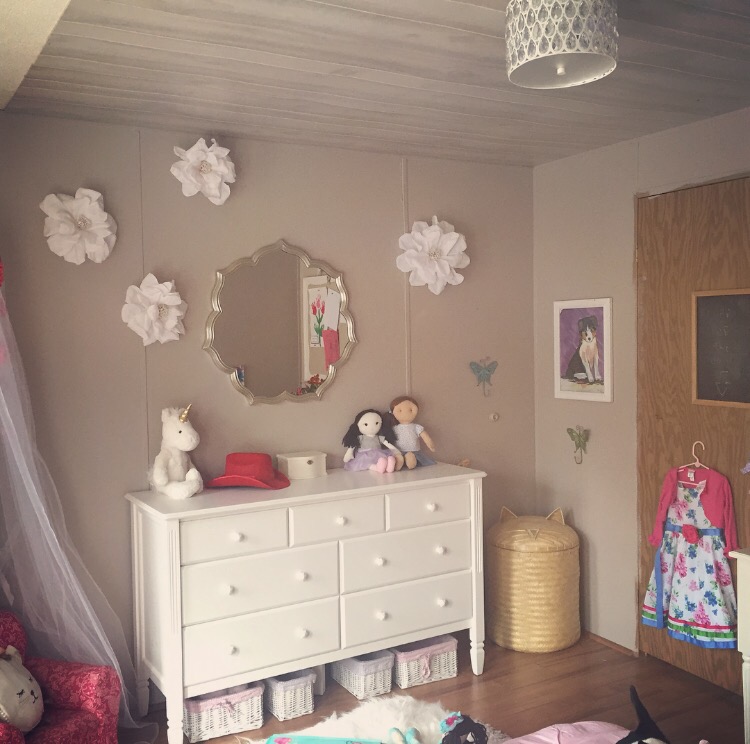
The handles are very simple but I don't mind at all. I love that I can put storage baskets underneath. I played around with her room decor today and I think it looks pretty cute.
I tried to create different activity zones in my daughter's bedroom.
There is a zone for arts & crafts, for sleeping, for reading, for getting dressed, and for playing. I just ordered a new camera, so hopefully I can start taking clearer images. iPhone pics only go so far.
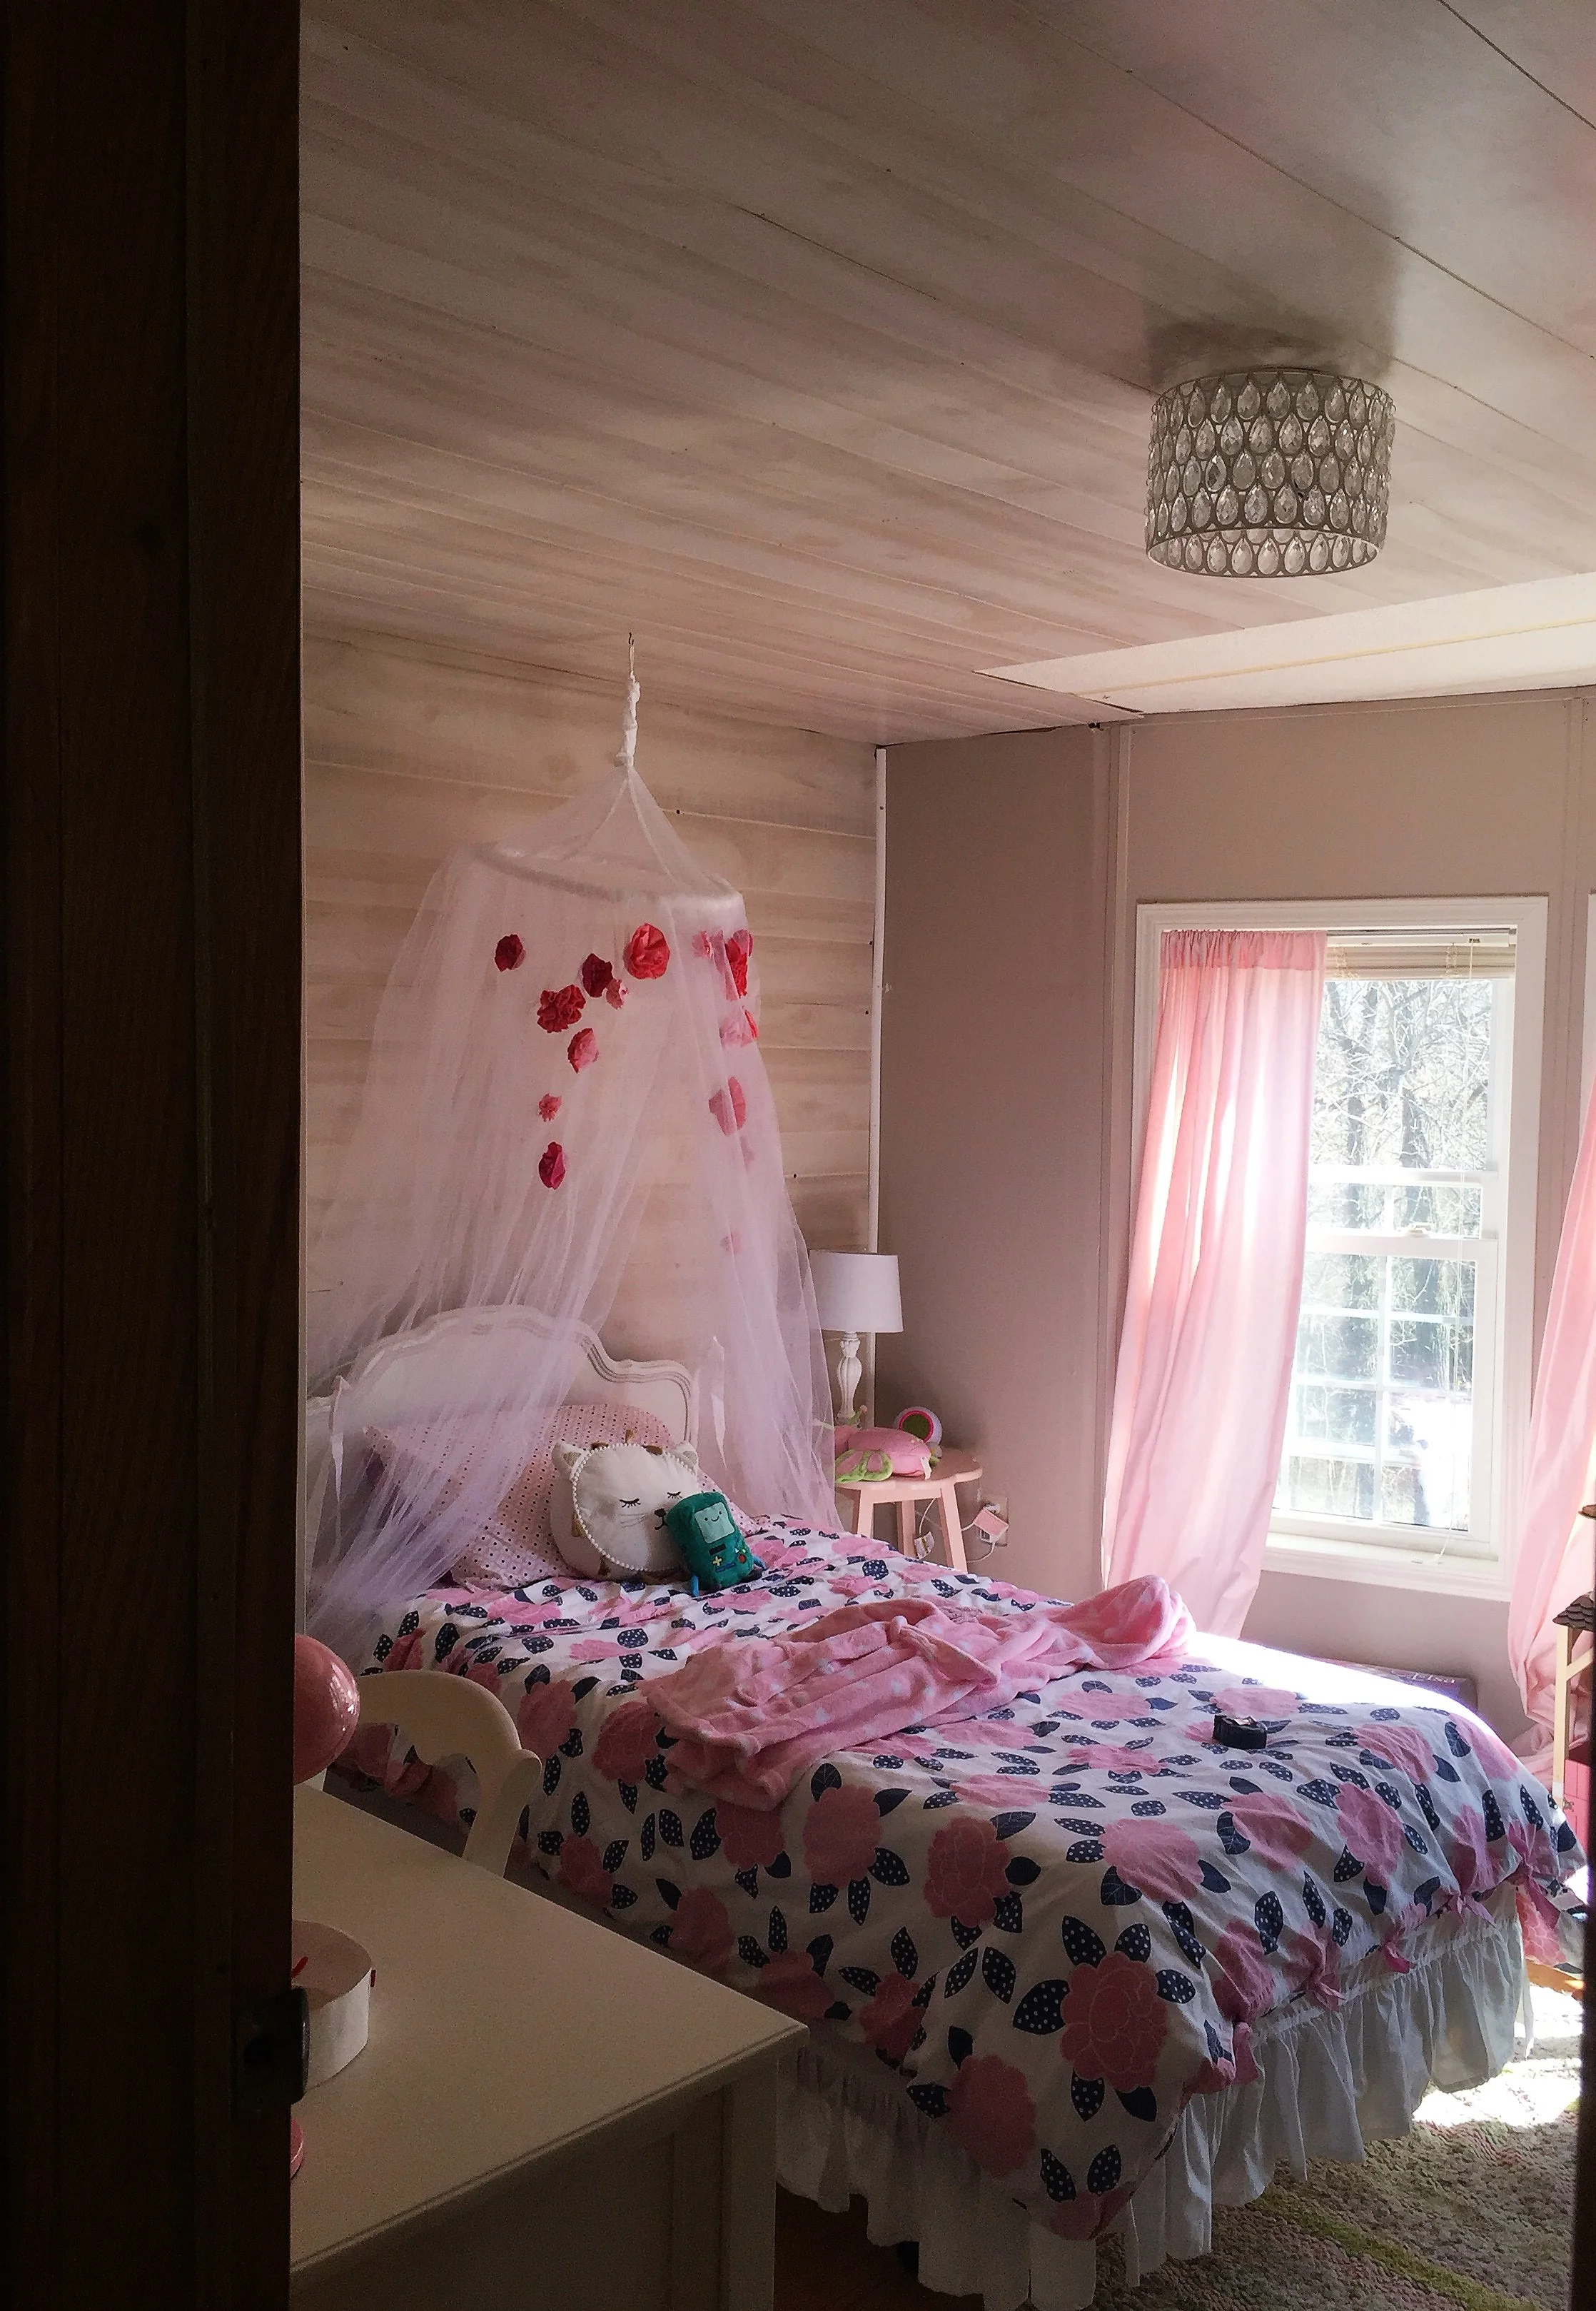
We were originally going to build a four-poster bed with an upholstered head and foot board (and I still may) but the room was feeling to formal. There is plenty of softness in the space so I knew I wanted to add a fun piece with a harder surface to try to balance the room.
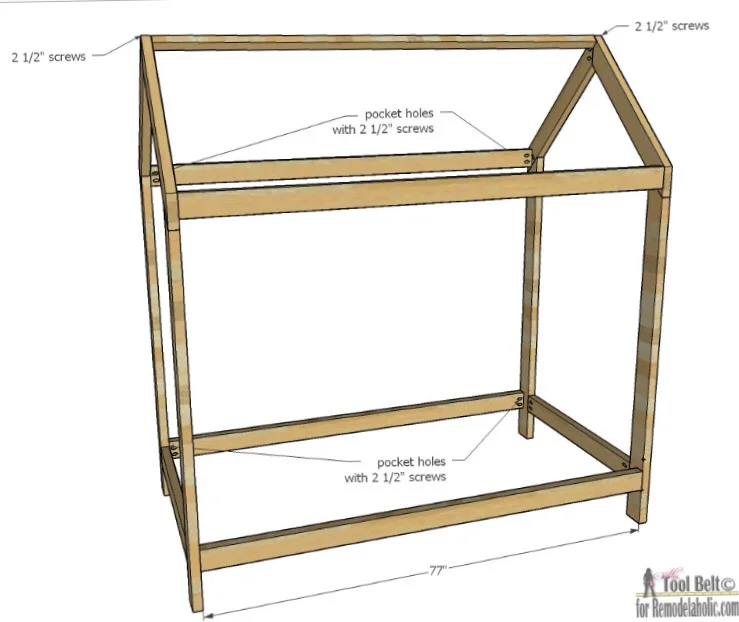
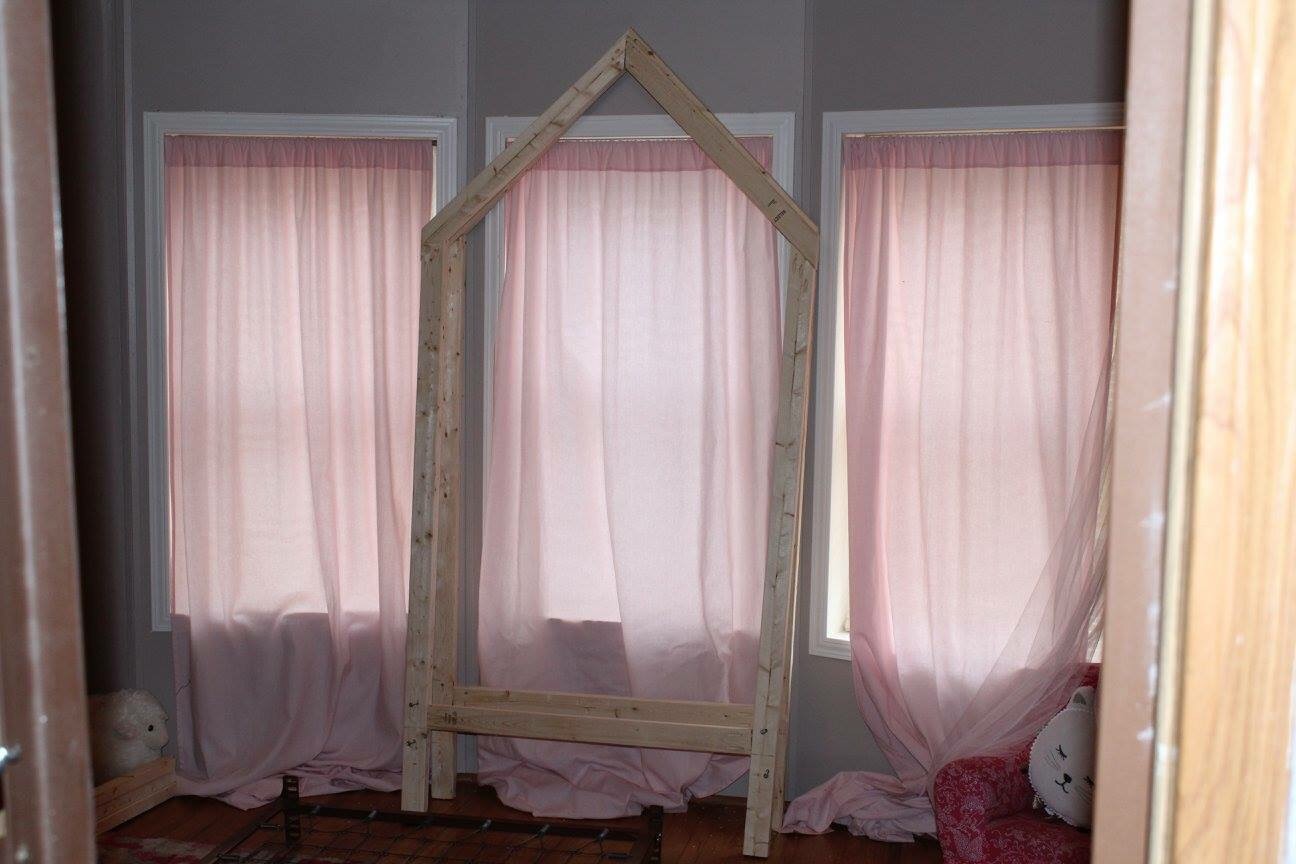
I came across these house bed building plans from remodelaholic.com awhile ago and had been entertaining the idea of this bed for Abigail's room. Kids grow up so fast, I want to make her room lovely and fun. This bed was definitely fun.
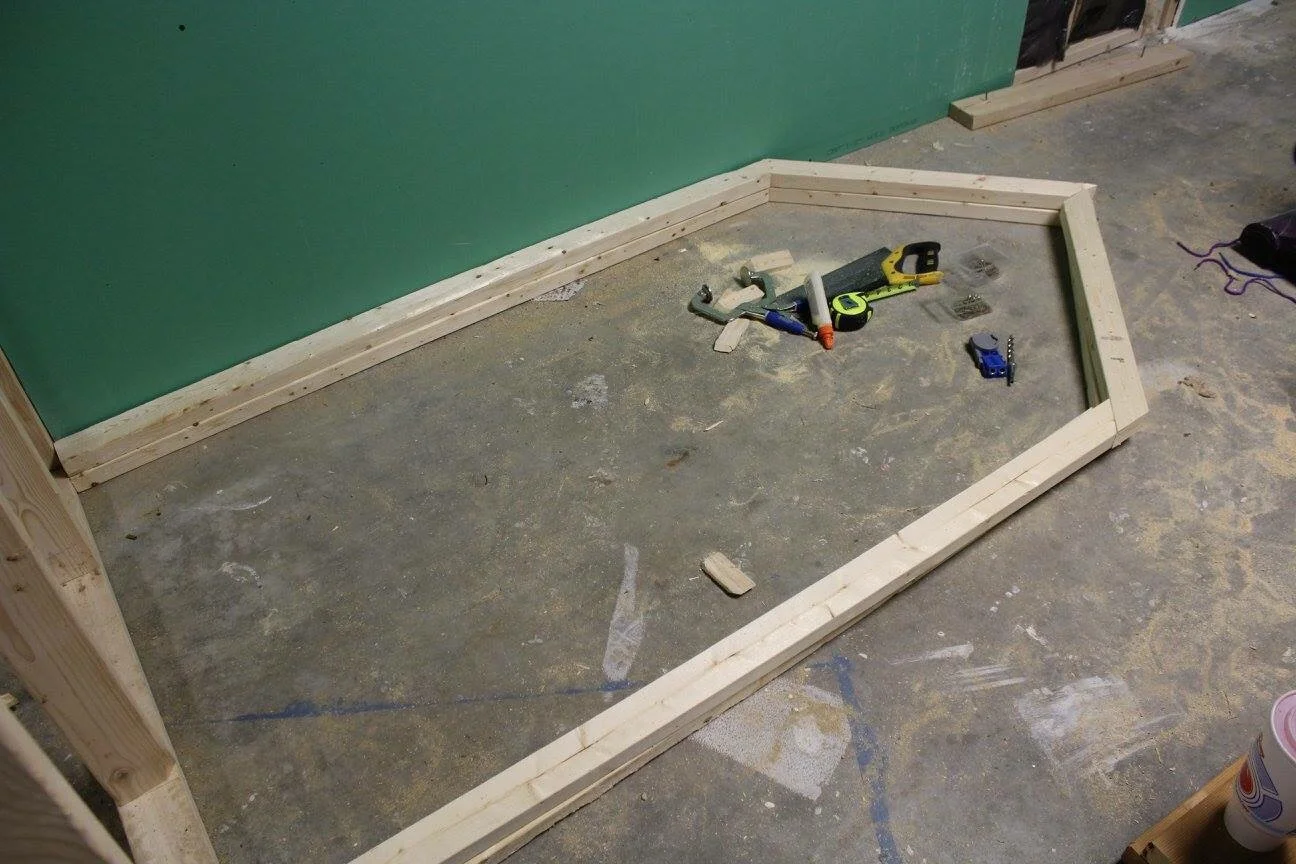
So I got to work, I choose 2x3's instead of the 2x4's from the plan to make it a little more delicate (and to fit in the small space better). I was using the metal bed frame I already had, so I measured and cut to its specifications. Since I was using a trundle bed underneath, I made sure I attached the frame high enough so it could easily roll in and out.
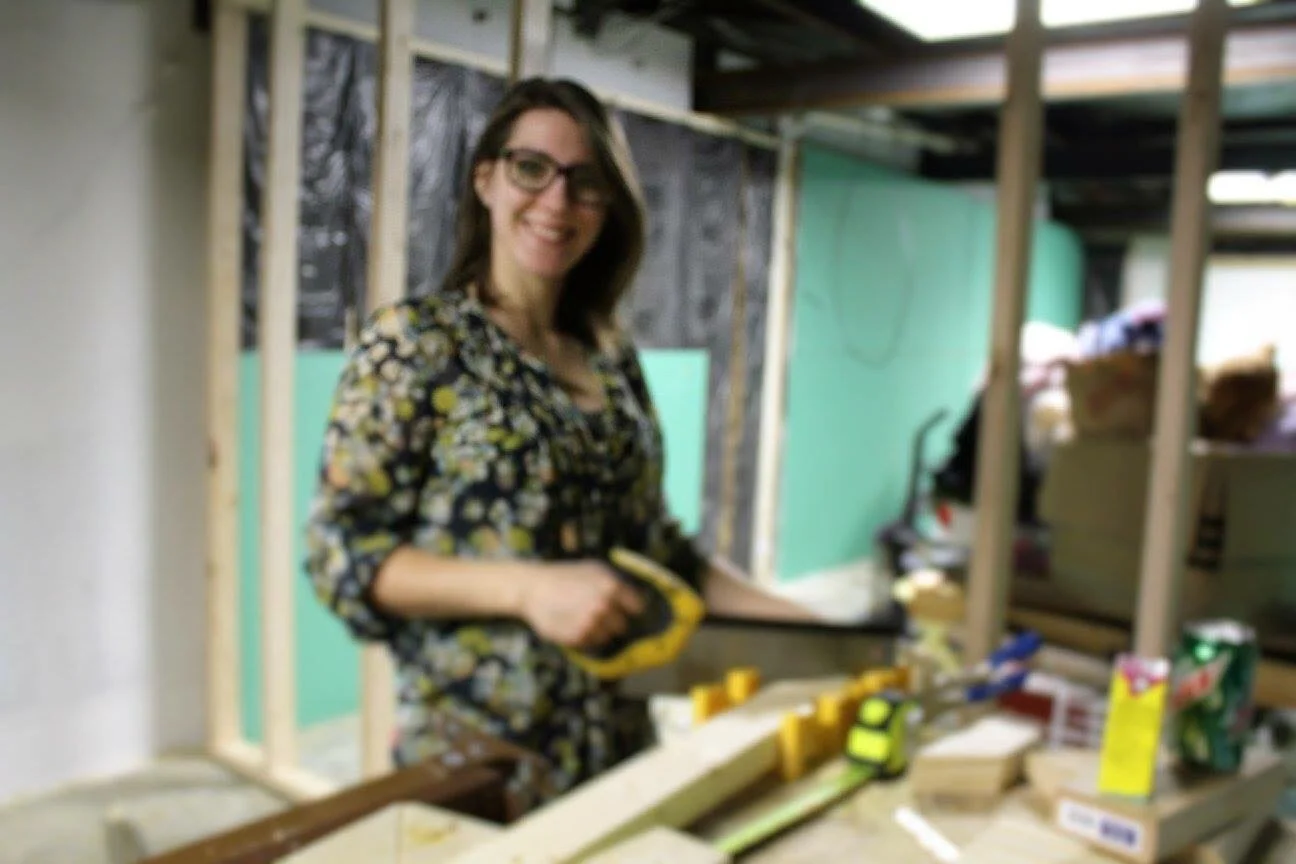
(Please excuse the blurry picture, selfies are hard.) 😂
Cutting the angles was the hardest part of this build, I used a hand saw guide to make the 45 degree cuts. Then I assembled the pieces with my Kregjig and wood glue.

I wanted to position the bed in front of the windows. Unfortunately I made the bed a little too tall and it was hitting the ceiling fixture. I moved it over to where the old bed sat to correct the problem.
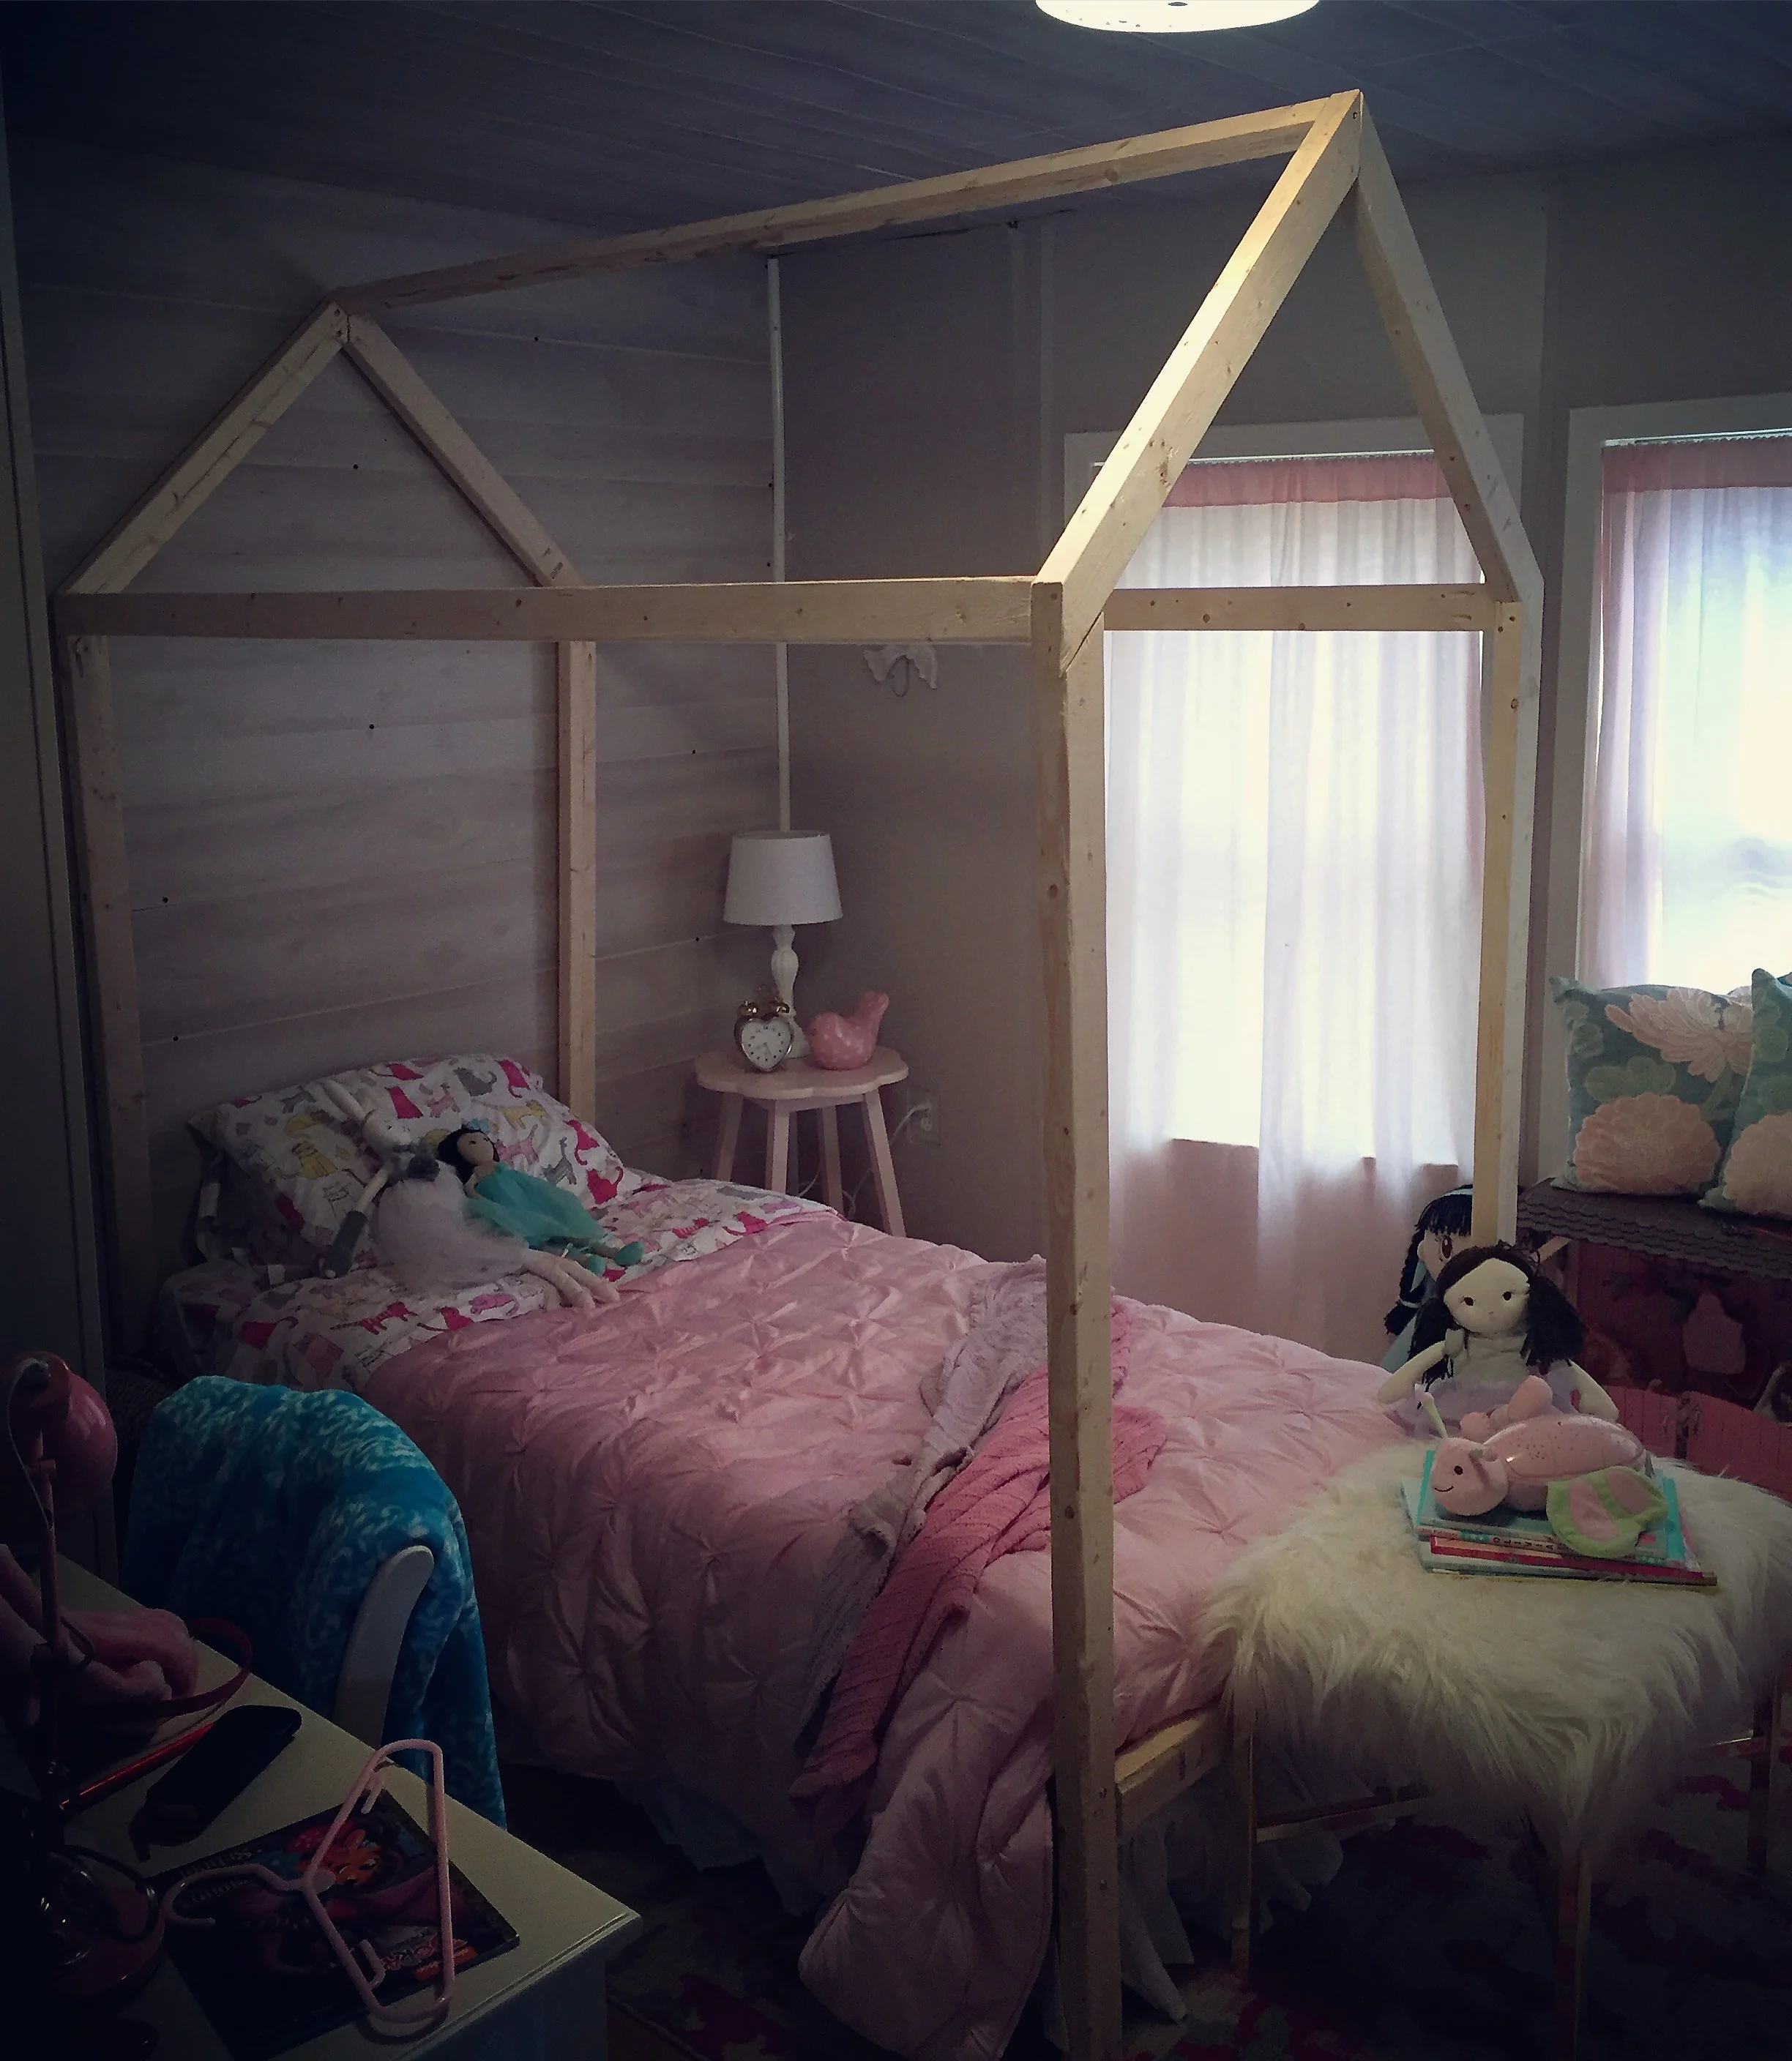
I like the natural wood but I think it would look better painted. After putting the bed in the room I kinda feel like it may be too big for the space.
Now, I have finally finished my daughter's bedroom. It was such a labor of love, I think it turned out to be a sweet space. The room before was so cramped and there was nowhere to do activities. Now she has a place to sleep, read, do her arts and crafts, and lots of room to play.

This is my daughter Abigail, she is the sweetest, silliest little girl. I'm so happy to give her a special room after moving her to three different states, two different schools, and about 5 different houses in 5 short years (military kid problems). She is such a trooper and I'm so proud of her everyday.
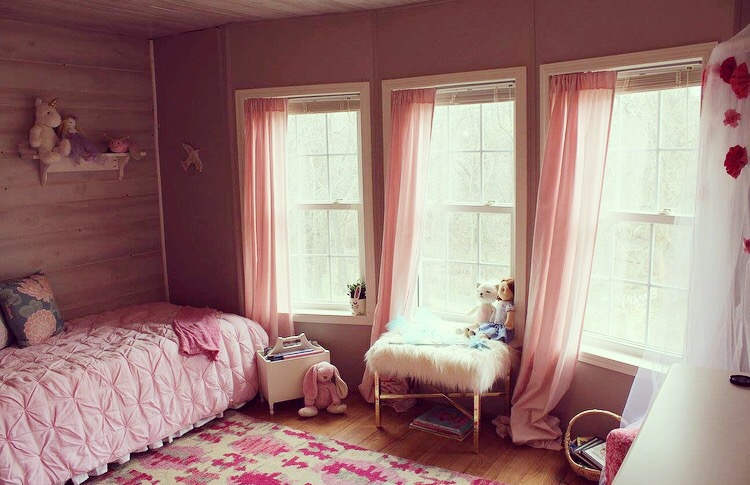
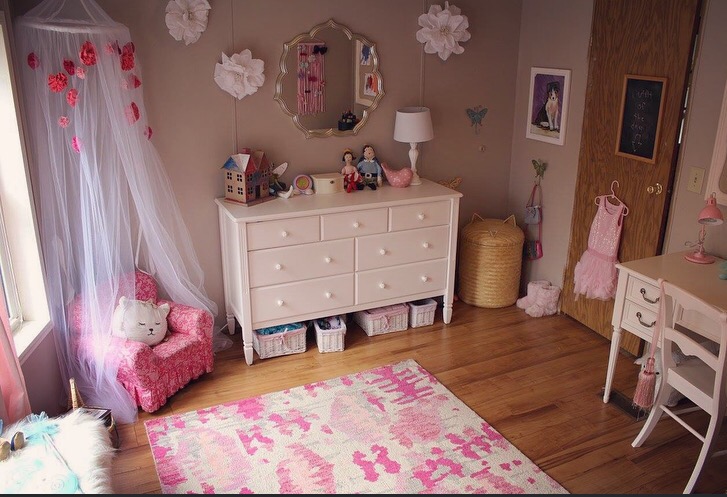
I think it's great that the space isn't too theme-y (is that a word?) and my daughter can grow in this room. I love all the small details that reflect her beautiful spirit.
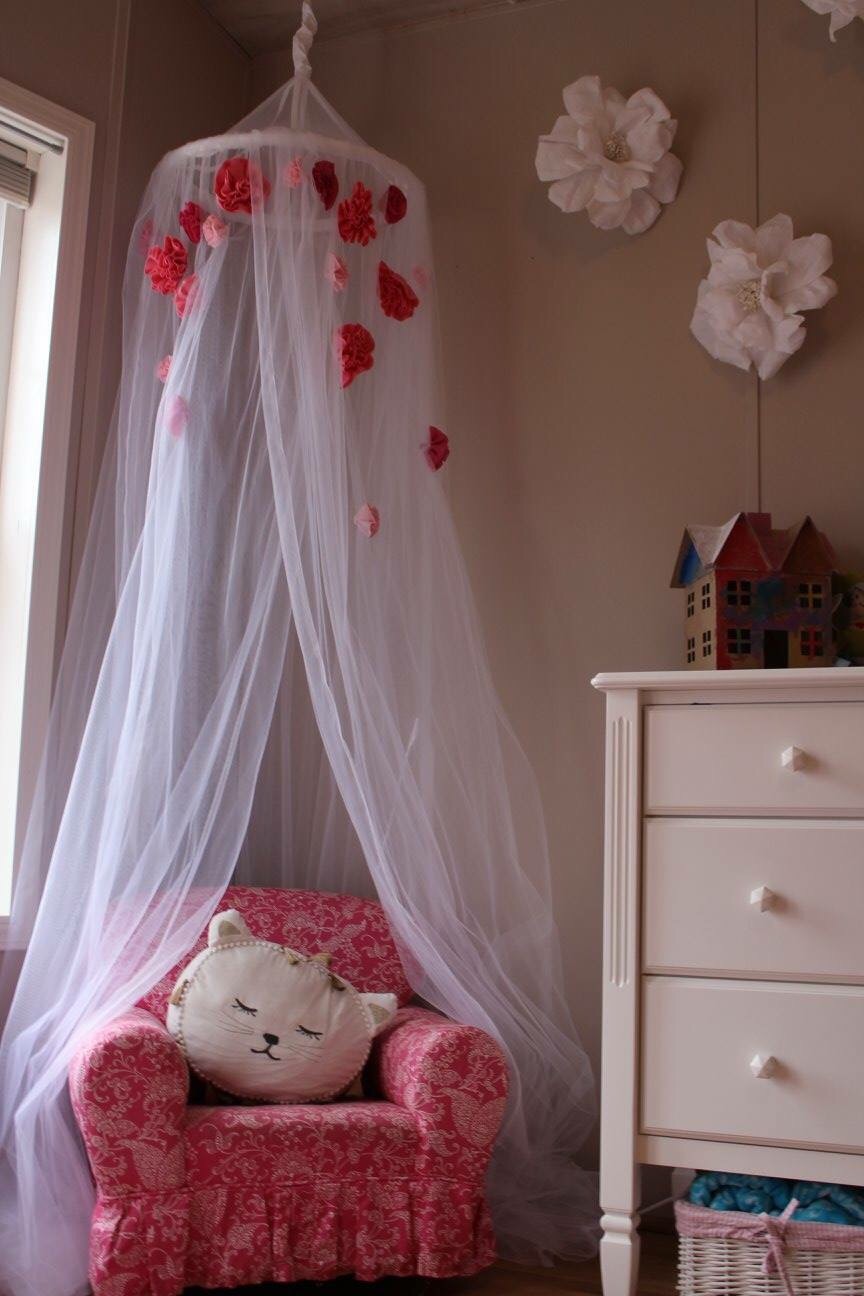
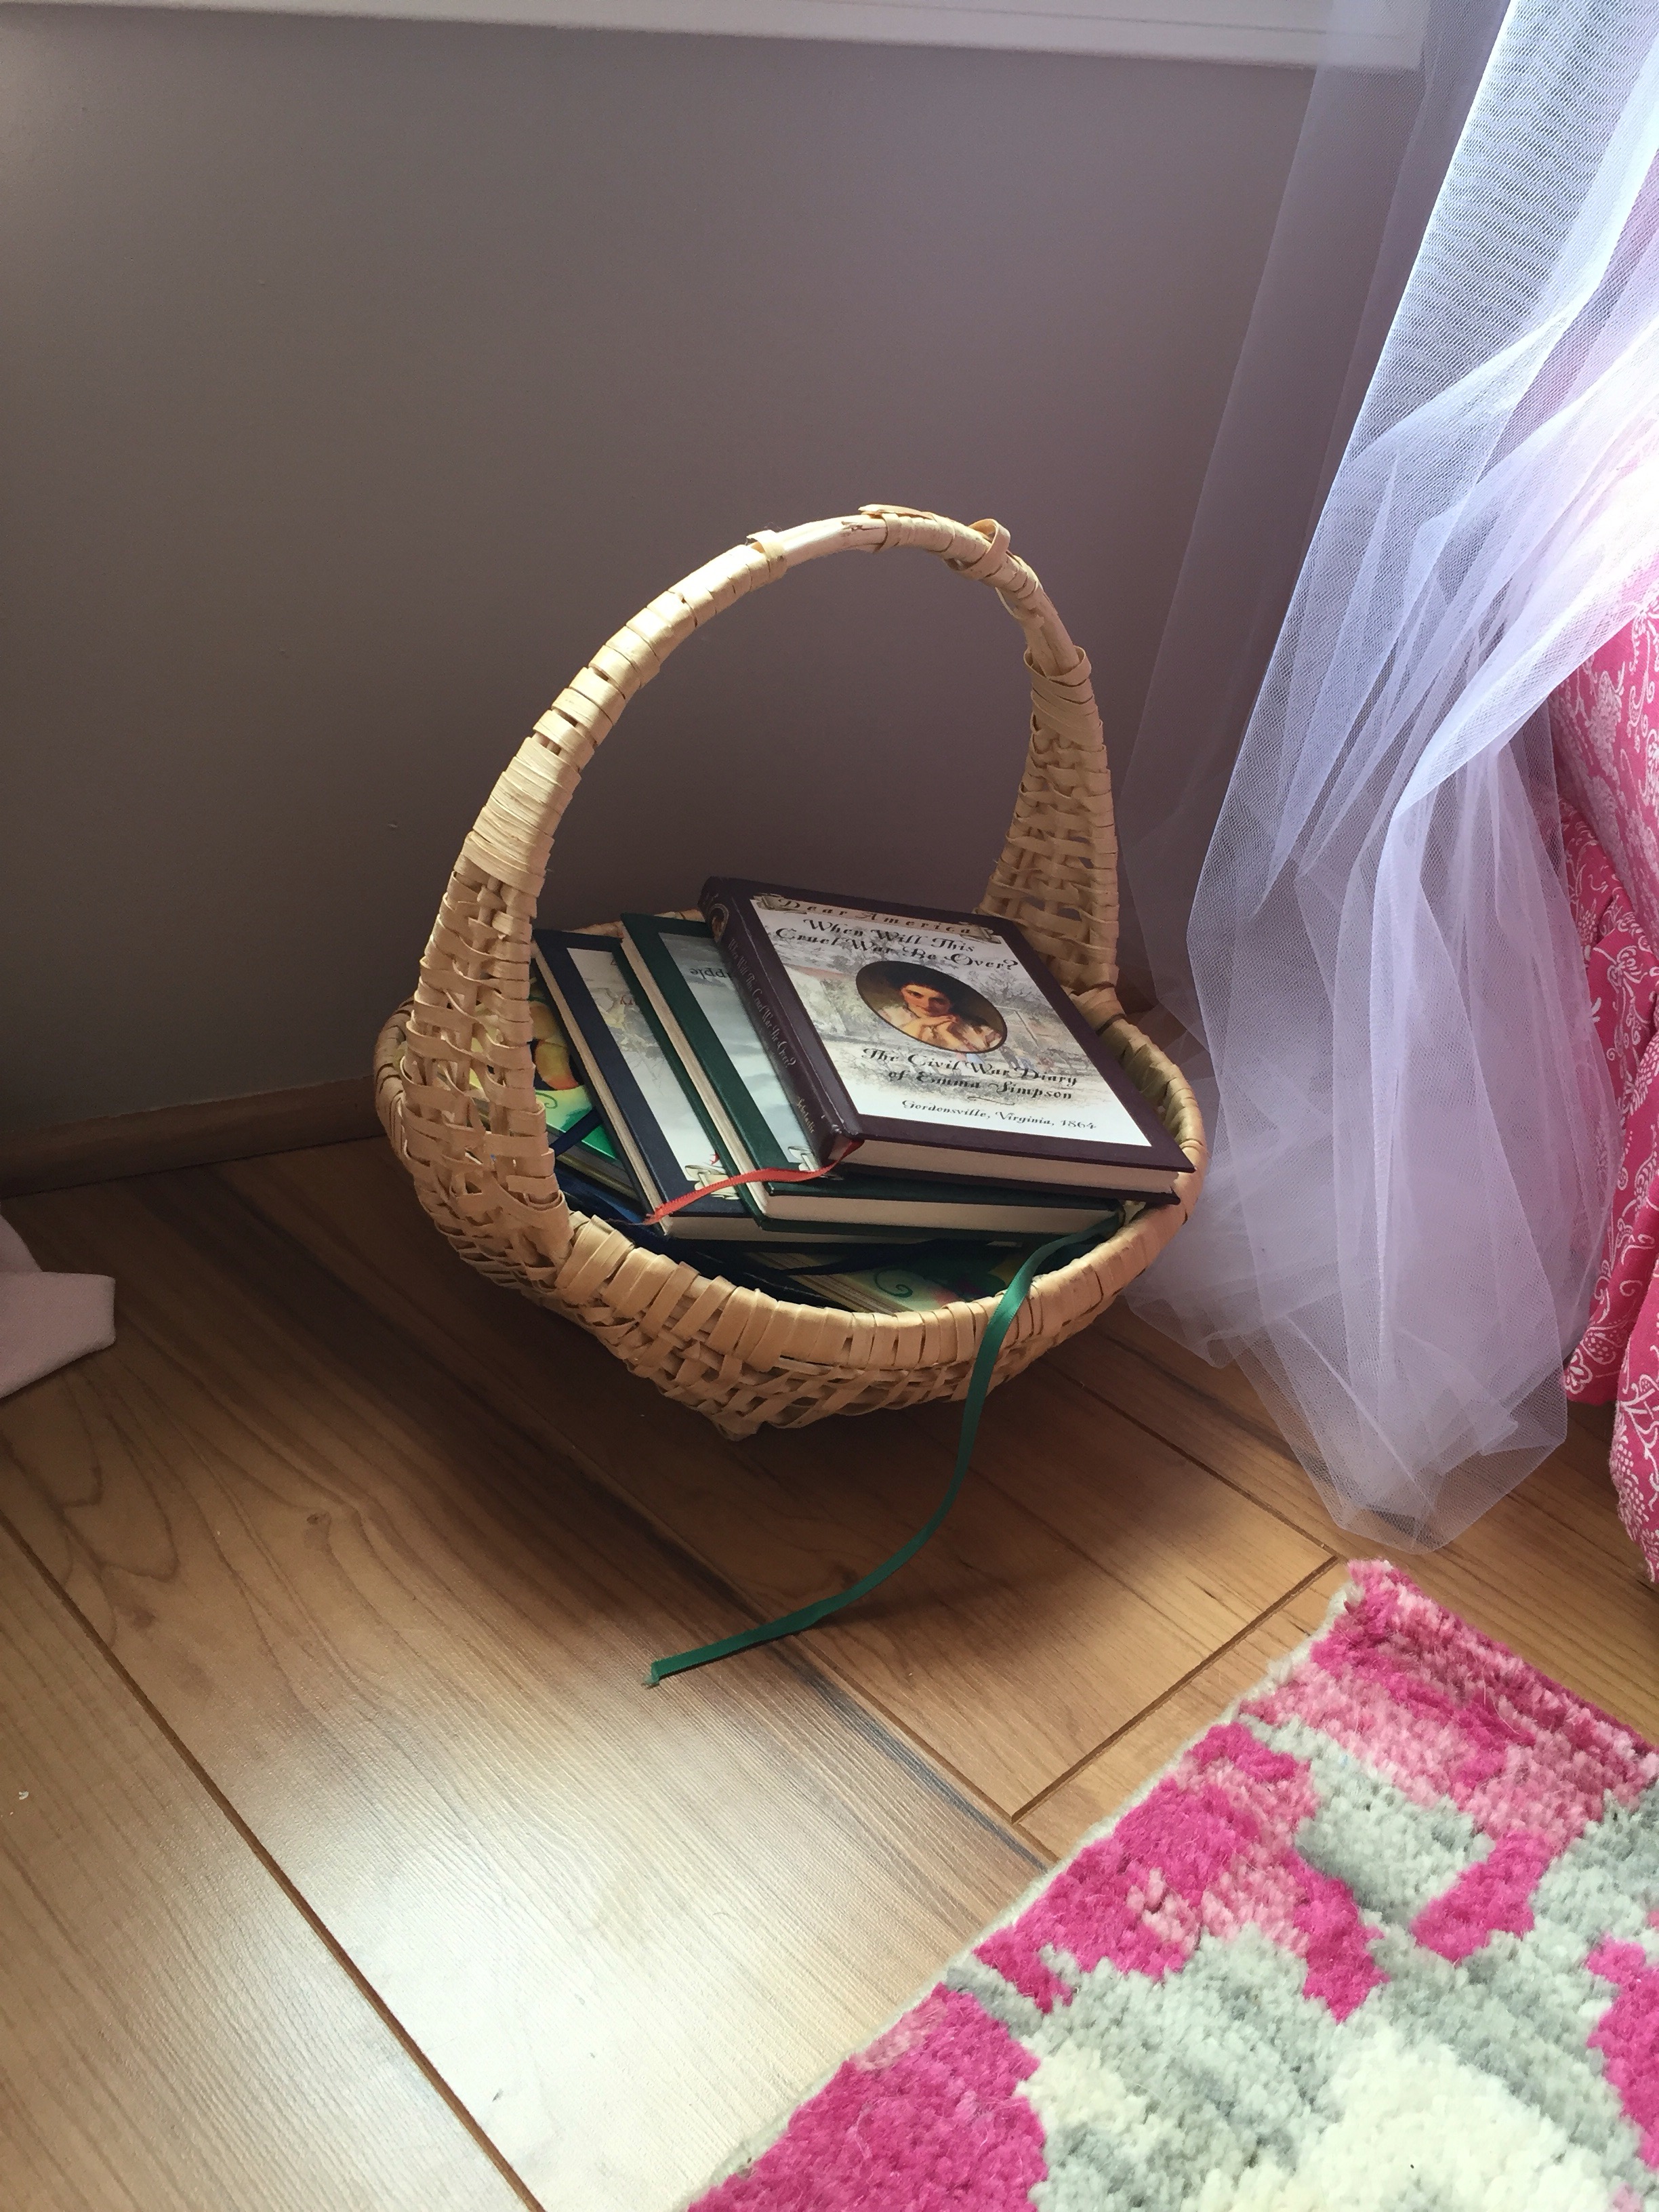
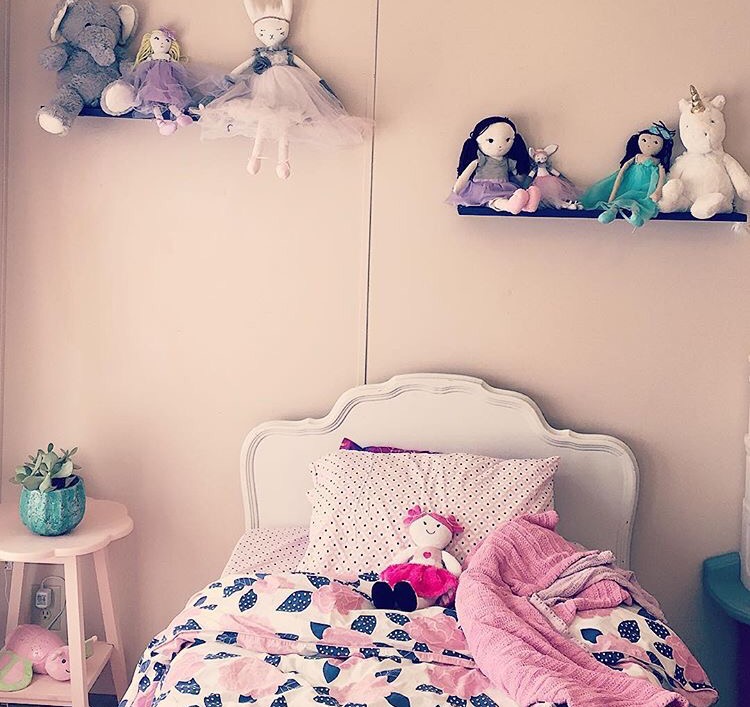
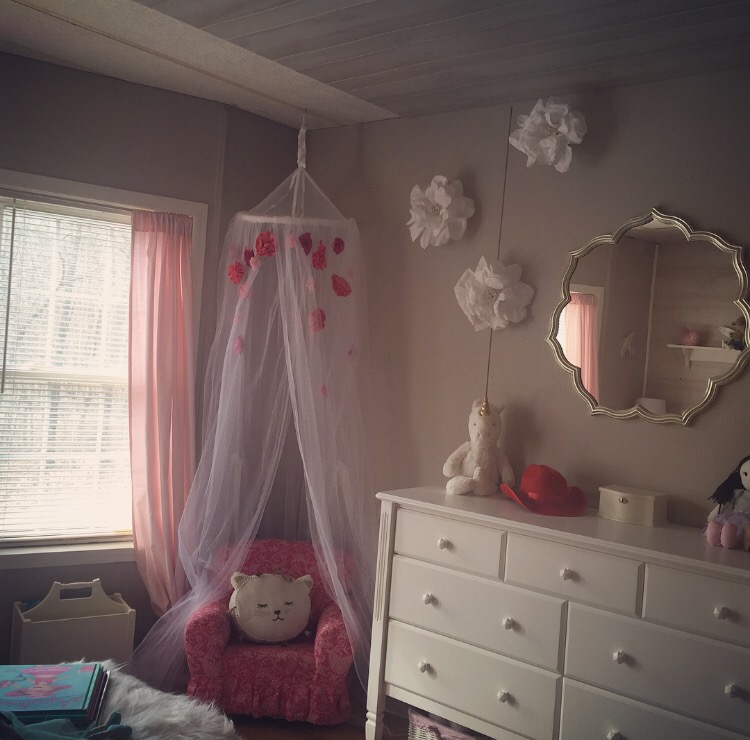
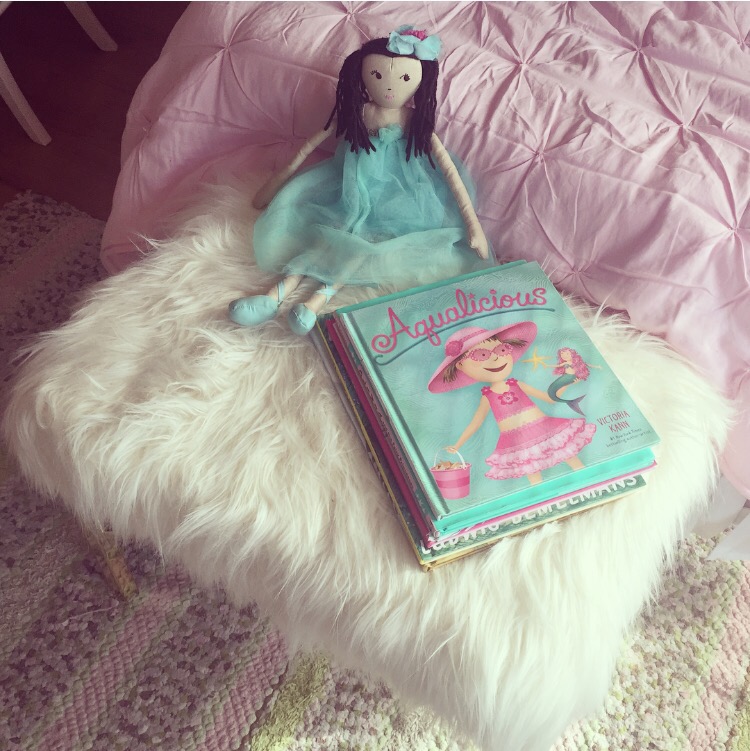
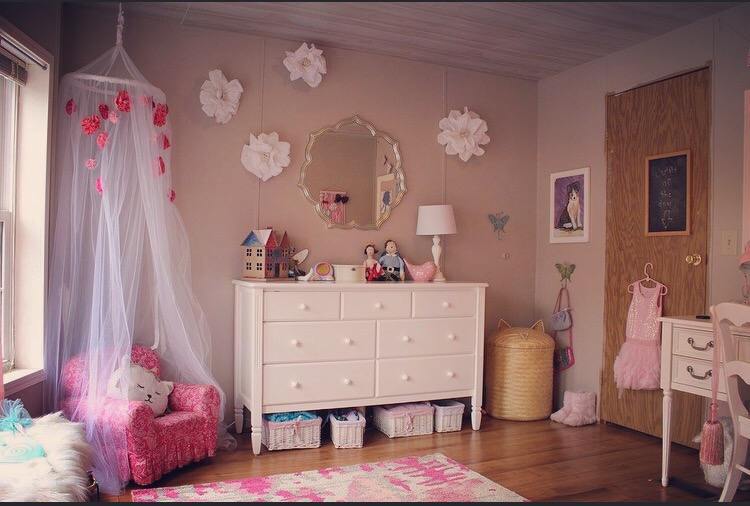
Abigail loves books, so it seemed natural to give her a reading nook with a cozy chair. Isn't that basket of books darling? Abby's great grandma gave it to her.
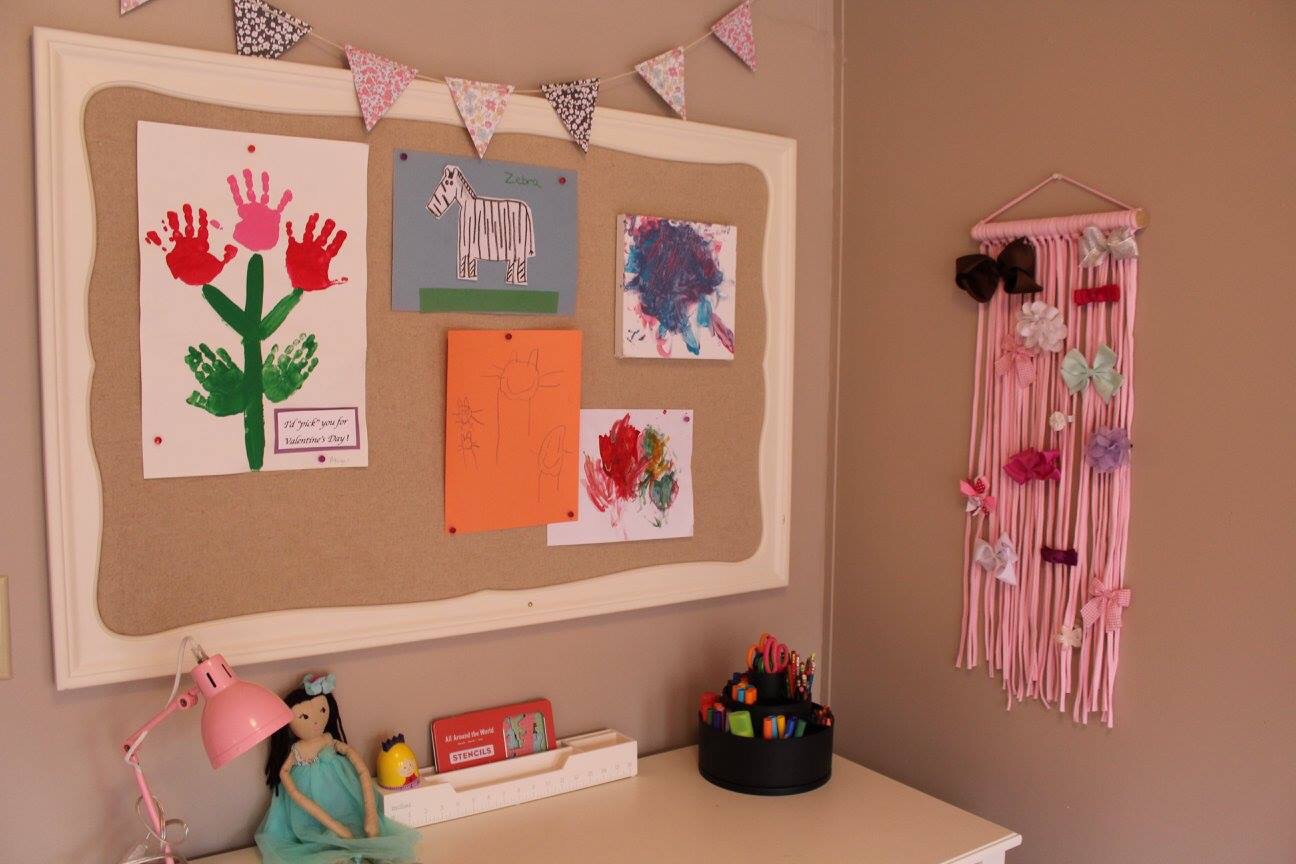
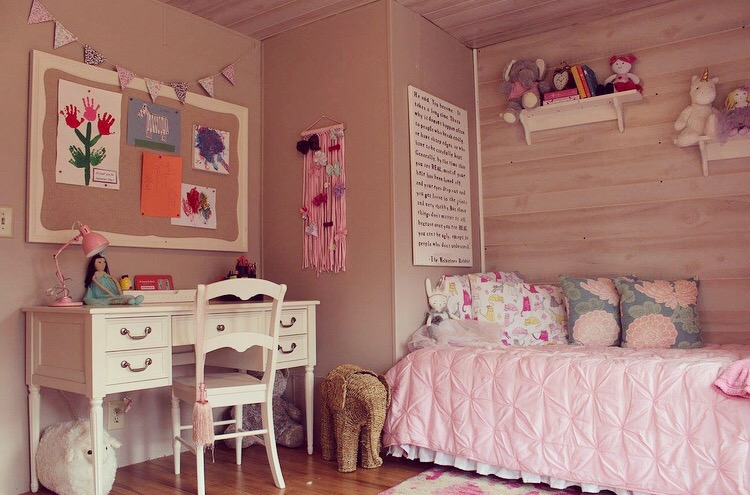
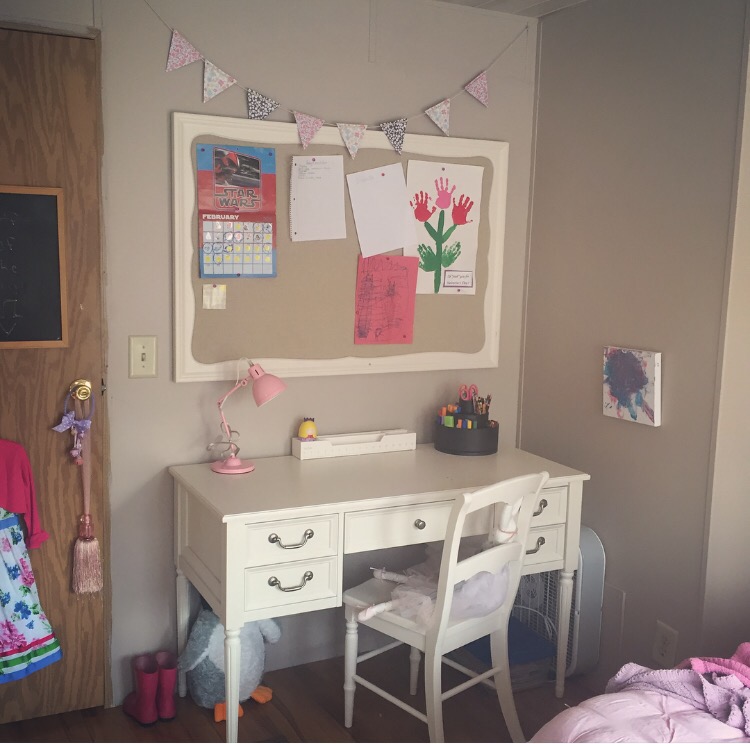
The desk is perfect for her arts and crafts and later it will be a great place to do her homework. I love the little pink task light Abigail picked out.
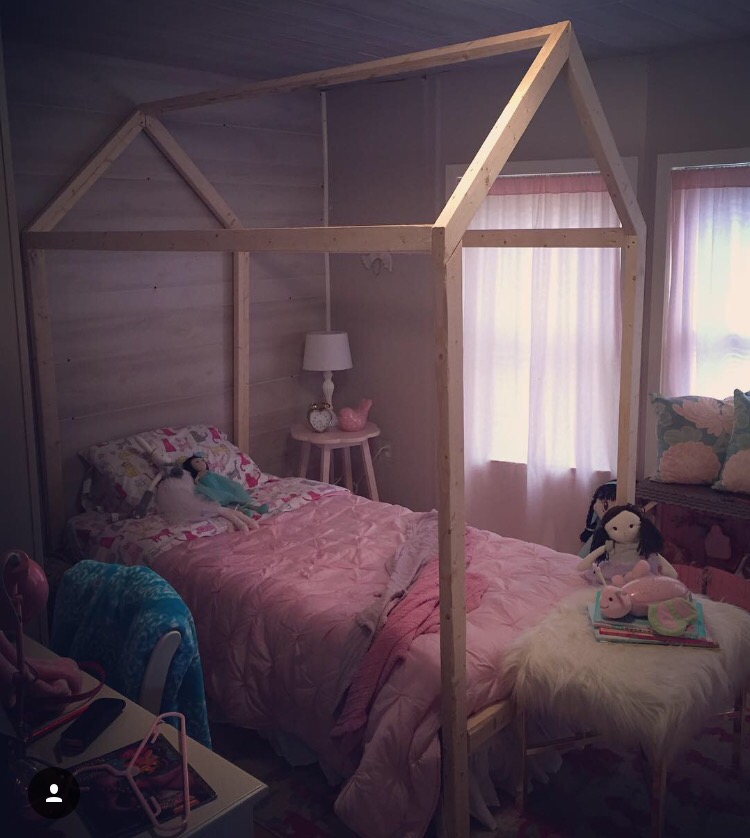
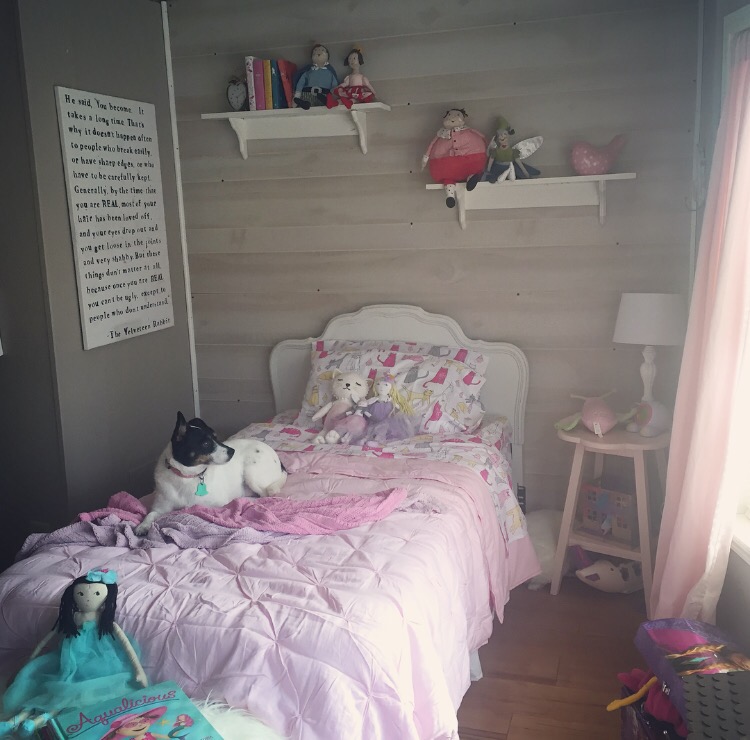
The bed was tough for me, I kept going back and forth between designs but in the end I wanted something fun to keep the room playful.
I loved the house bed I built, but it was much too big for this room. We decided to go with a daybed to create more play space. We are currently searching for the right bed and fun pillows.
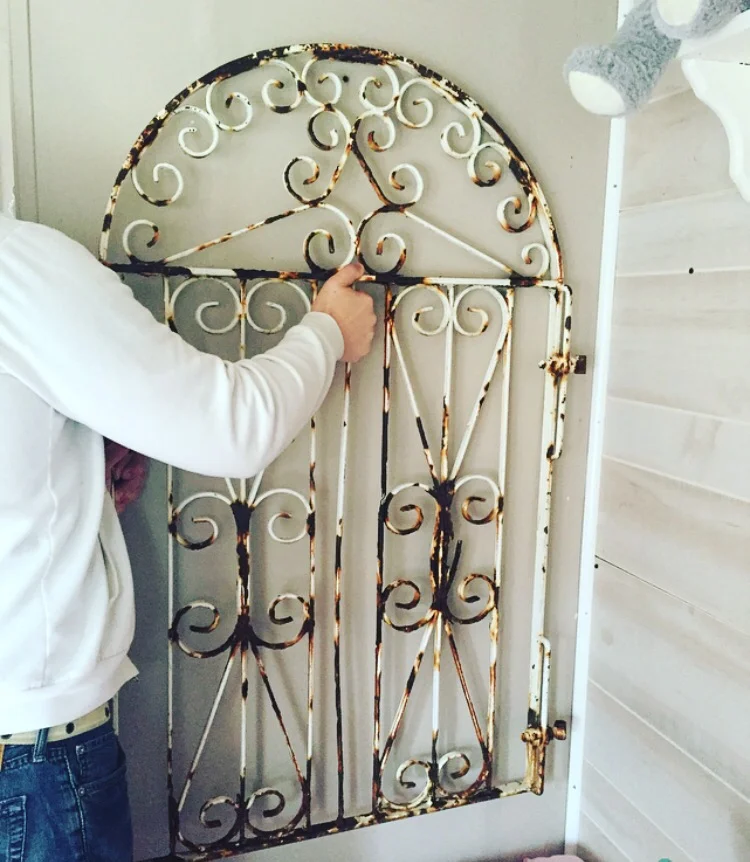
I got this amazing gate from my moms house that I want to mount above her bed where The Velveteen Rabbit quote is. It's soo heavy I need to get the right bolts to make sure it's hung securely.

You may be wondering if we miss the closet. The answer is absolutely not! Her dresser has worked perfectly for her clothing storage and I love that I can have baskets underneath for even more storage.
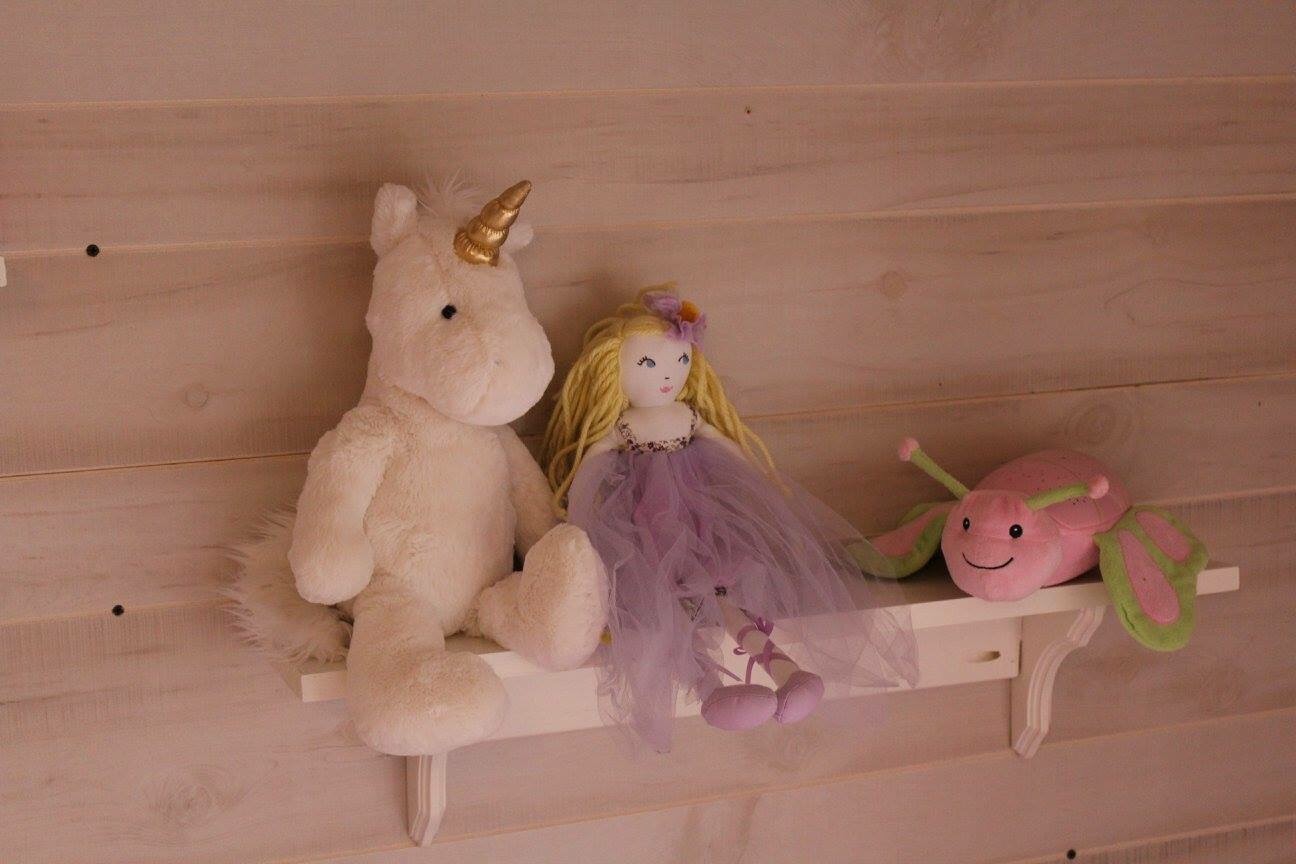
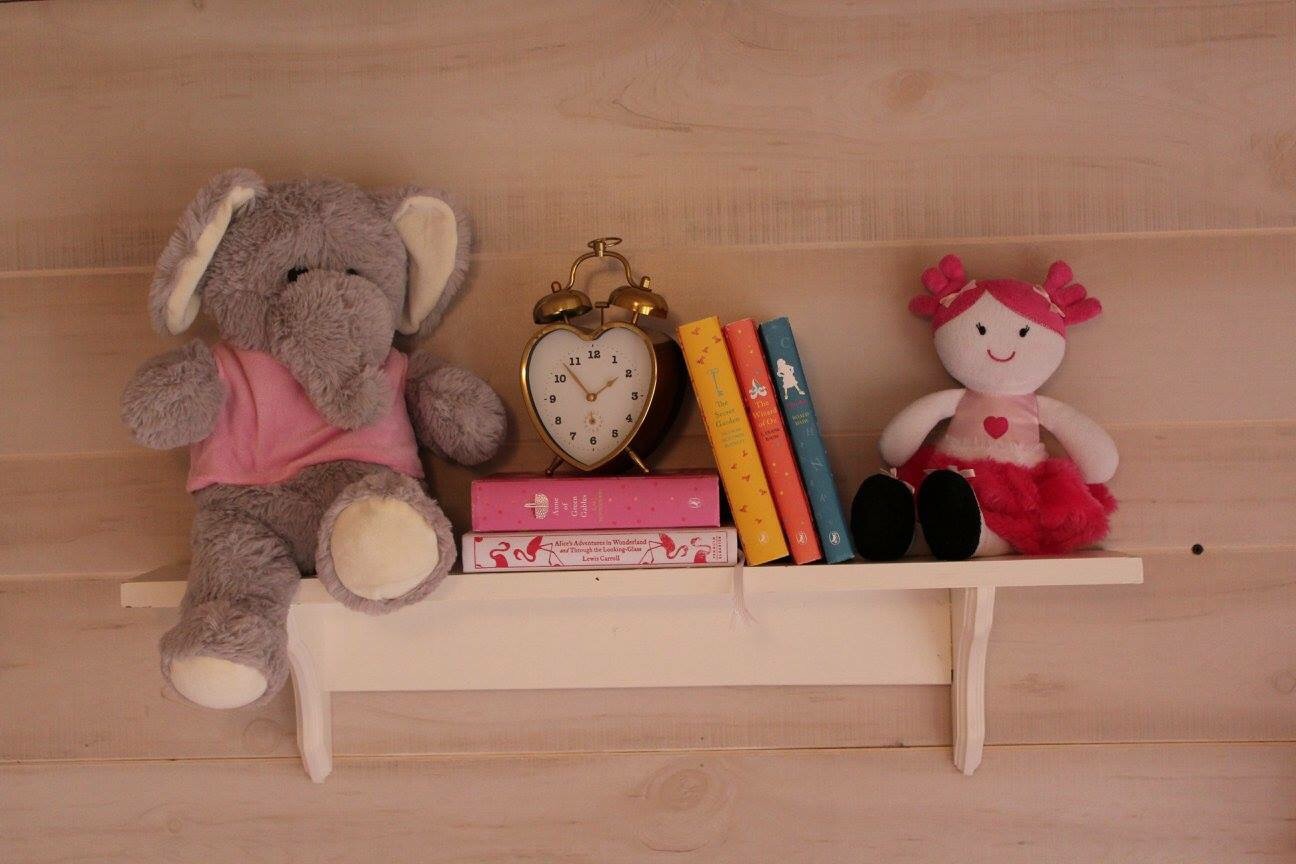
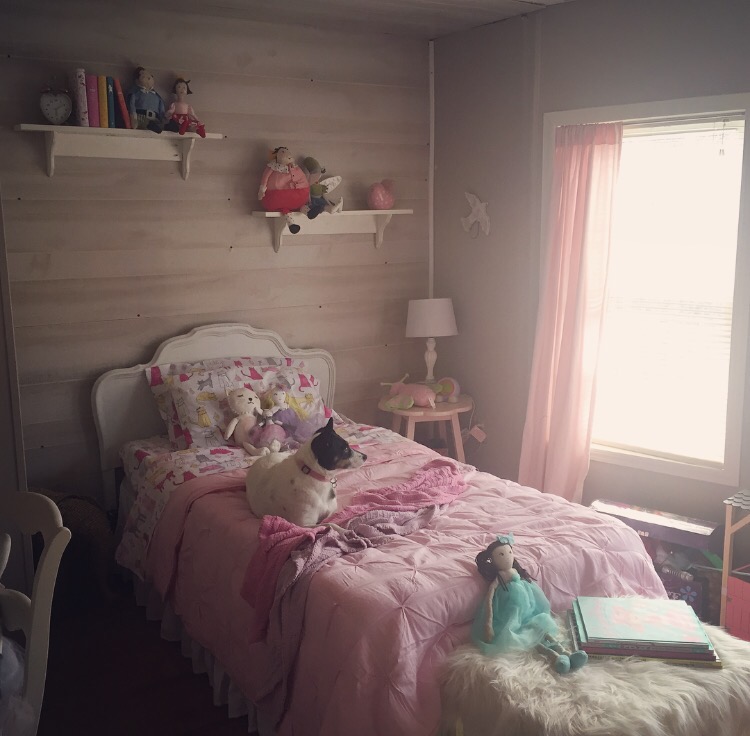
These DIY shelves were so easy to build, I will do a blog post about them soon. They look so cute and they are very functional.
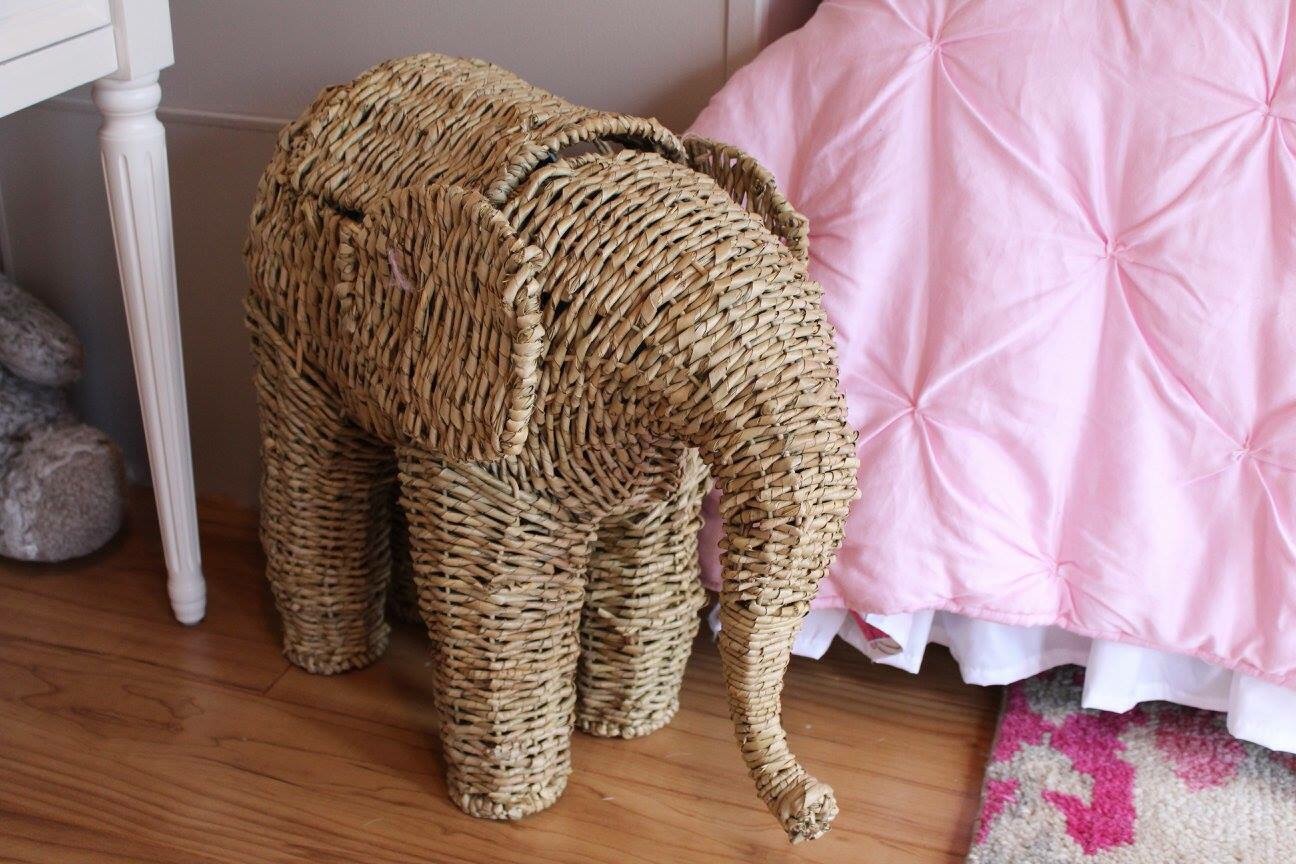
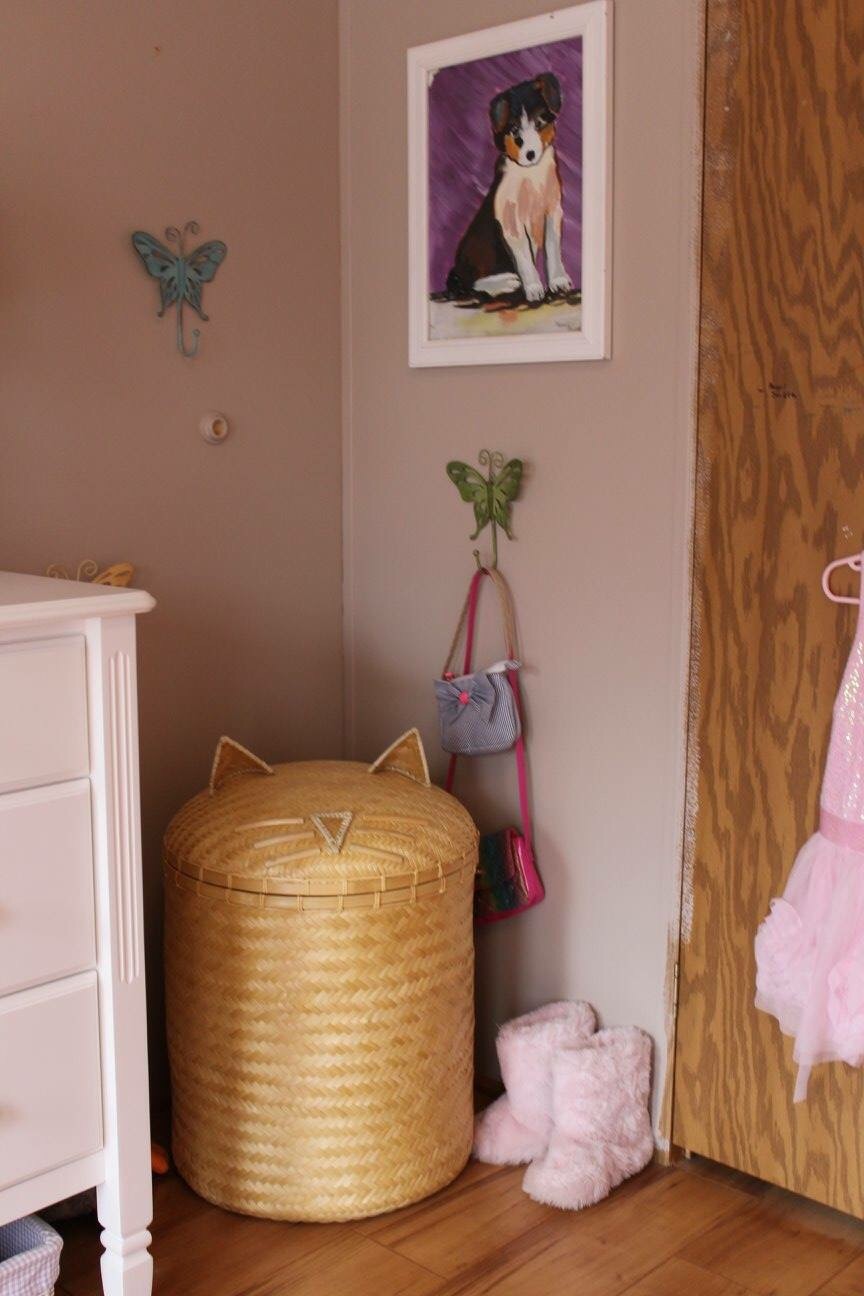
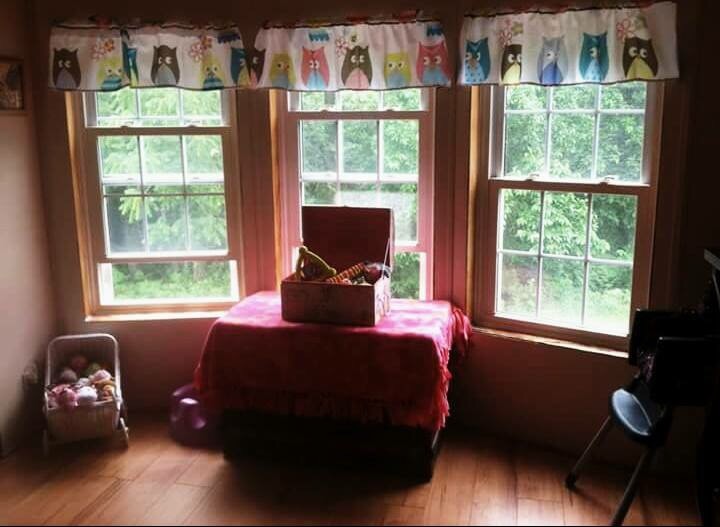
Aren't these adorable?! I love that they bring in a natural material and offer hidden storage. Speaking of storage, you may have noticed I didn't build the window seat with the built in toy box. We felt there wasn't enough space for it and decided against it for now.
This room didn't go according to my exact plan but i love how Abigail's room turned out. I think it's a fun place that invites you to come and play or cozy in with a book. I still have some finishing touches that need to be done but it is done for now.
Happy Decorating!!
Amy